Using a SwiftUI View in a UIKit App as an individual component
By the end of this tutorial, you will be able to integrate a SwiftUI View into a UIKit app as an independent element of a view controller.

Introduction
The SwiftUI framework was unveiled in 2019 and in just a few years has proven to be impactful in the developer community. But it is also true that UIKit has been around since 2008! Especially if you have been a developer for a few years you will have Apps developed using UIKit. Why not use all that SwiftUI has to offer to give your apps a makeover?
Why not use all that SwiftUI has to offer to give your apps a makeover?
Given the benefits of using SwiftUI for future development, it will be a common requirement to integrate the new SwiftUI app functionality with the existing project codebase. Fortunately, this integration can be achieved easily using UIHostingController.
In the tutorial Using a SwiftUI View in a UIKit App, we have explored how to integrate a SwiftUI view by treating it as an entire scene. In this tutorial, we will guide you on how to integrate a SwiftUI View as a view controller’s single element in a UIKit-based app.
Starting point and goal
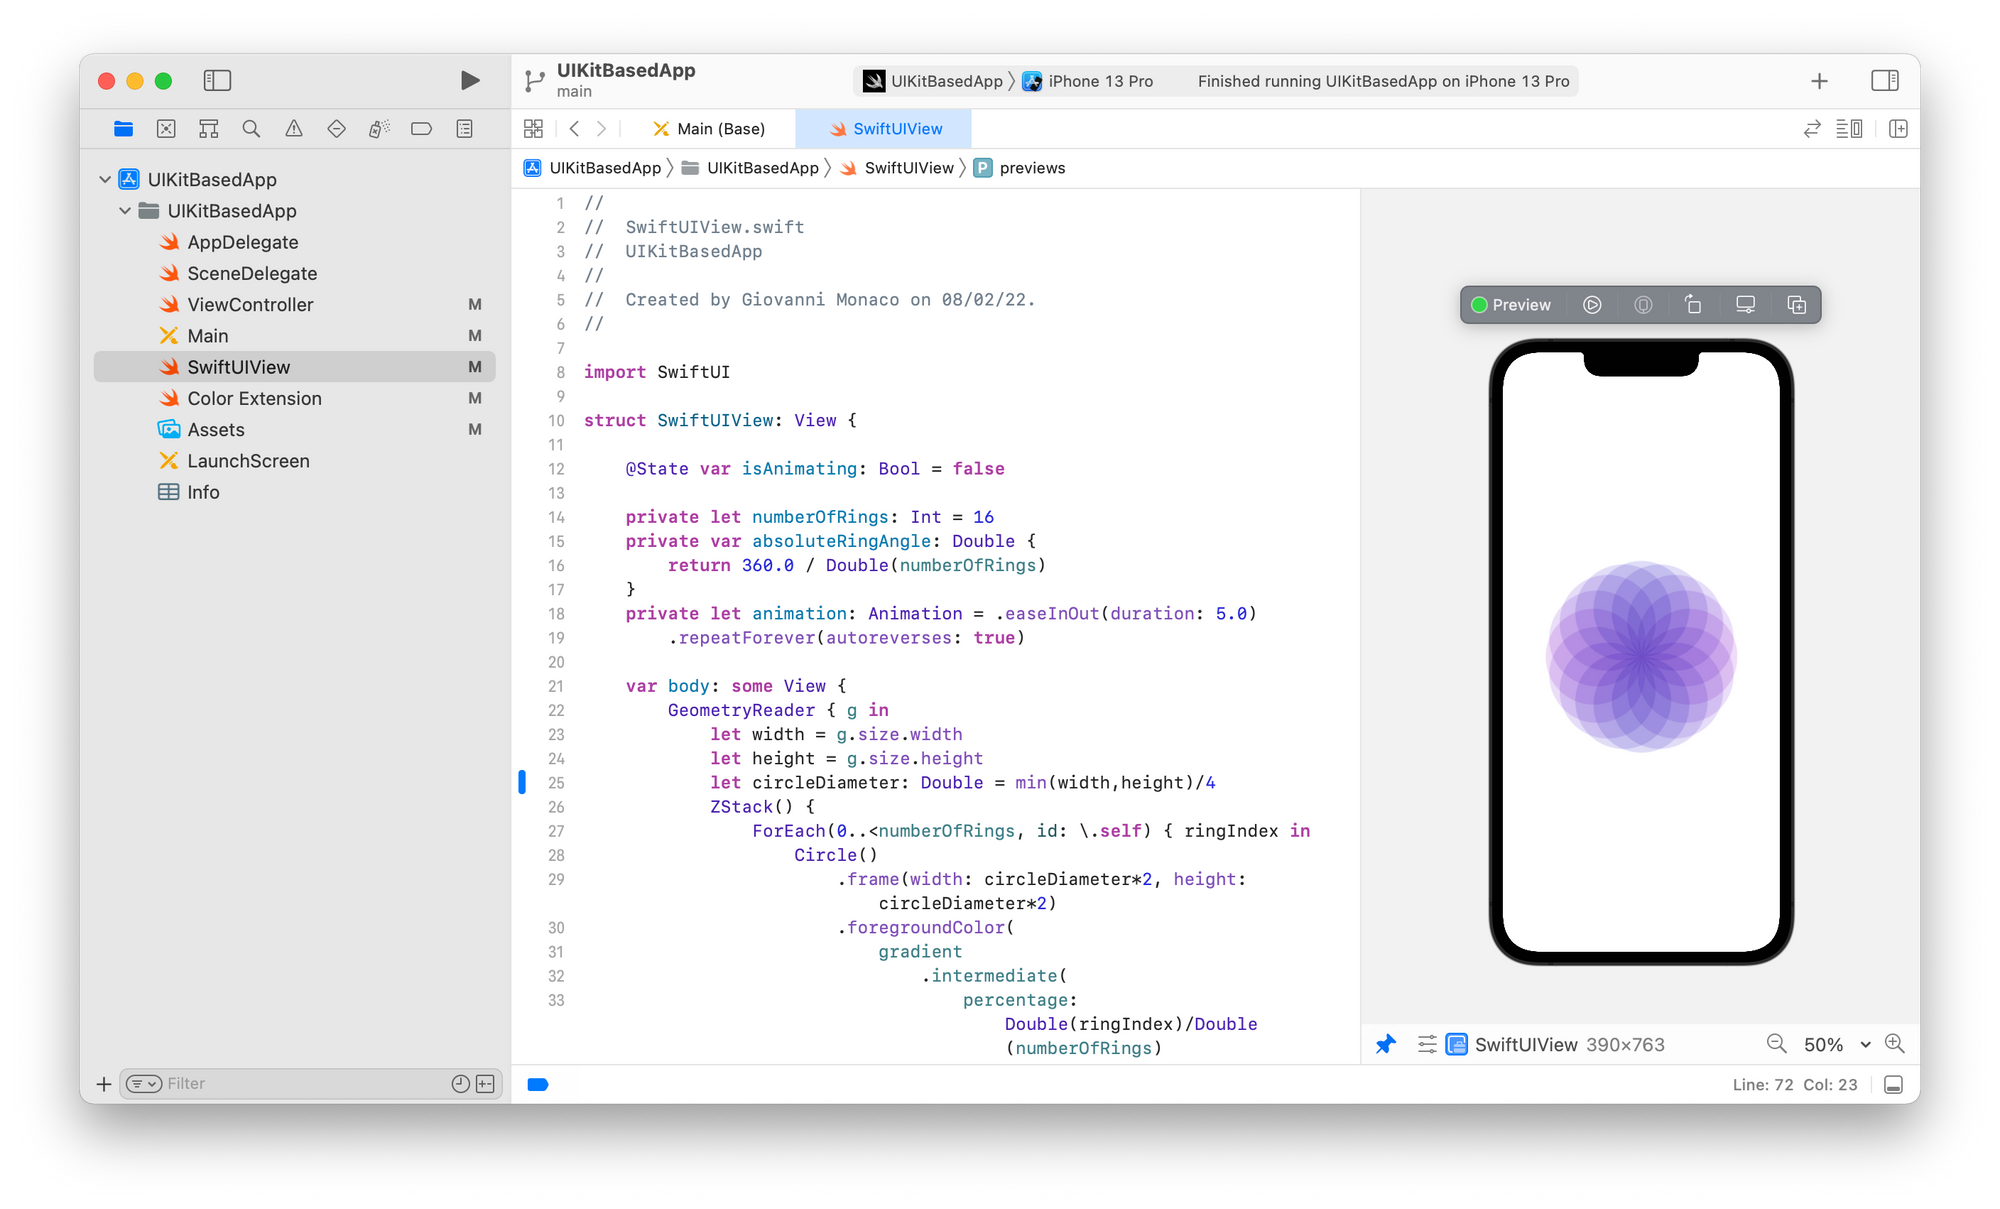
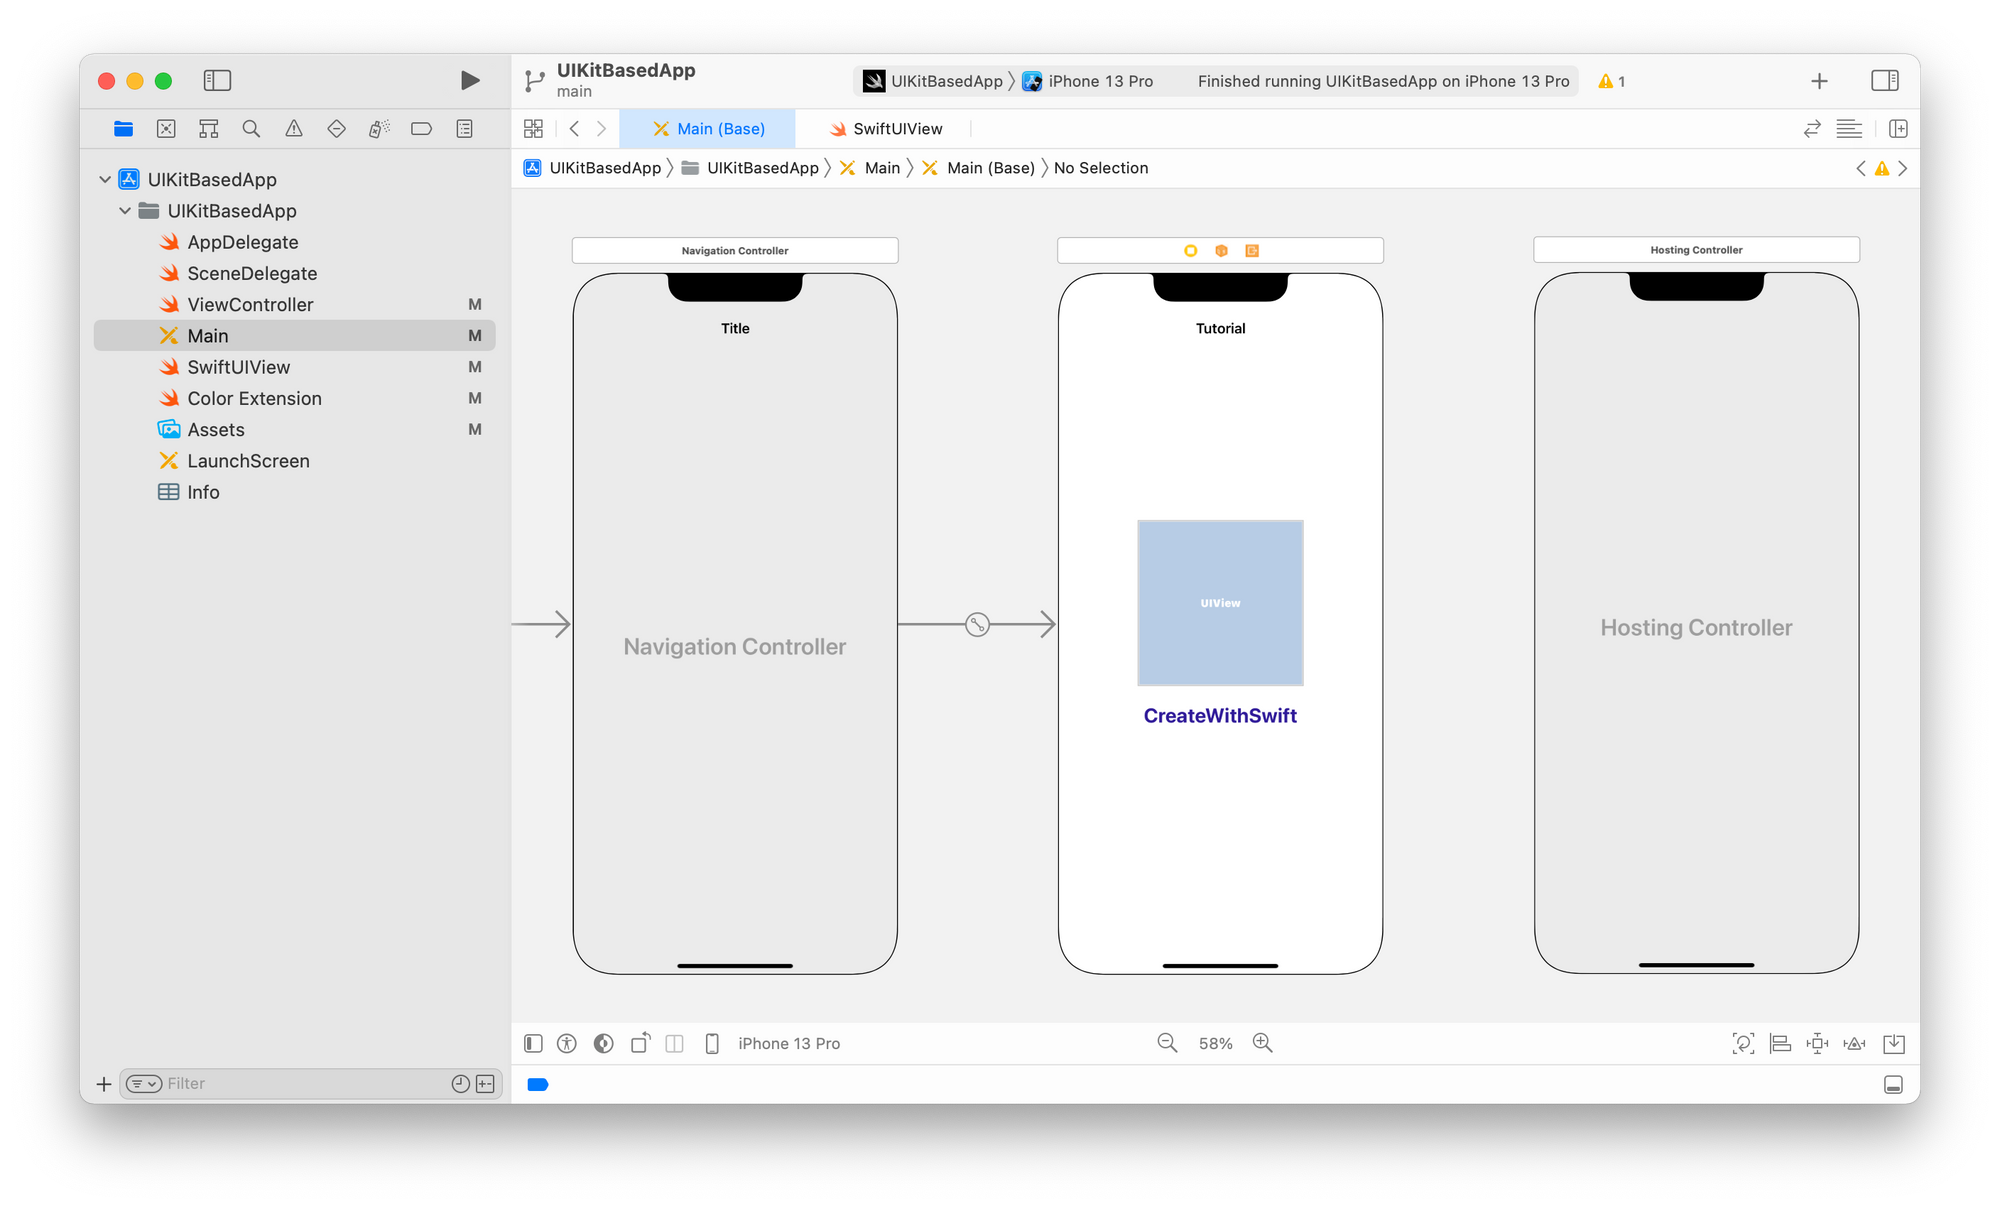
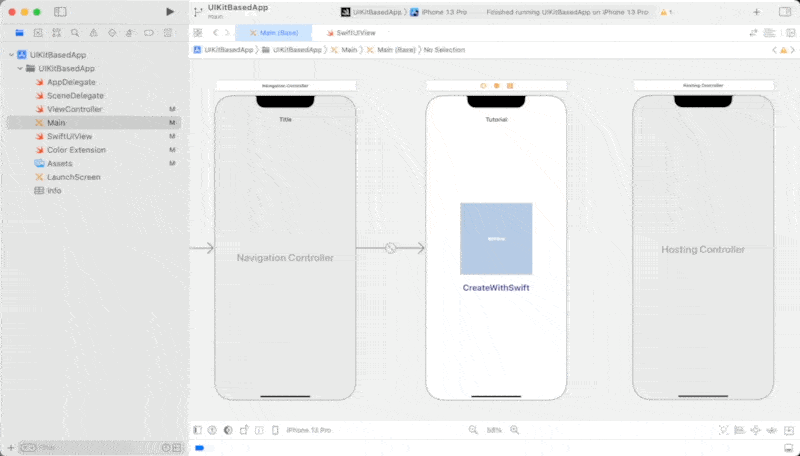
Our starting point is an essential UIKit based app using the Storyboard. The main ViewController contains a simple UILabel.

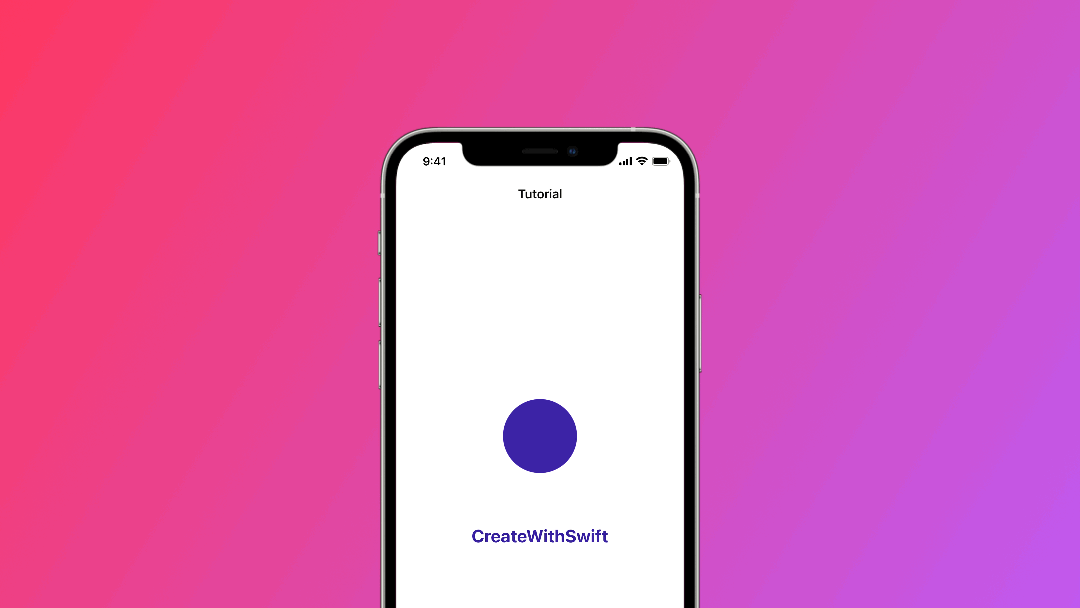
The goal is to embed an animated View developed in SwiftUI, named SwiftUIView, into our ViewController as a single element of the scene.
In the animated image below you can see what we will create together at the end.
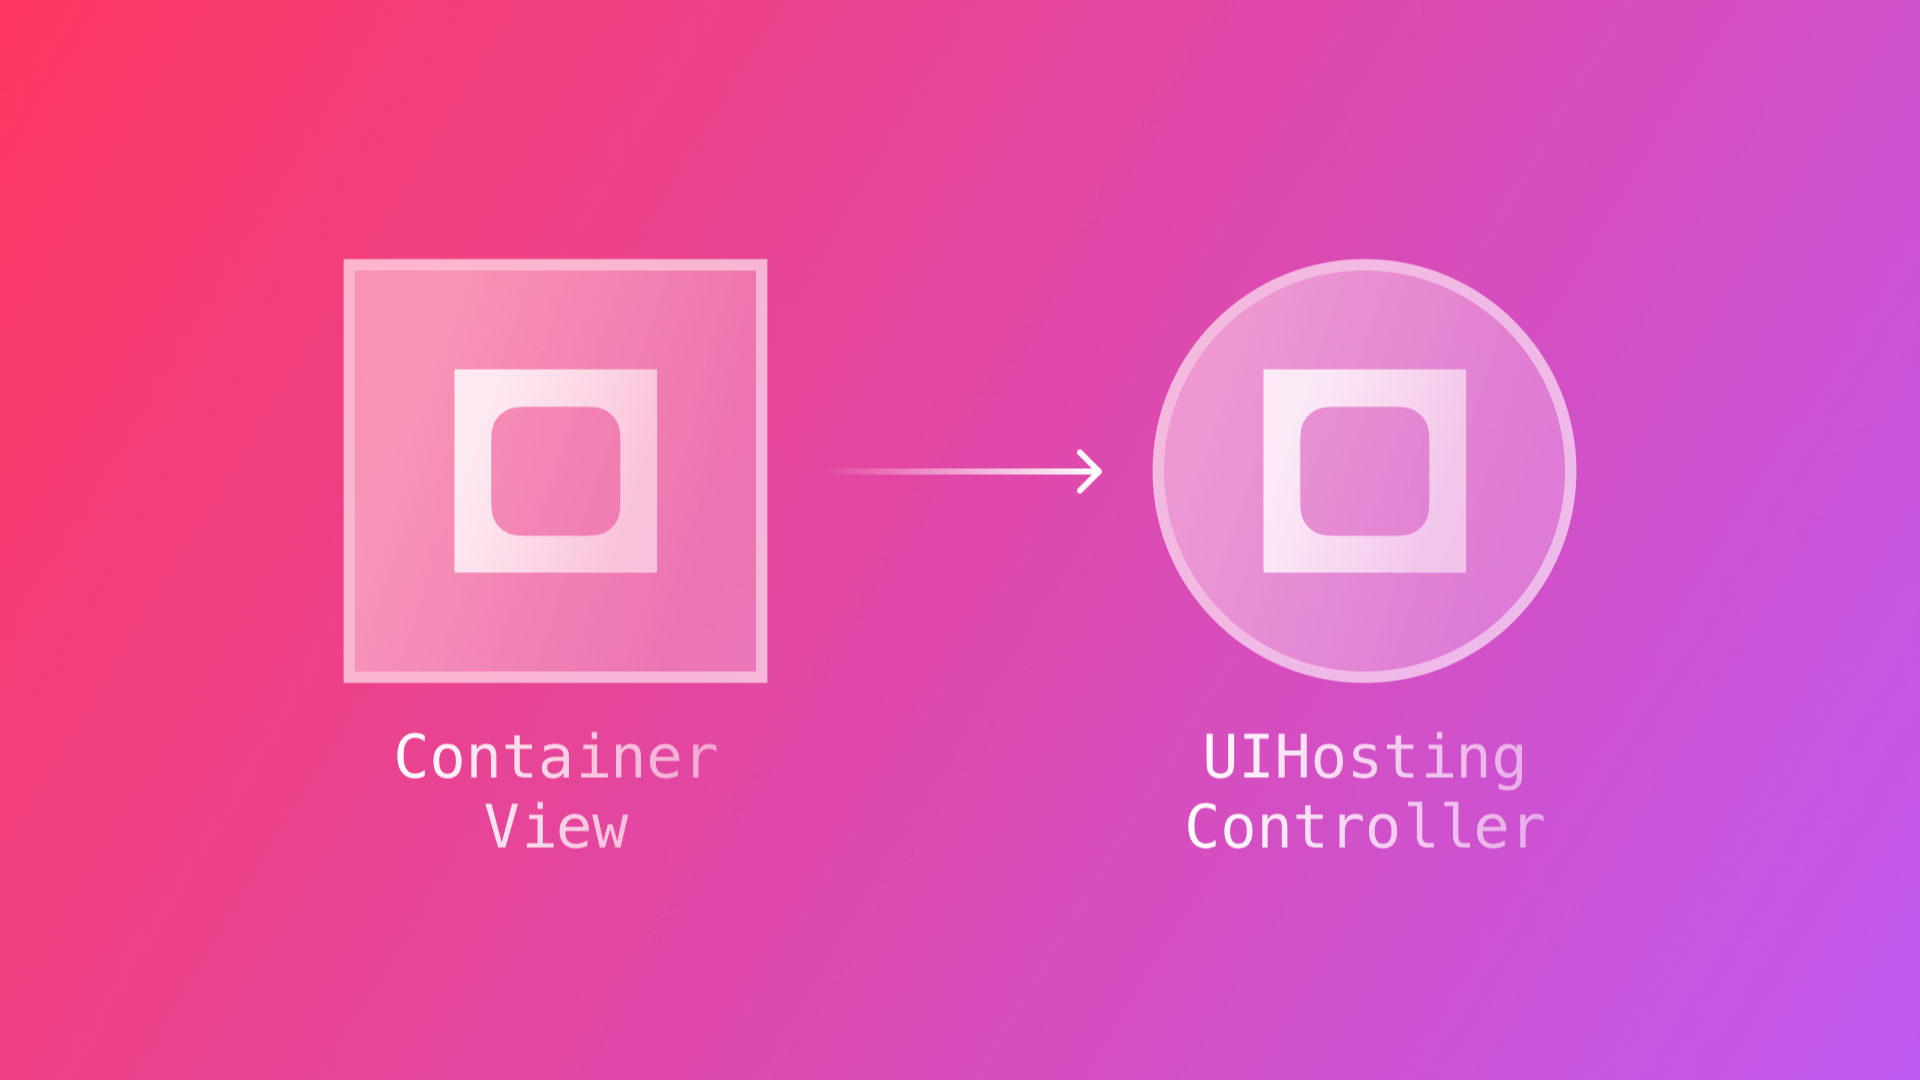
UIContainerView and UIHostingController
This time we will need a UIContainerView and aUIHostingController to achieve our goal.
- The
UIContainerViewwill embed theUIHostingController. In other words, the hosting controller will become the container controller’s child view. - The
UIHostingControllerwill embed the SwiftUI View we are interested in. In other words, the hosting controller will use the SwiftUI View as a root view
1. Add a UIContainerView in your UIViewController using the Storyboard
Open the Library by clicking on the + button in Xcode’s top right corner. Search for UIContainerView and drag and drop it to the view controller we want the SwiftUI element to be embedded into. The UIContainerView is used to define a region within a view controller's view hierarchy to host a child view controller. The child view controller is specified with an embed segue.

By default, Xcode will add and embed into the container view a standard ViewController. We need to embed a hosting controller instead. Because of that, we can delete the automatically added view controller by selecting it and pressing the keyboard backspace.
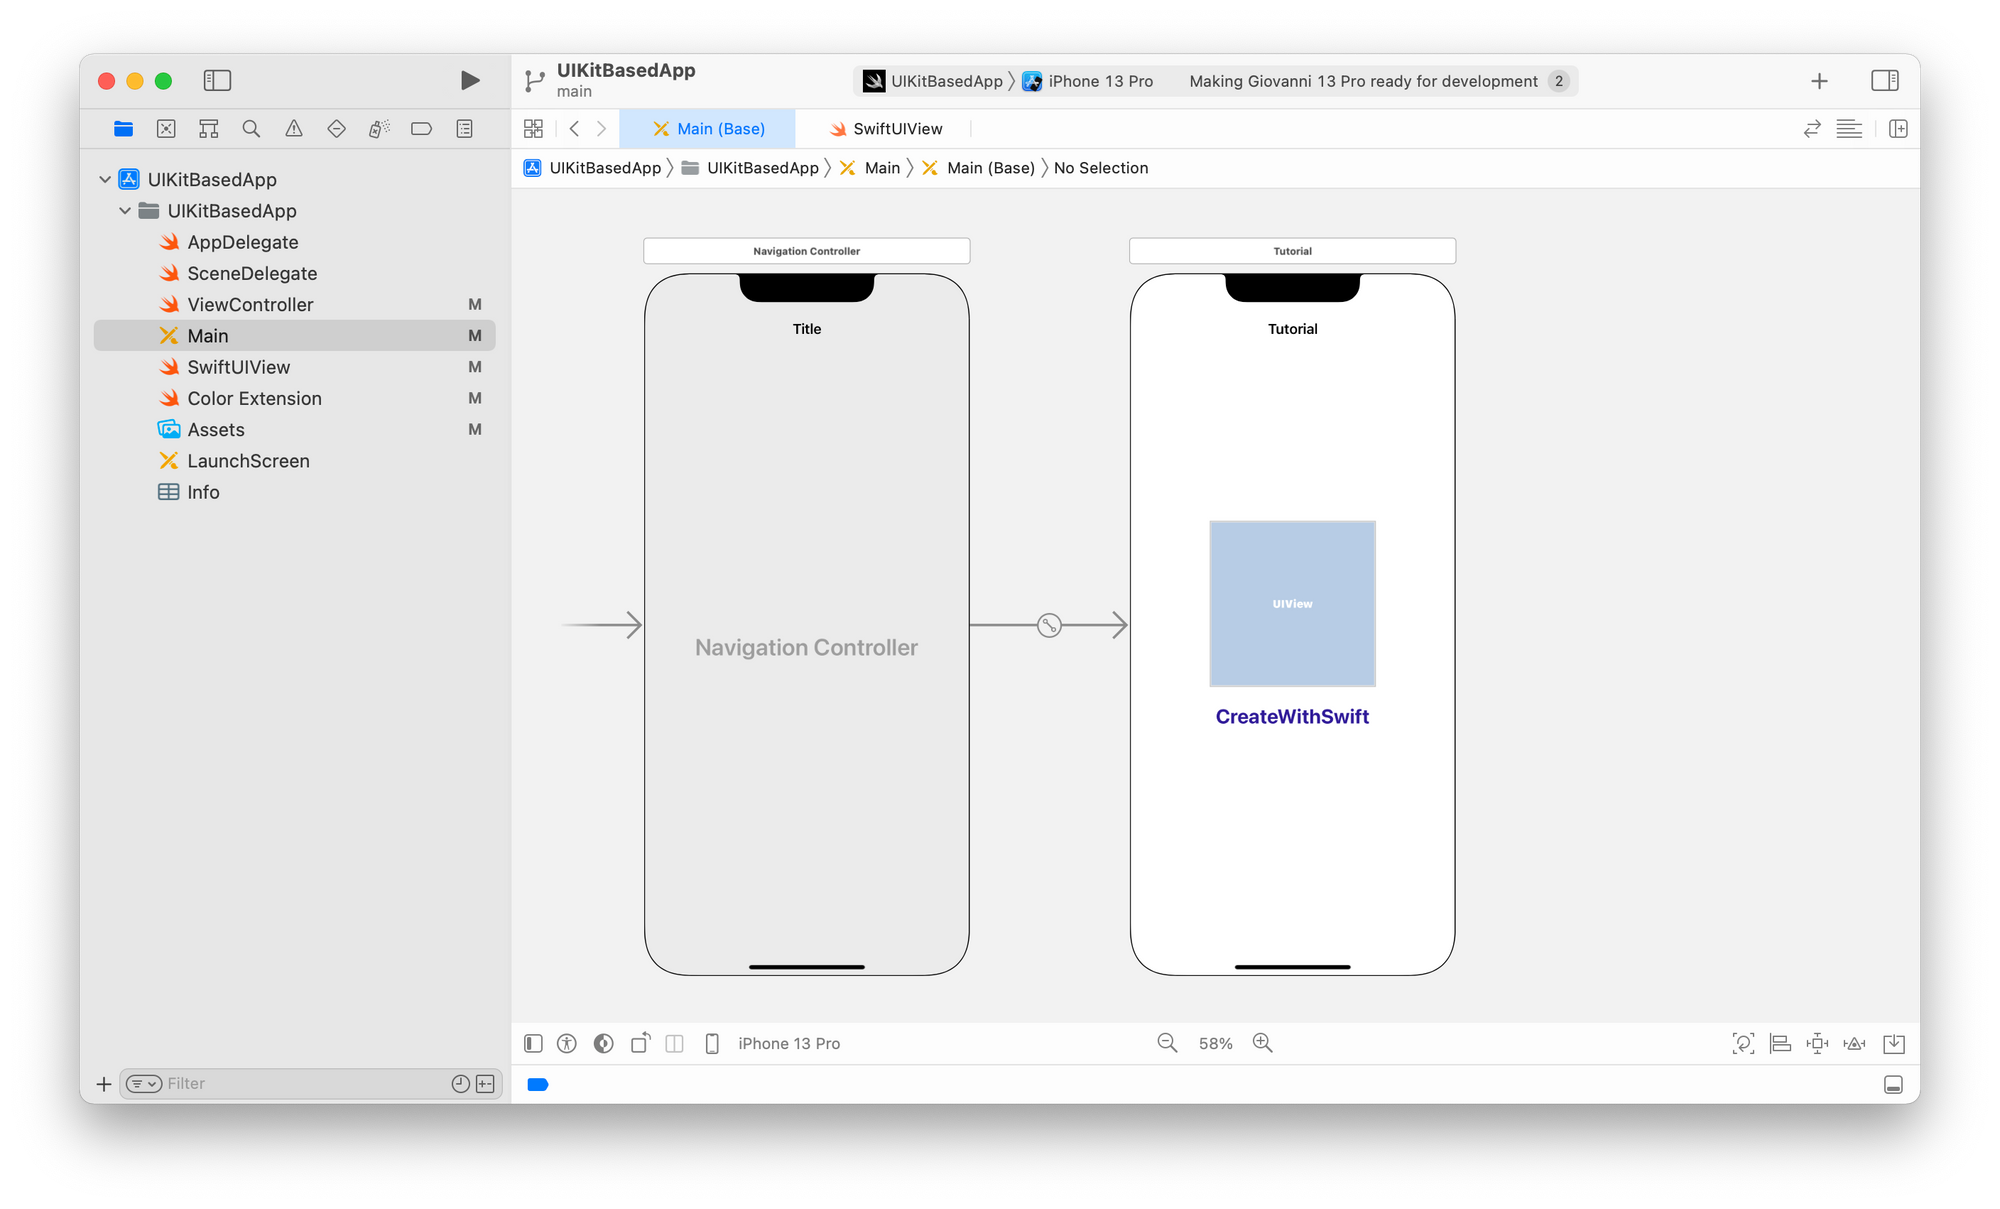
2. Add a UIHostingController in the Storyboard
Open the Library by clicking on the + button in Xcode’s top right corner. Search for UIHostingController and drag and drop it to the Storyboard. Our UIContainerView child view controller is going to be a UIHostingViewController that hosts our SwiftUl View.
3. Define as the UIContainerView child view controller the UIHostingController
Embed the new UIHostingController in the UIContainerView we have just added by control-dragging from the container view to the hosting controller. A small pop-up menu will show up, we are going to select the Embed option.
4. Create a segue outlet
Using the Assistant editor, which allows you to see the Storyboard and code at the same time, we create a Segue Outlet by control-dragging from the UIContainerView to the ViewController class. We have just created a @IBSegueAction and we named it segueToHostingController.
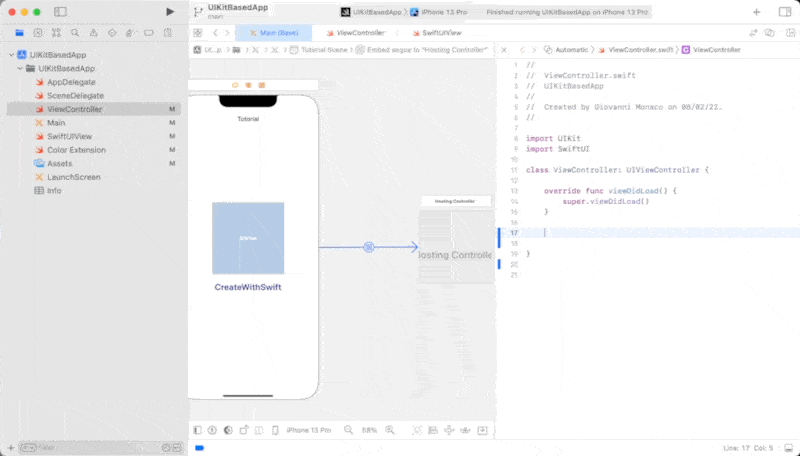
5. Implement the @IBSegueAction
Move to the ViewController.swift file and let’s modify the placeholder Xcode added for us with the creation of the @IBSegueAction. We are going to return a UIHostingController that uses the SwiftUIView as a root view so that it can be integrated into our UIKit based project. coder is an abstract class that serves as the basis for objects that enable archiving and distribution of other objects.
class ViewController: UIViewController {

    override func viewDidLoad() {
        super.viewDidLoad()
    }


    @IBSegueAction func segueToHostingController(_ coder: NSCoder) -> UIViewController? {
        return UIHostingController(coder: coder, rootView: SwiftUIView())
    }

}
Your UIKit based project is now hosting an animated SwiftUI View as an element of the view controller! Using a SwiftUI animated view is just one of the possible examples where it can be convenient to use SwiftUI instead of other frameworks (like UIKit). You now have a new ace up your sleeve to speed up your legacy app development process.
Wrapping up
We have explored two a way to integrate our SwiftUI views into a UIKit-based app. Specifically, we used our SwiftUI views as a single element of a ViewController.
As next steps you could explore:
- How to pass data between a
UIViewControllerand a SwiftUI View used as aUIHostingControllerrootView - How to use a SwiftUI View as an entire scene in our app using a
UIHostingControlleronly. Check out Using a SwiftUI View in a UIKit App.