Create an animated transition with Matched Geometry Effect in SwiftUI
Learn how to use matched geometry effect to animate views in SwiftUI
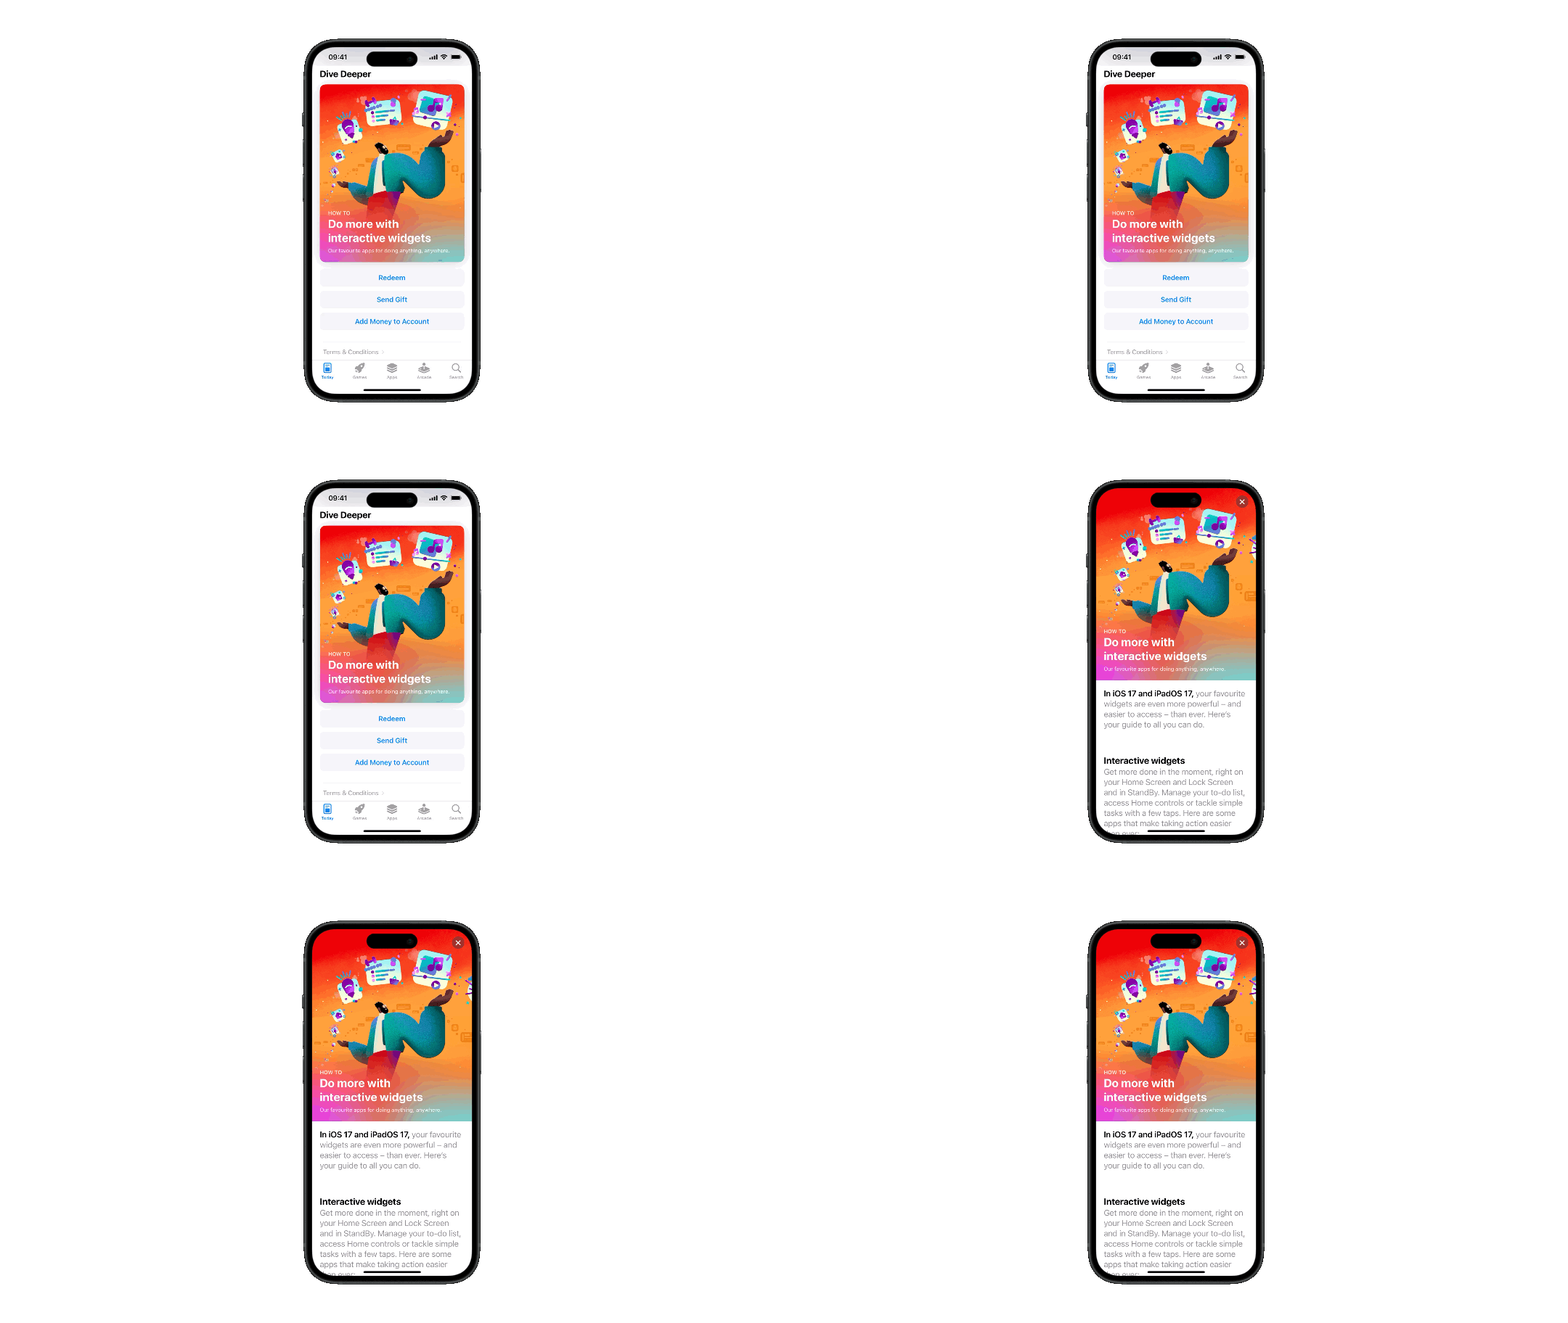
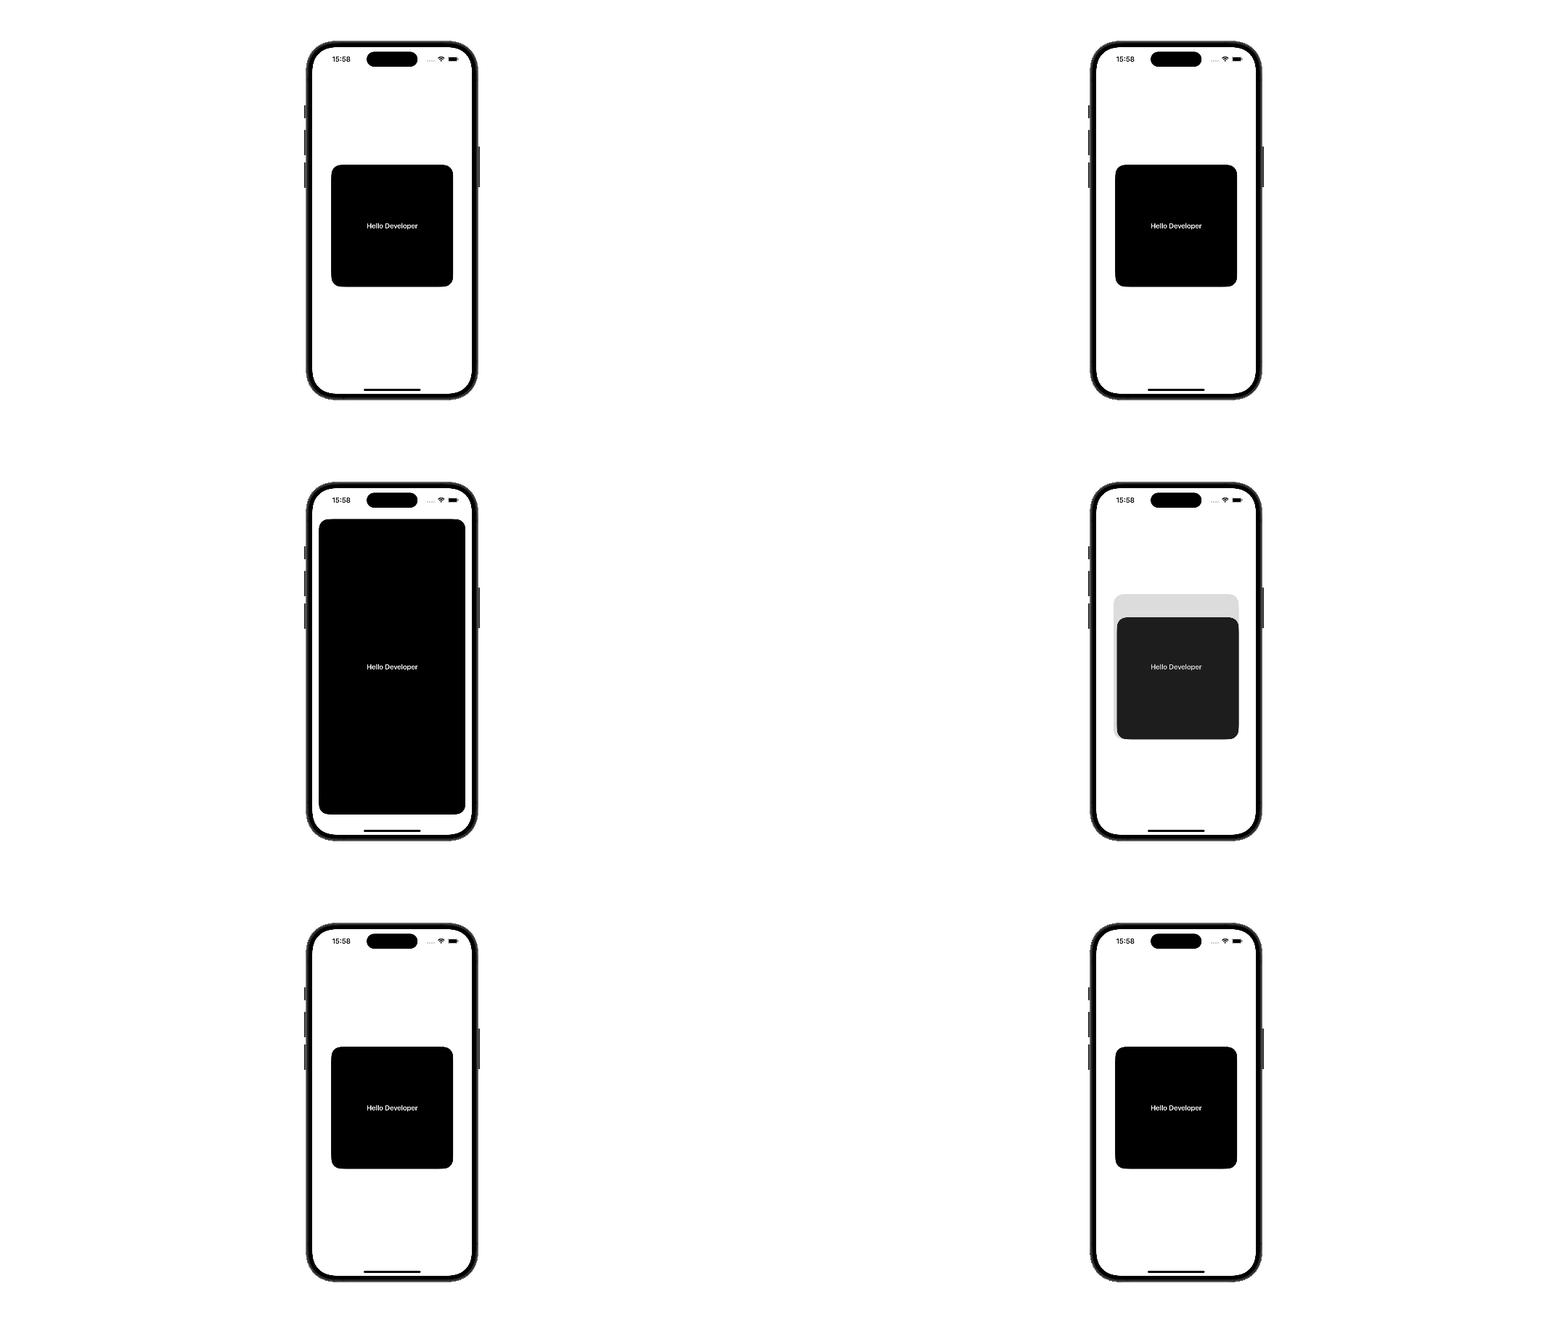
In SwiftUI we can create smooth transitions between views from one state to another with the Matched Geometry Effect. Using unique identifiers we can blend the geometry of two views with the same identifier creating an animated transition. Transitions like this can be useful for navigation or changing the state of UI elements.

To implement it on your user interface you must:
- Define the namespace that will be used to synchronize the geometry of the views;
- Define the initial and final states of the views that will be animated;
- Use the proper view modifier to identify the initial and final states for the matched geometry transition to take effect;
- Trigger the transition.
Let’s add an animated transition using the Matching Geometry Effect on the following view:
struct AnimatedExampleView: View {
    // Variable to trigger the animated transition
    @State var isExpanded: Bool = true

    var body: some View {
        VStack {
            if isExpanded {
                smallSizeView()
            } else {
                largeSizeView()
            }
        }
        .padding()
        // On tap the transition is triggered
        .onTapGesture {
            withAnimation {
                isExpanded.toggle()
            }
        }
    }

    @ViewBuilder
    func smallSizeView() -> some View {
        // Initial state of the view
        RoundedRectangle(cornerRadius: 25)
            .fill(.black)
            .frame(width: 300,height: 300)
            .overlay {
                Text("Hello Developer")
                    .font(.headline)
                    .foregroundStyle(.white)
            }
    }

    @ViewBuilder
    func largeSizeView() -> some View {
        // Final state of the view
        RoundedRectangle(cornerRadius: 25)
            .fill(.black)
            .overlay {
                Text("Hello Developer")
                    .font(.headline)
                    .foregroundStyle(.white)
            }
    }

}
To enable the Matching Geometry Effect you need to:
- Define an identifier for each view that will take place in the transition
- Define a namespace where the identifiers of the group of views will be defined, using the
@Namespaceproperty wrapper - Apply the
.matchedGeometryEffect(id:in:properties:anchor:isSource:)modifier on each of the views that will be part of the animated transition
struct AnimatedExampleView: View {
    @State var isExpanded: Bool = true

    // Identifier for the rectangle view
    private var rectangleId = "Rectangle"

    // Namespace for the expansion effect
    @Namespace var expansionAnimation

    var body: some View {
        VStack {
            if isExpanded {
                smallSizeView()
            } else {
                largeSizeView()
            }
        }
        .padding()
        .onTapGesture {
            withAnimation {
                isExpanded.toggle()
            }
        }
    }

    @ViewBuilder
    func smallSizeView() -> some View {
        RoundedRectangle(cornerRadius: 25)
            .fill(.black)
            .frame(width: 300,height: 300)
            // Added the matched geometry modifier to the view
            .matchedGeometryEffect(id: rectangleId, in: expansionAnimation)
            .overlay {
                Text("Hello Developer")
                    .font(.headline)
                    .foregroundStyle(.white)
            }
    }

    @ViewBuilder
    func largeSizeView() -> some View {
        RoundedRectangle(cornerRadius: 25)
            .fill(.black)
            // Added the matched geometry modifier to the view
            .matchedGeometryEffect(id: rectangleId, in: expansionAnimation)
            .overlay {
                Text("Hello Developer")
                    .font(.headline)
                    .foregroundStyle(.white)
            }
    }

}
With that done, when the animation is triggered the views that have the same identifier and are in the same namespace will seamlessly transition.


