Creating and customizing the Menu Bar of a SwiftUI app
Learn how to create and customize the menu bar of your SwiftUI app to improve navigation for your SwiftUI app on iPadOS and macOS.

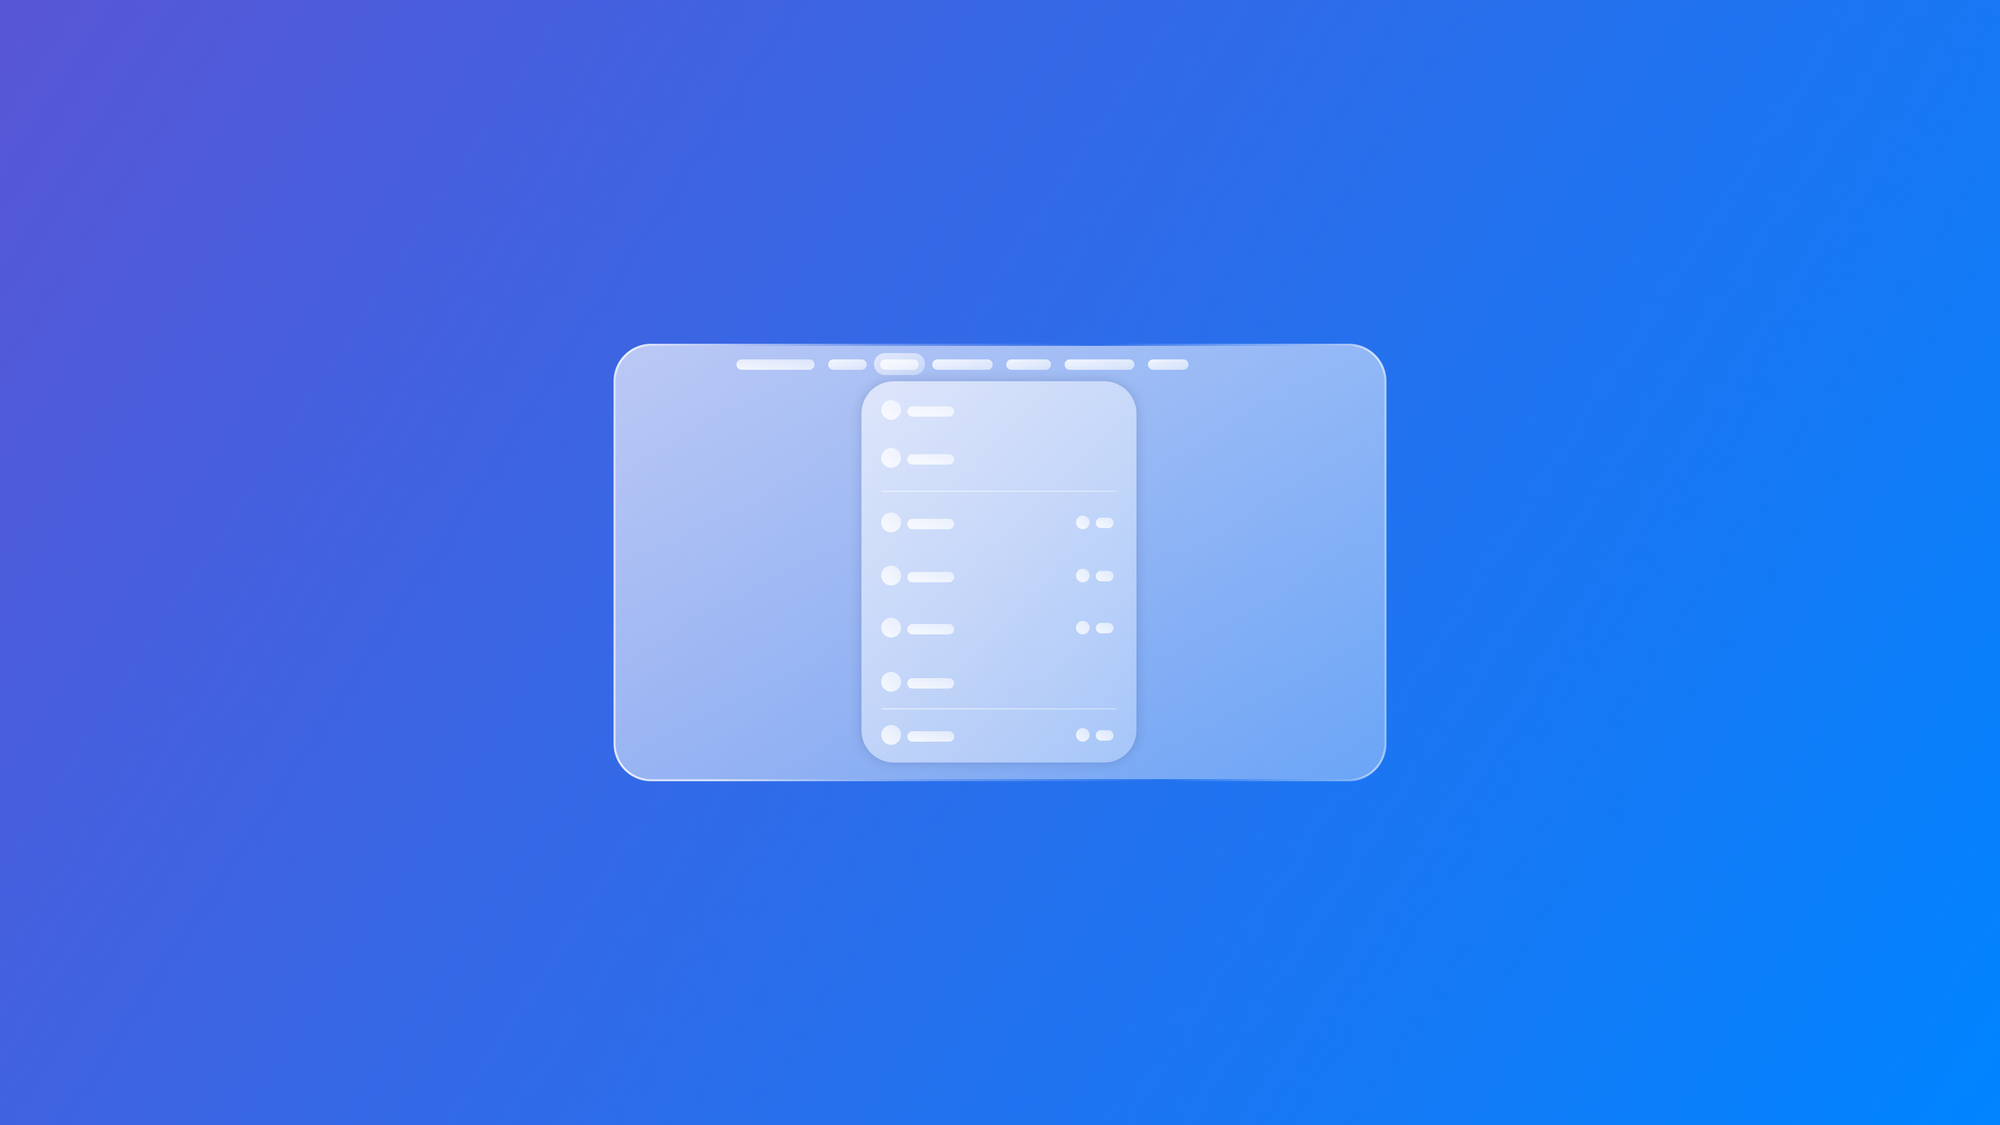
The menu bar has been one of the foundational components of the macOS operating system since the first Macintosh in 1984, helping to establish the Macintosh as a user-friendly computing experience. It was designed to simplify interaction and enhance usability by placing a consistent menu bar at the top of the screen, which dynamically updates to reflect the active application.
With iPadOS 26, Apple extends the Menu Bar to all iPads, introducing new possibilities for iPad apps. In this article, we’ll explore how to leverage this new feature in our SwiftUI apps.
By applying the commands(content:) modifier to a WindowGroup, we can define custom command sections to include in our app.
import SwiftUI
@main
struct CreatewithMenuBar: App {
var body: some Scene {
WindowGroup {
ContentView()
}
.commands {
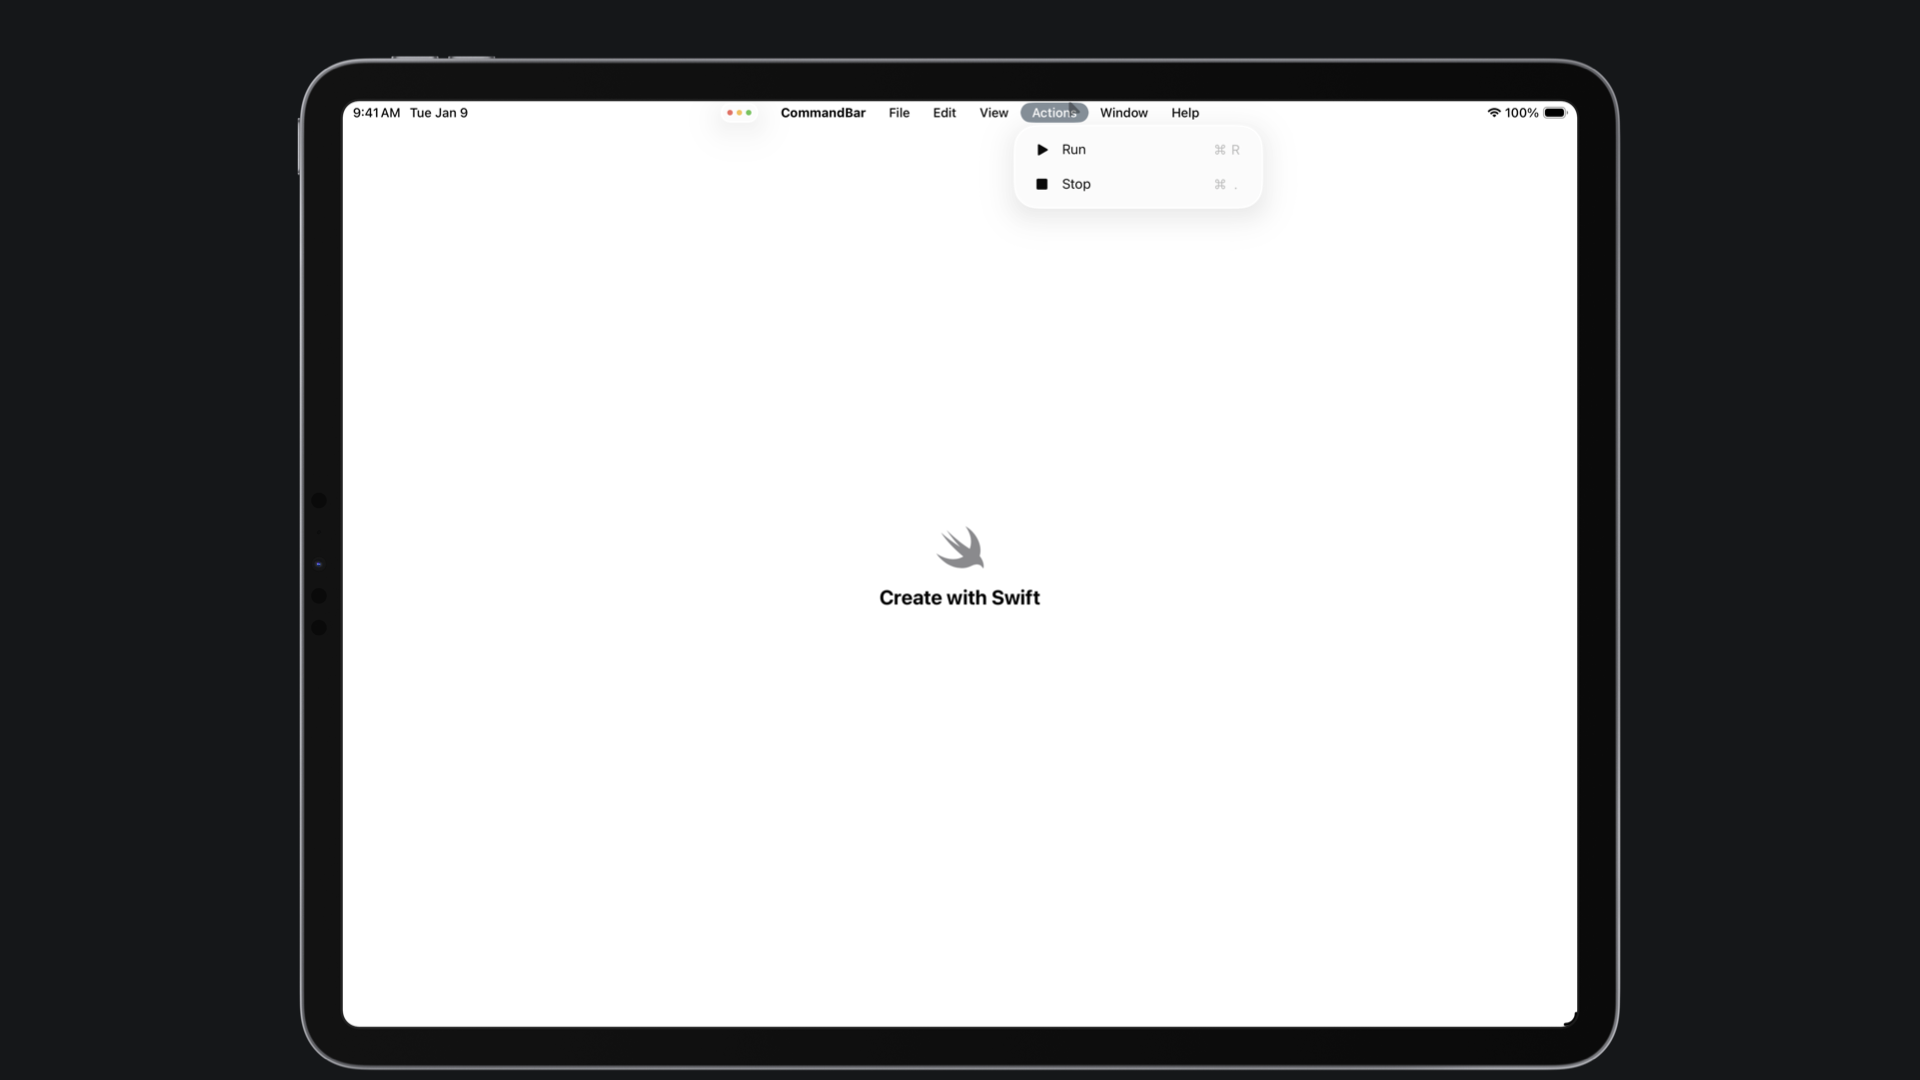
CommandMenu("Actions") {
Button("Run", systemImage: "play.fill") {
print("Run tapped")
}
.keyboardShortcut("R")
Button("Stop", systemImage: "stop.fill") {
print("Stop tapped")
}
.keyboardShortcut(".")
}
}
}
}Inside the commands(content:) content closure, we used a CommandMenu component to define a menu section by specifying its name and the controls it should contain. Each control can also be assigned a keyboard shortcut using the keyboardShortcut(_:)modifier.
In addition to the custom CommandGroup section that we can enable, we can also enable other built-in command sections:
SidebarCommands: system-provided sidebar commands (show/hide sidebar)TextEditingCommands: system-provided text editing commands (if you have text fields)-
TextFormattingCommands: system-provided text formatting commands (if you have text formatting)
To enhance the organization of our custom commands, we can create a struct that adheres to the Commands protocol that can then be used within the commands(content:) modifier.
import SwiftUI

struct ItemCommands: Commands {

    var body: some Commands {
        CommandMenu("Actions") {
            Button("Play", systemImage: "play.fill") {
                print("Run tapped")
            }
            .keyboardShortcut("R")

            Button("Stop", systemImage: "stop.fill") {
                print("Stop tapped")
            }
            .keyboardShortcut(".")
        }
    }

}
Another possibility is to integrate or replace custom commands within the existing menu bar section. We can easily achieve this by passing an object of type CommandGroupPlacement to the initializer of the CommandGroup object, which specifies the desired location for the command.
struct ItemCommands: Commands {

    var body: some Commands {
        CommandGroup(after: .newItem) {
            Button("Play") {

            }
        }
        CommandGroup(replacing: .help) {
            Button("Guide") {

            }
        }
    }

}
Customizing based on the context
One of the core principles of the Menu Bar, since its introduction on the Macintosh, was to provide context-related actions. To implement this behavior, we can leverage the SwiftUI framework to observe a specific value and execute an action with it through the Menu Bar.
import SwiftUI
struct Task: Identifiable {
let id = UUID()
let title: String
let isCompleted: Bool
}
@Observable
final class TaskDataModel {
var tasks: [Task] = [
Task(title: "Prepare the Create with Swift newsletter", isCompleted: false),
Task(title: "Read all the article of the week", isCompleted: true),
Task(title: "Go to the beach", isCompleted: false)
]
func deleteTask(withID id: UUID) {
tasks.removeAll { $0.id == id }
}
}
extension FocusedValues {
@Entry var selectedTaskID: UUID?
}
struct TaskListView: View {
@Environment(TaskDataModel.self) var model
@State private var selection: UUID?
var body: some View {
List(model.tasks, selection: $selection) { task in
HStack {
Text(task.title)
Spacer()
if task.isCompleted {
Image(systemName: "checkmark.circle.fill").foregroundColor(.green)
}
}
}
.focusedSceneValue(\.selectedTaskID, selection)
}
}
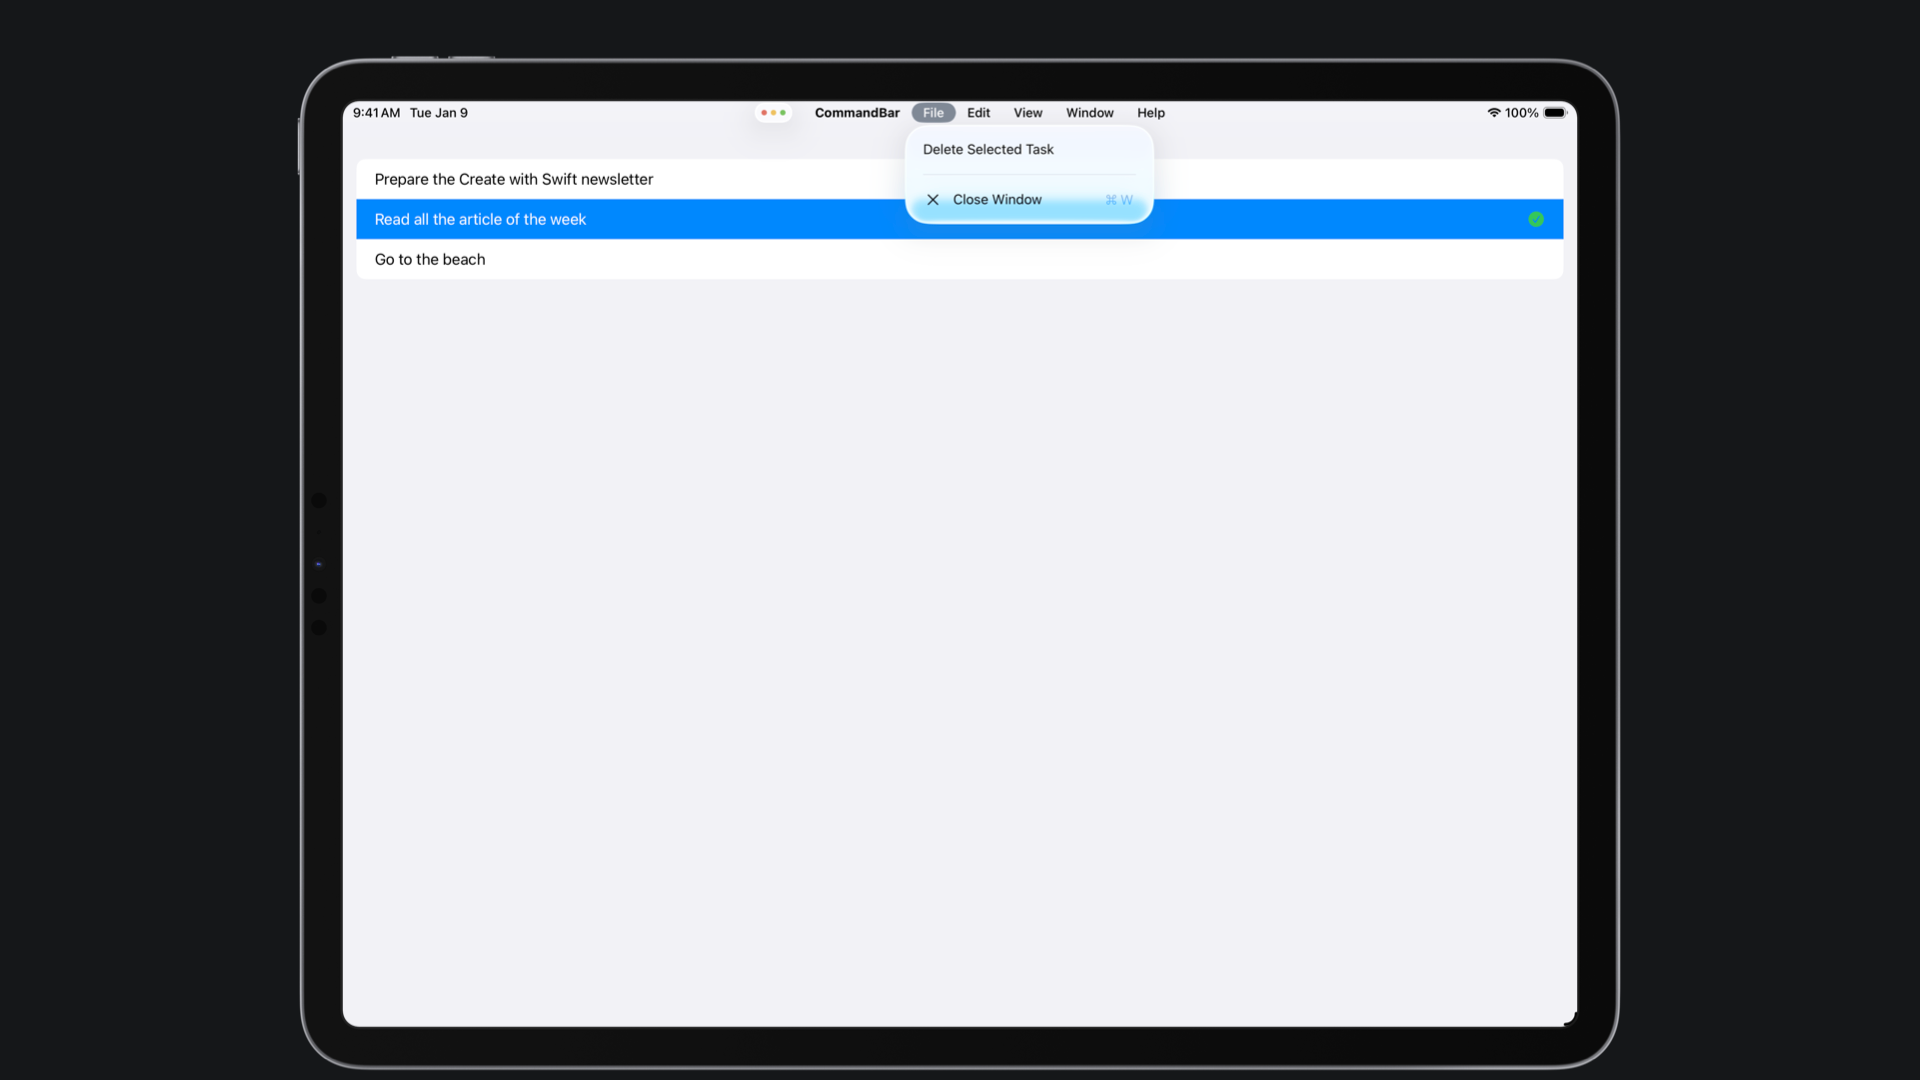
struct TaskCommands: Commands {
@Binding var model: TaskDataModel
@FocusedValue(\.selectedTaskID) var selectedTaskID: UUID?
var body: some Commands {
CommandGroup(after: .newItem) {
Button("Delete Selected Task") {
if let id = selectedTaskID {
model.deleteTask(withID: id)
}
}
.disabled(selectedTaskID == nil)
}
}
}
In the example above, we defined a custom key, selectedItemID, to store the selected item's ID. By using focusedSceneValue(_:_:), different views can share this value.
The command menu reads it using @FocusedValue to enable or disable the 'Delete' menu item based on the current selection, allowing it to respond dynamically to the user’s context.
With the introduction of the Menu Bar in iPadOS, Apple brings one of macOS's core interface components to a mobile platform, creating a more consistent and intuitive experience across the operating systems.