
Creating Xcode source editor extensions
Learn how to develop and distribute extensions for Xcode to supercharge your development environment.

Xcode supports Extensions, which allow developers to add custom functionality to their development environment. There are many Xcode Extensions around that can help with formatting, code generation, fast editing or integrating with other services. From small to complex, the sky is the limit.
In this article, we explore how to get started creating your own Xcode Extensions, which may inspire you to build what you desire to match your individual development needs. There are various tutorials out there on this subject. However, Xcode has changed over the years, so this one covers the process within Xcode 16.2.
Creating a macOS Project with Xcode Source Editor Extension
Xcode Source Editor Extensions can read and modify the content of a selected source file in Xcode or a subset of its content that is currently selected within the editor. Apple provides some guidelines on how to get started.
Since Xcode runs on macOS, the starting point of an Xcode Extension is a macOS App Project. It may be an AppKit or SwiftUI app; we are using a SwiftUI app lifecycle in this project. However, we will limit the article to the implementation of the extension only.
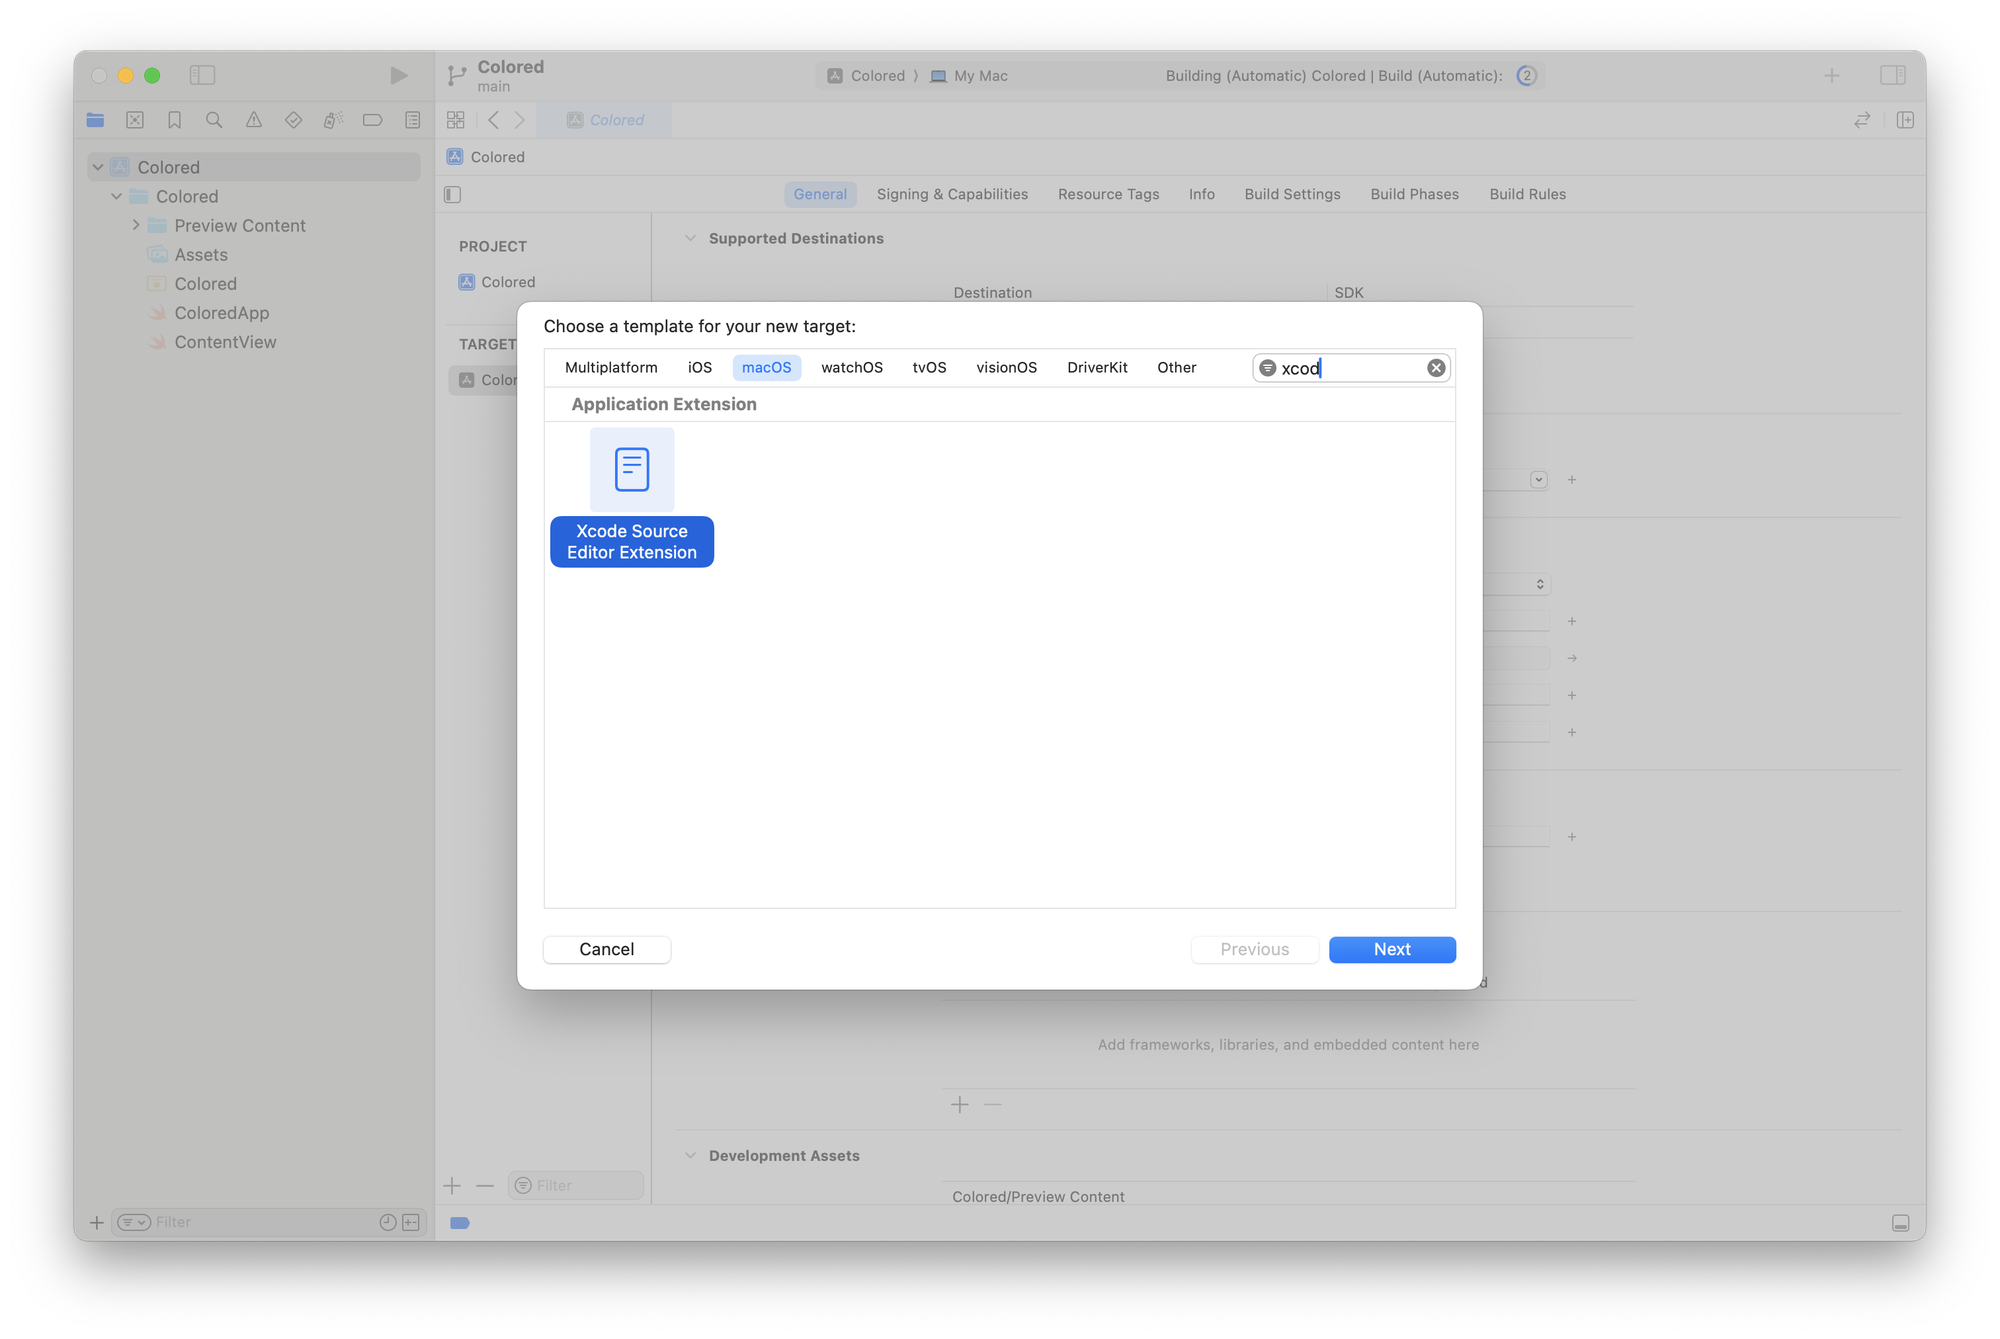
Within the new project, you can add a new target by navigating to the Project settings and adding a new target from the selection template. In the macOS tab, you will see the Xcode Source Editor Extension.
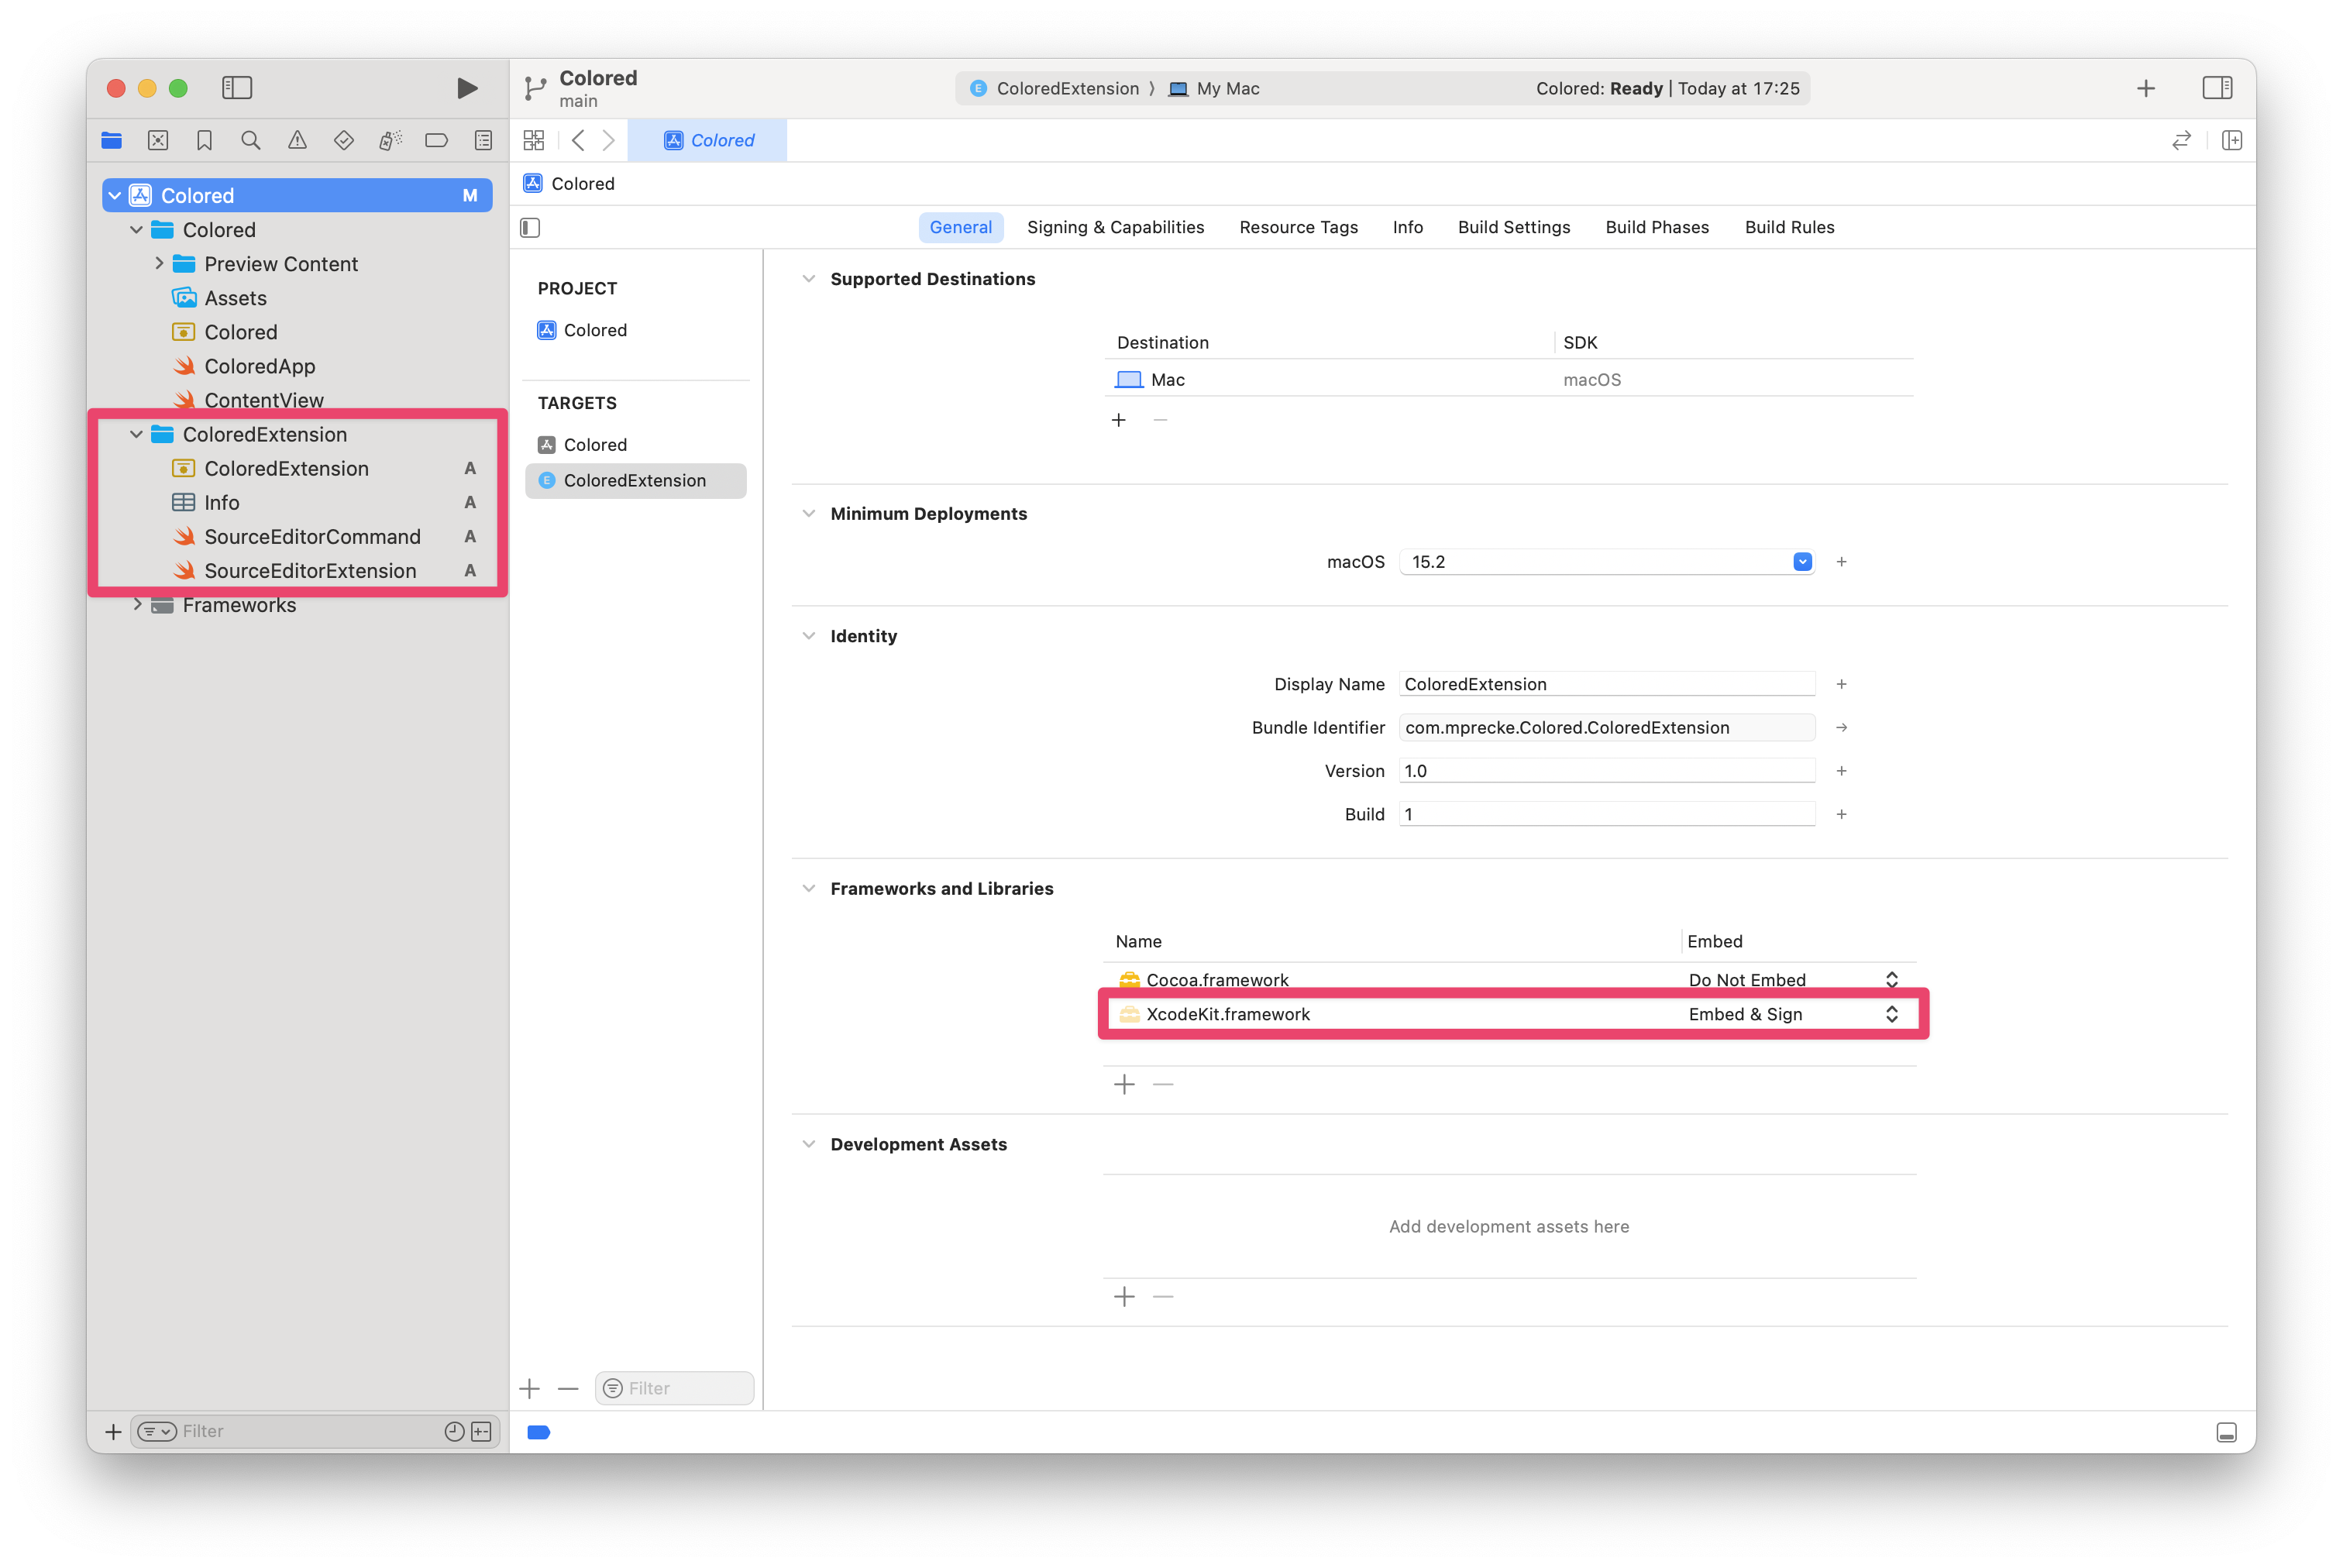
This template will add a new Target to the Xcode Project and a new folder with the chosen name of the extension to the project navigator. Within the folder, you will find the Entitlements.plist and Info.plist files and the default SourceEditorCommand.swift and SourceEditorExtension.swift files.
Before starting to build out the extension’s functionality, make sure to change the Embed settings of the XcodeKit framework to "Embed & Sign", in the Frameworks and Libraries section of the General tab of the extension target.
Taking a look inside the SourceEditorCommand.swift file, you will find the SourceEditorCommand class that conforms to the XCSourceEditorCommand protocol and allows for easy implementation of the extension’s functionality. The inherent method perform(with:completionHandler:) is called every time the user selects the extensions command.
The default setup looks like this:
import Foundation
import XcodeKit

class SourceEditorCommand: NSObject, XCSourceEditorCommand {

    func perform(with invocation: XCSourceEditorCommandInvocation, completionHandler: @escaping (Error?) -> Void ) -> Void {
        // Implement your command here, invoking the completion handler when done. Pass it nil on success, and an NSError on failure.
        completionHandler(nil)
    }

}
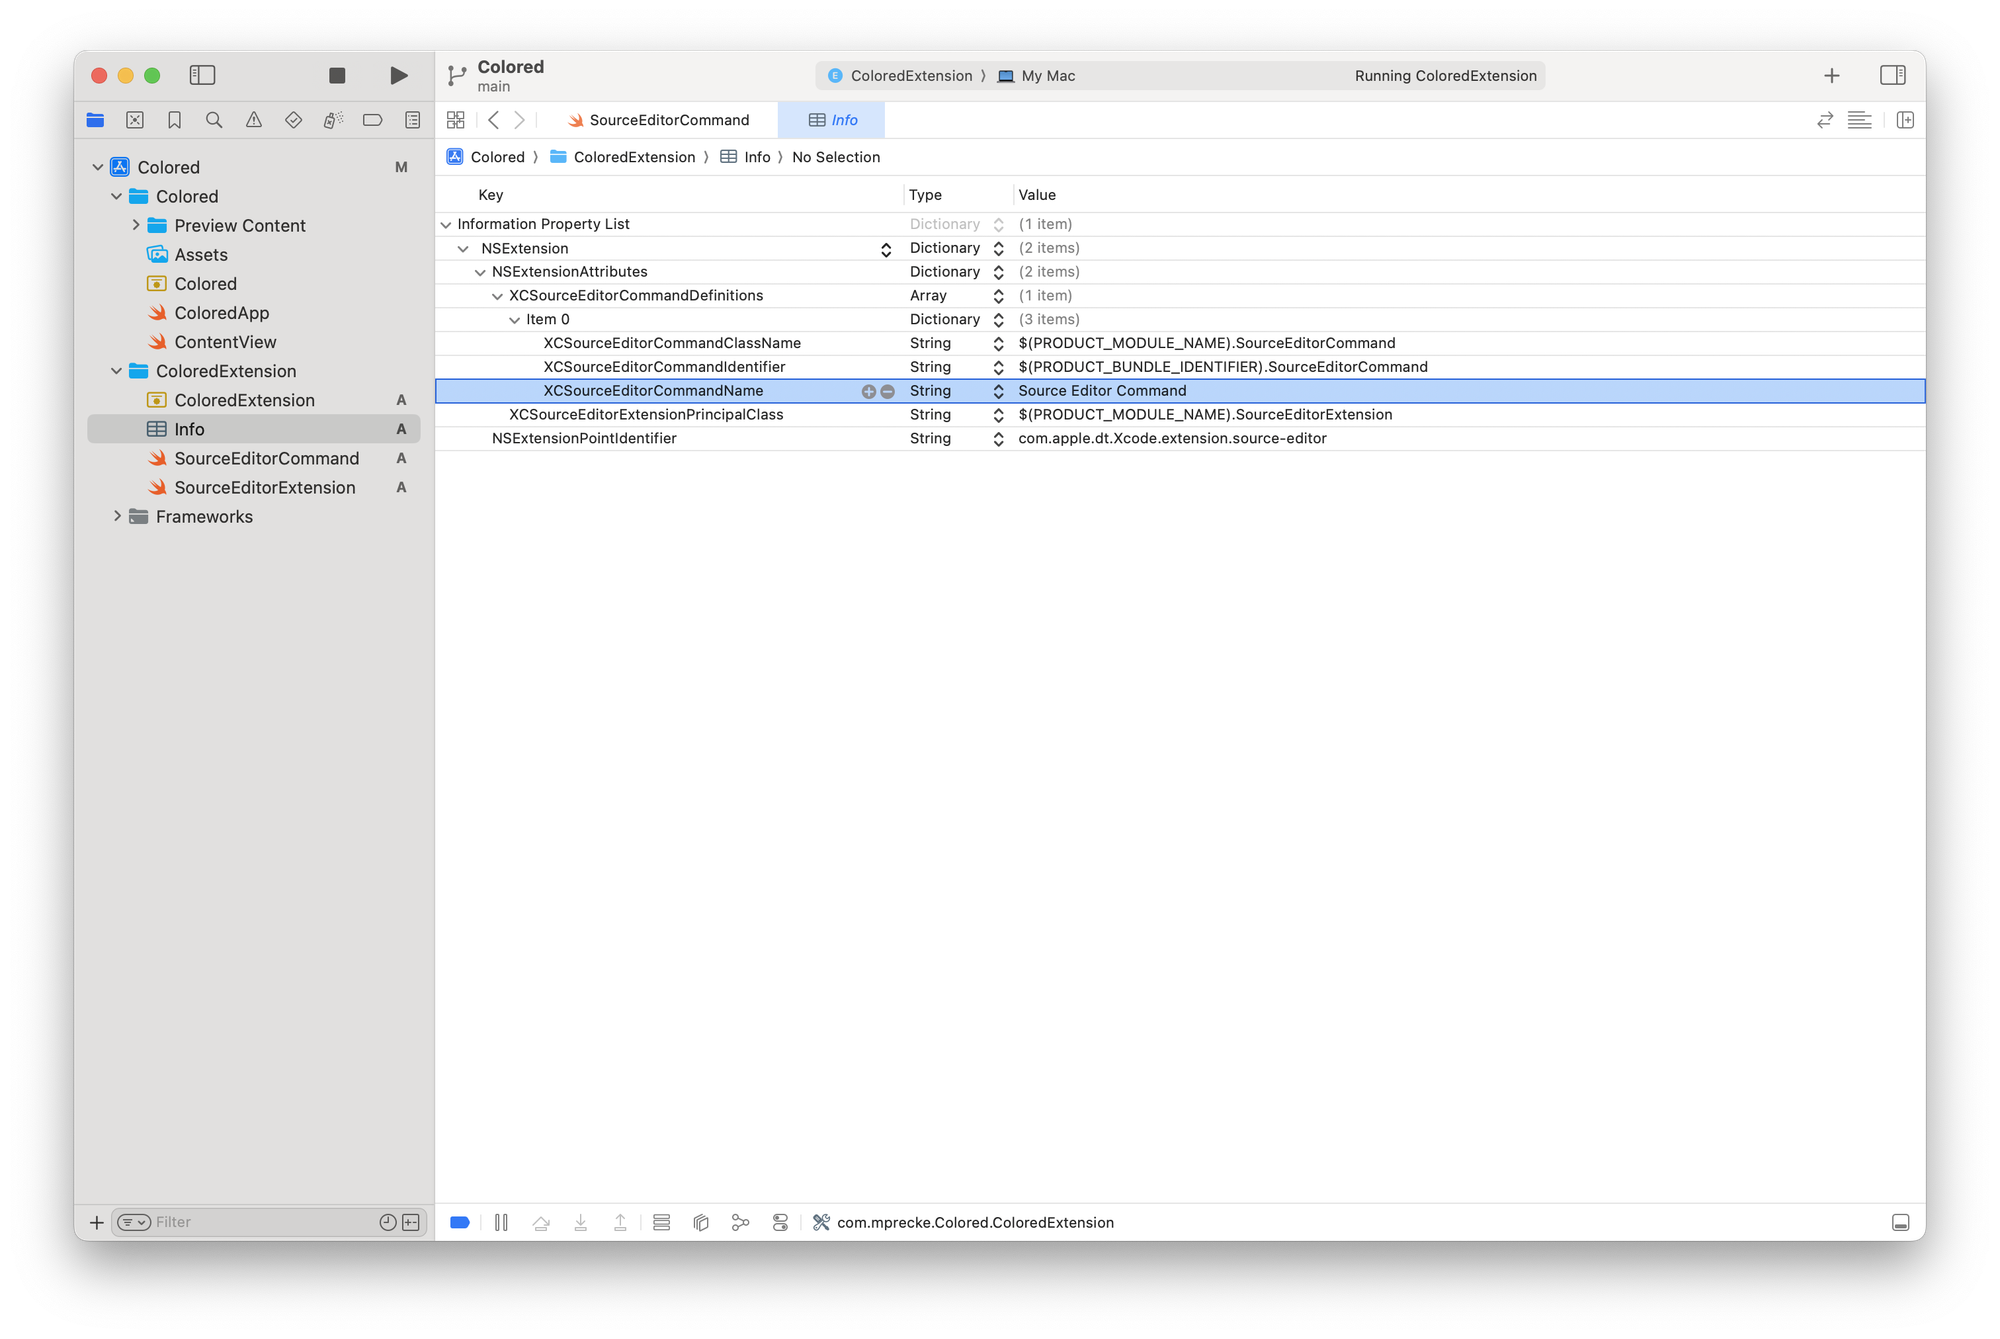
The template is configured with just one command. However, this can be extended to any number of commands you may imagine. In the Info.plist file of the extension, you can configure the number of commands and their names. In this example, the extension comes with the default Source Editor Command that is linked to the SourceEditorCommand class.
To add additional commands, you can add additional items to the XCSourceEditorCommandDefinitions key. For each additional command that is added to it, you would have to create the corresponding classes conforming to the XCSourceEditorCommand protocol.
For example, if you would like to add a command to generate Color Literals, you could add a GenerateColorLiteralsCommand with a GenerateColorLiteralsCommand class and implement features that could convert initializations of various color types to convenient literals. An example of basic initializers of NSColor and UIColor can be found in the extension LiteralsExtensions.
For a simple demonstration, we can stick to the basics. The official Apple Developer Documentation provides a sample command to reverse the order of all lines within the source editor. It is implemented like this:
class SourceEditorCommand: NSObject, XCSourceEditorCommand {
    func perform(with invocation: XCSourceEditorCommandInvocation, completionHandler: @escaping (Error?) -> Void ) -> Void {
        // Retrieve the contents of the current source editor.
        let lines = invocation.buffer.lines

        // Reverse the order of the lines in a copy.
        let updatedText = Array(lines.reversed())
        lines.removeAllObjects()
        lines.addObjects(from: updatedText)

        // Signal to Xcode that the command has completed.
        completionHandler(nil)
    }
}
Let’s try and see how this works.
Testing the Xcode Source Editor Extension
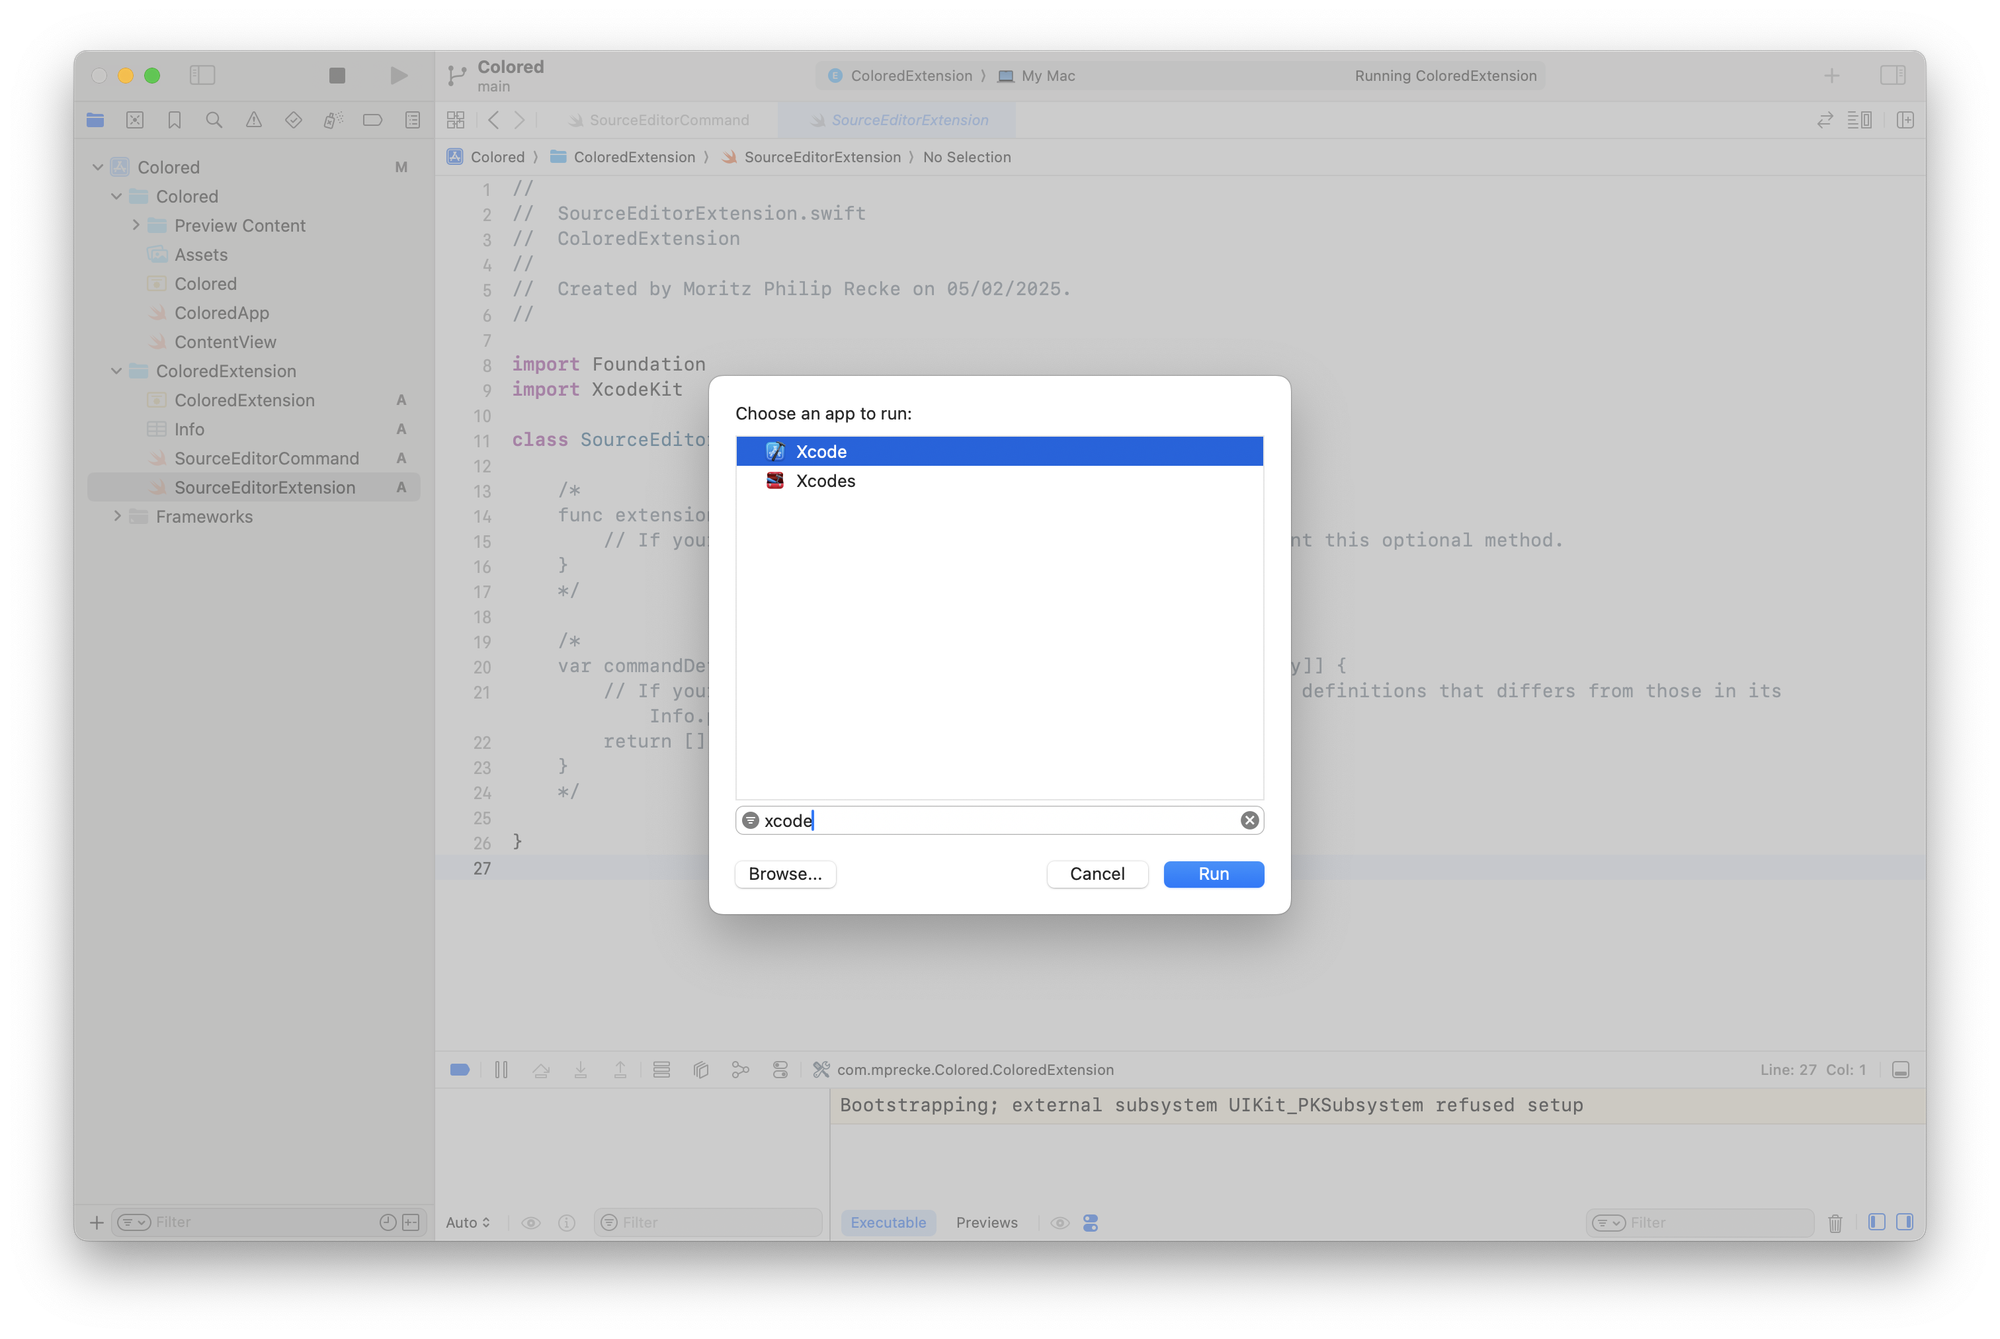
When running the Extension, Xcode prompts the user with a dialog to understand which app to run. Here, you can select Xcode to run and test the extension.
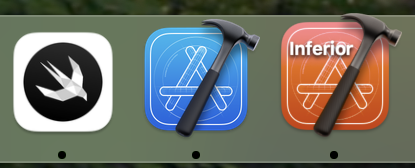
To separate the instance of the extension from the currently running Xcode instance, the extension is run in the separate instance of Xcode. You can easily identify the two instances in your Dock, with the separate instance marked with an orange icon and an explicit Inferior label.
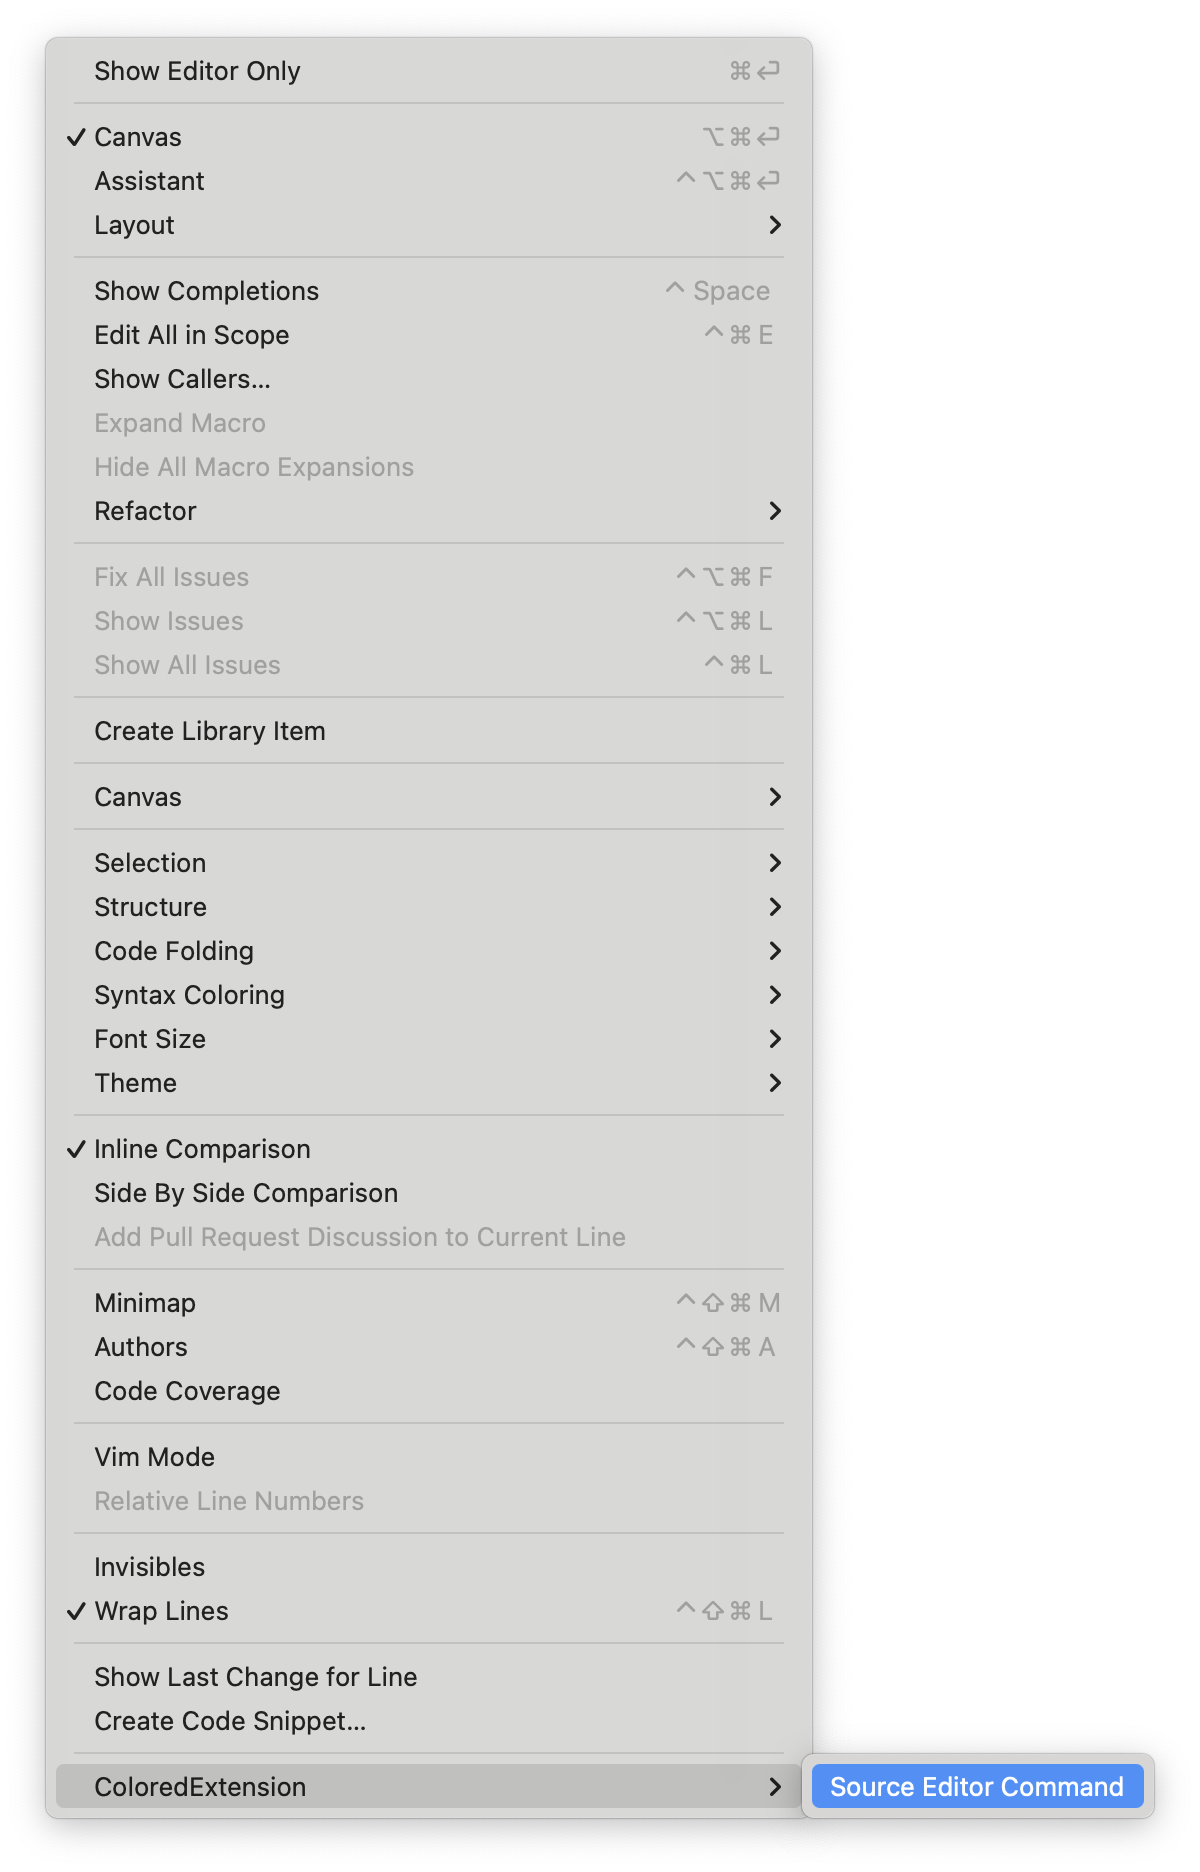
To test the commands implemented in the extension, you can open any source file within the inferior Xcode instance and access the extension through the Editor Menu. The command can be found nested inside the Extension's name. In this example, the extension is called ColoredExtension, and the command is the Source Editor Command.
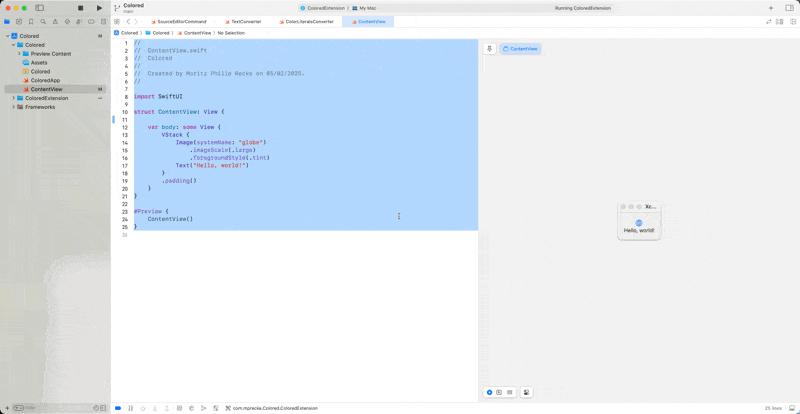
With the sample code provided by Apple, you can see how the extension reverses the lines within the source code file. It works with the entire source code file when nothing is selected or with selected text if you prefer.
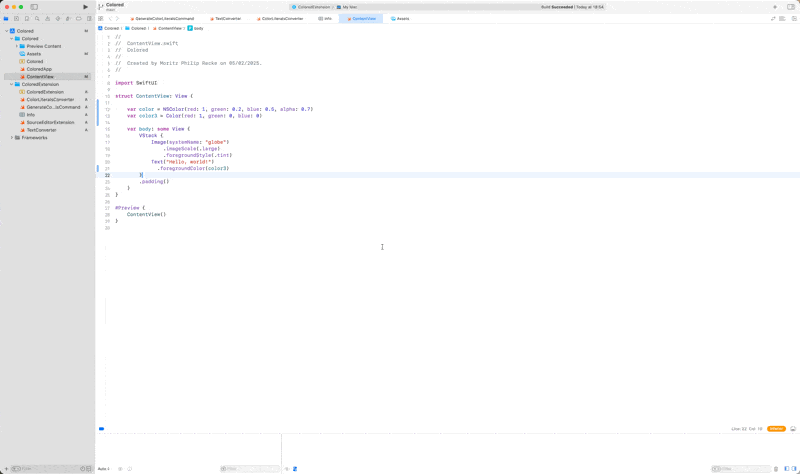
Of course, you can easily think of more meaningful functionality to be implemented. With the idea of converting initializations of color types to Color literals, you could build conversions for all initializers of the types NSColor, UIColor or even Color if you like. Or, of course, anything else that makes sense for you. You would be surprised by how many Xcode Extensions are out there, but maybe you want to build one that specifically fits your needs.
Distributing Xcode Source Editor Extensions
Even though the macOS app itself could have any functionality you would like to implement, the scope of the extension is also limited. The extension will run within the macOS app and is accessible through the menu, as we have seen above. Its functionality is triggered when the menu entry is selected, and the scope of the extension is always limited to the currently active source file or the selected section within the currently active source file.
There are multiple ways to distribute your Xcode Extensions. One way could be to share the Xcode project and allow others to build and run it themselves. However, this may not be ideal if you want to release your extension as a product.
As part of a macOS app, they can be distributed to the App Store or through direct distribution mechanics. What is important to note is that the app must be notarized before running the Xcode extension.
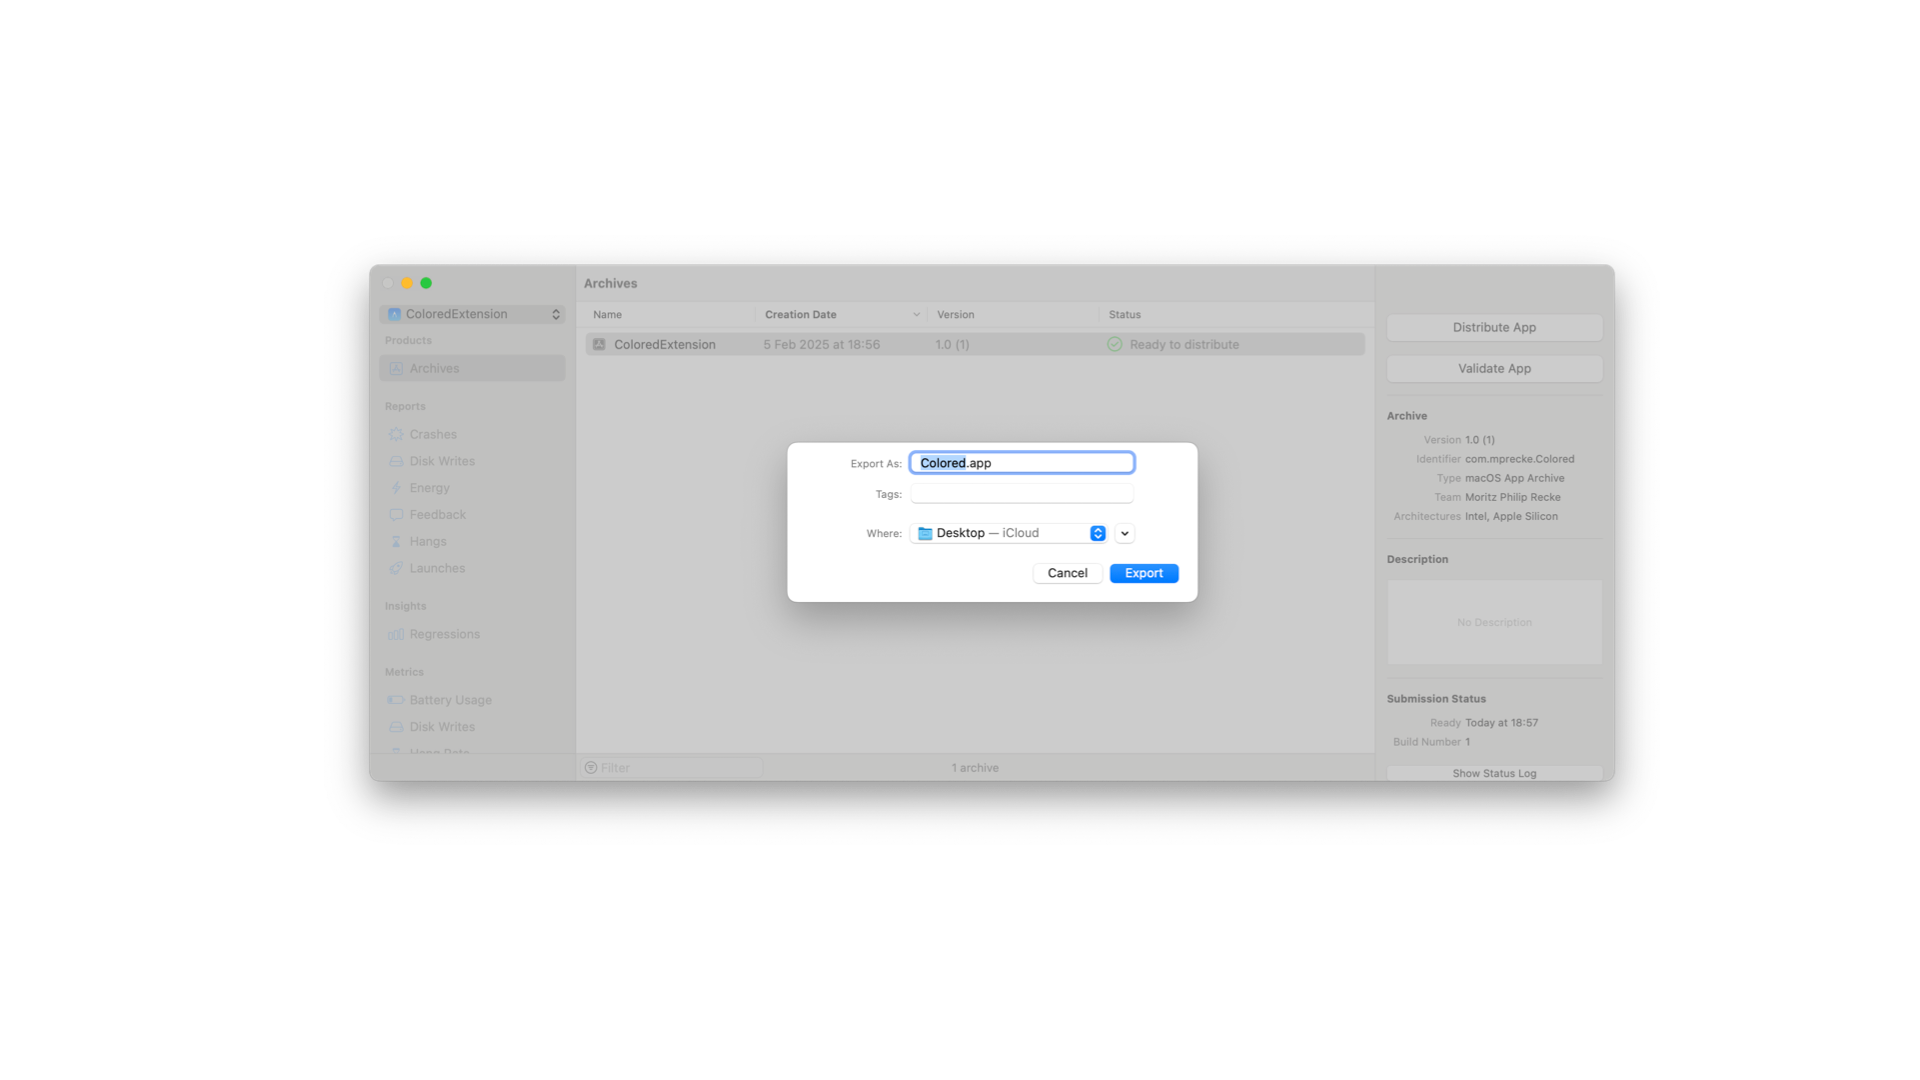
You can distribute the app by selecting Archive from the Product Menu. Then, you can navigate to the Organizer window in Xcode, which will show the archived version of the app. By clicking on Distribute App, you can select the distribution mechanic of your choice in the selection template, for example, Direct Distribution.

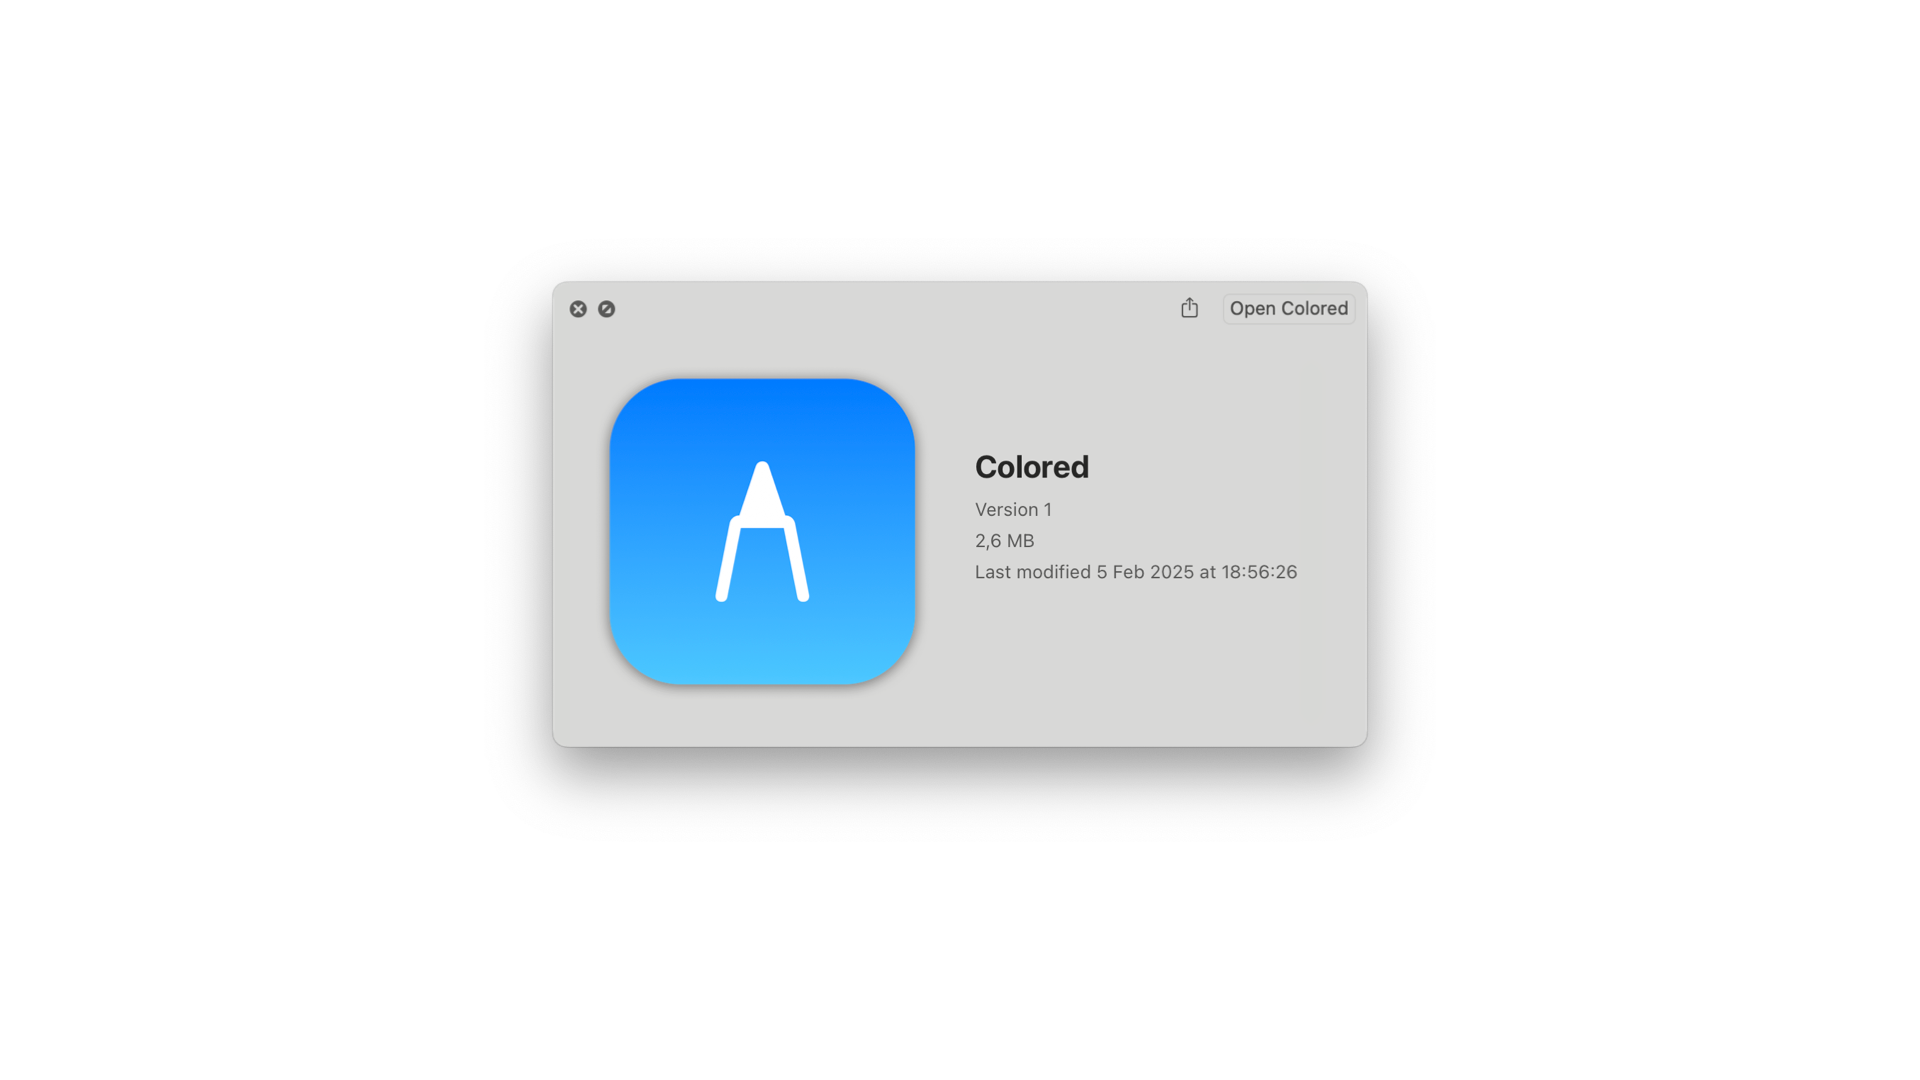
The app will be uploaded for notarization and you will be notified once it is ready for distribution. In the Status row of the Archive window, you can then select Export App to export the app as a ".app" bundle. The app can then be shared as you prefer. Of course, you could also build an installer or a DMG package.
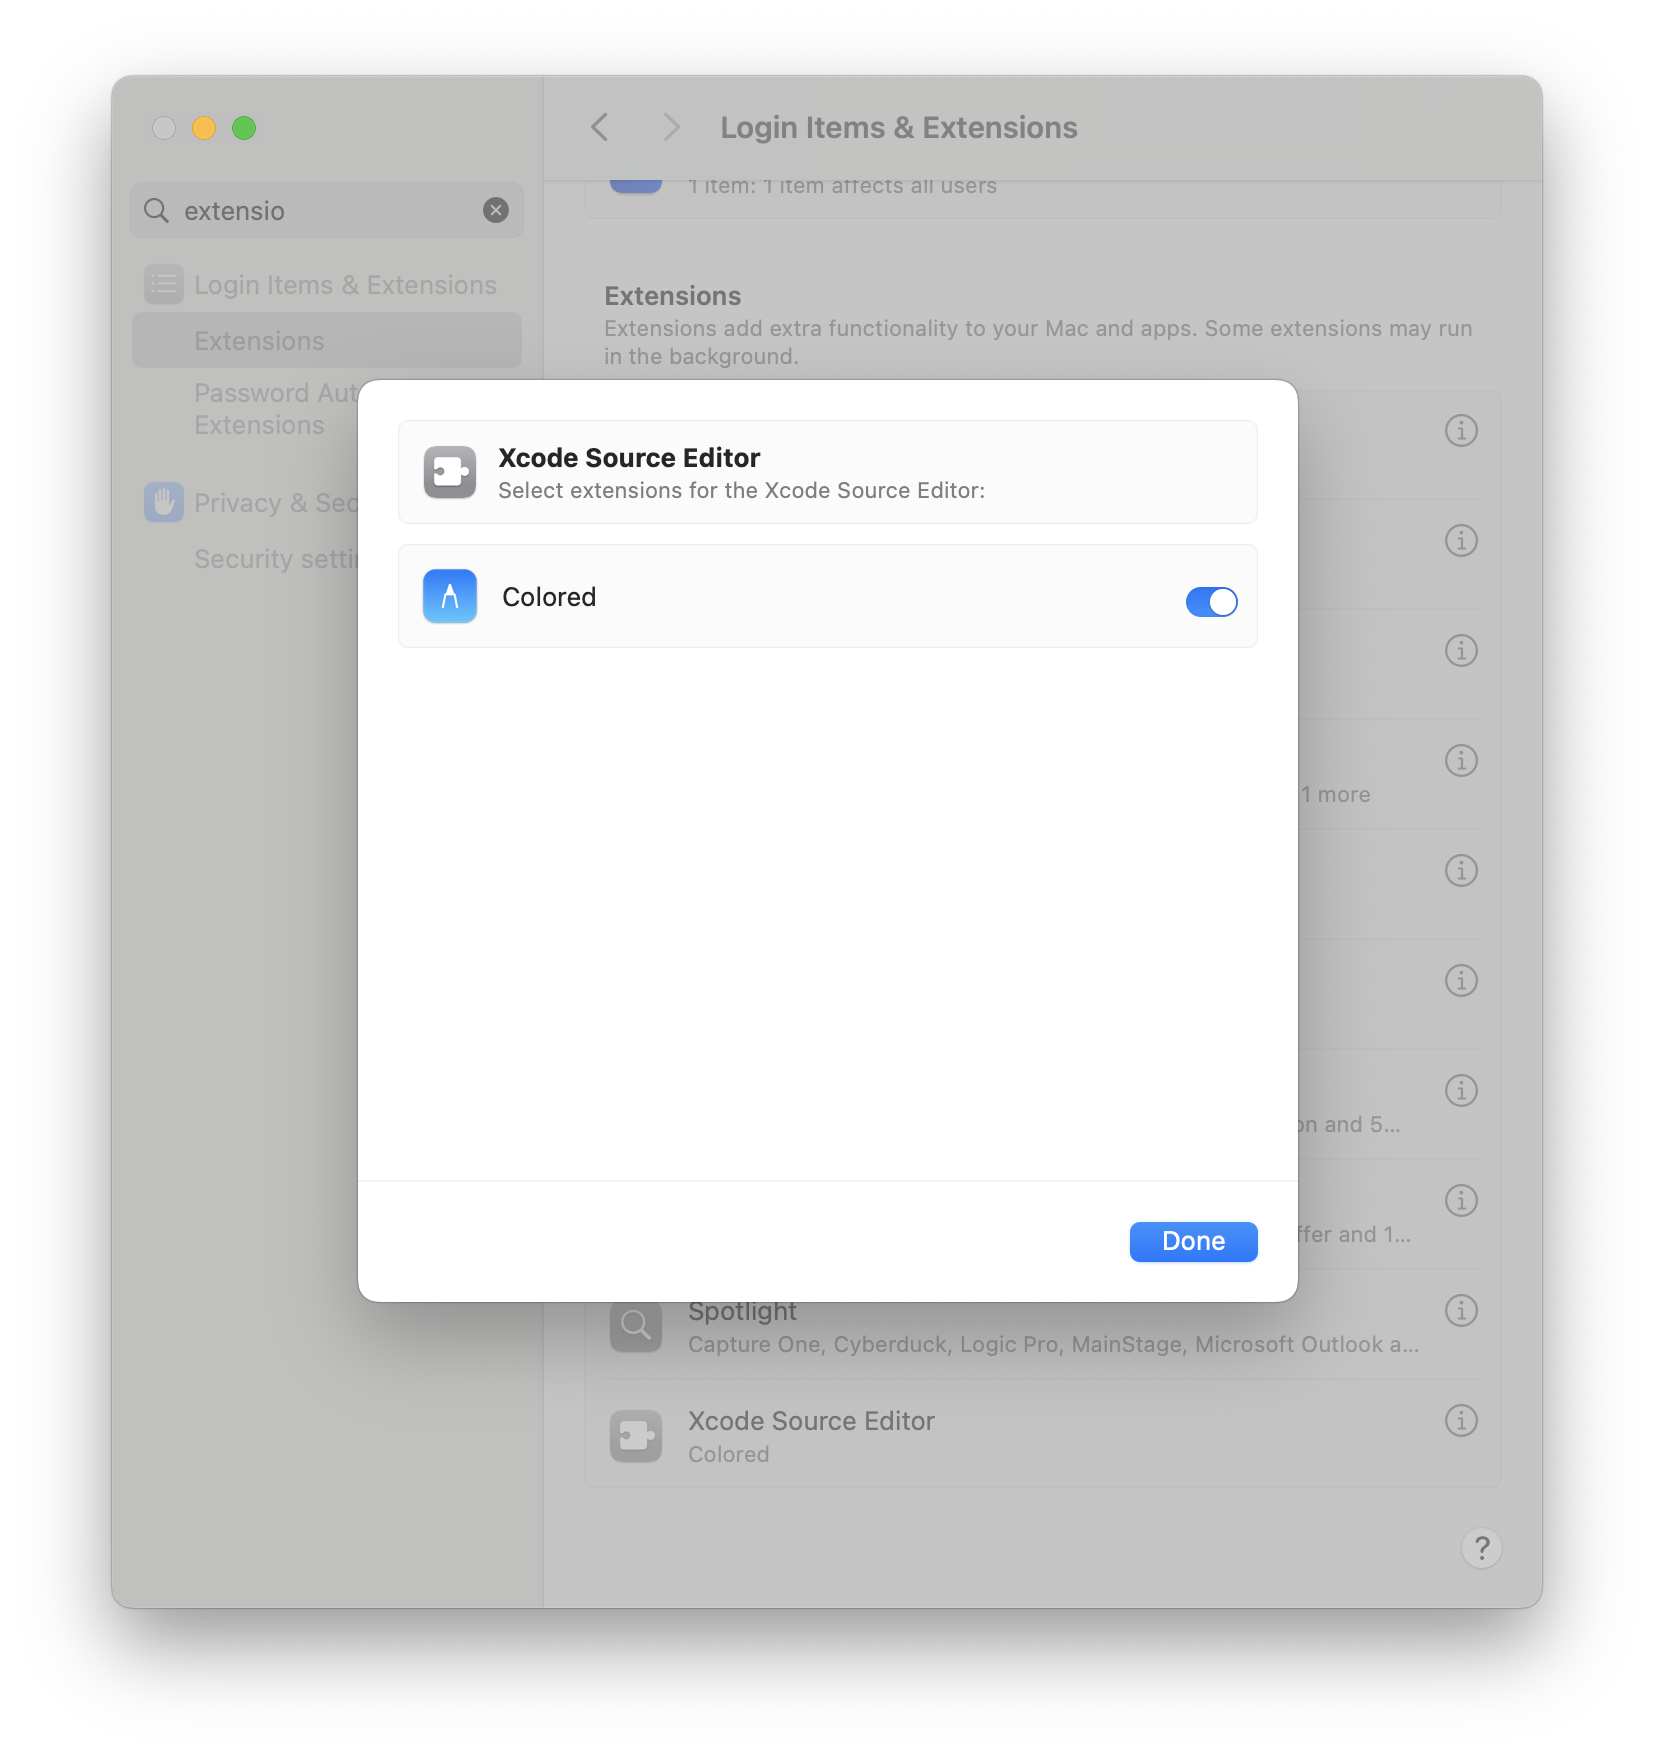
Once the app is opened, the extension becomes accessible in the Xcode menu. The first time the app is opened on a new Mac, you must enable the extension in System Settings > Login Items & Extensions. You will find the extension in the Xcode Source Editor Section and can enable or disable it there.
That’s how simple it is to get started developing Xcode Extensions. Now, it's time to build out your extensions' functionality and share it with the world. We can’t wait to see what you Create with Swift.