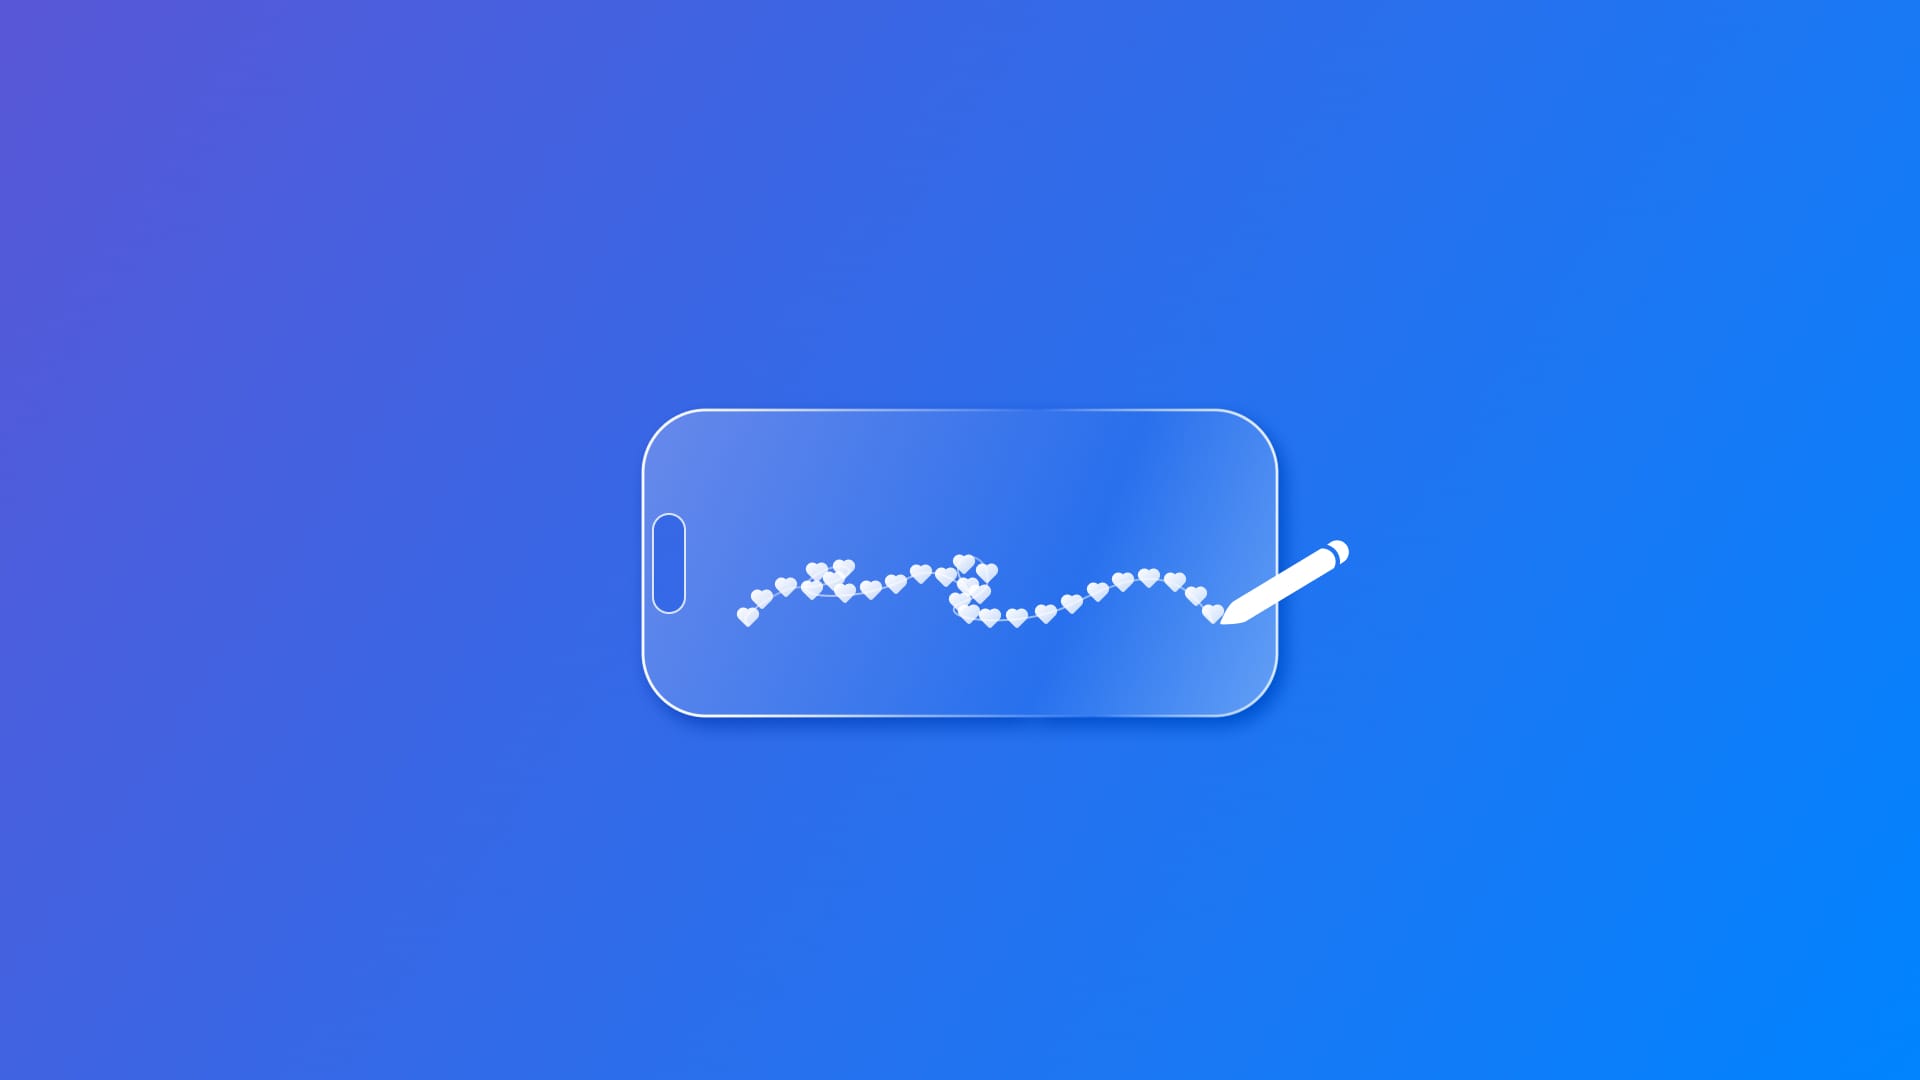
Drawing symbols with Canvas
Learn how to use the Canvas view to render graphics in the form of symbols within a SwiftUI app.

Canvas is a view type that allows drawing dynamic graphics in SwiftUI. Its main feature is the ability to handle the rendering of several complex shapes more efficiently than composing multiple SwiftUI views by relying on a GraphicsContext which is used to address the drawing commands and to enable precise control over the graphics operations: the best solution when it converges customization and performance.
In this article, we are going to explore how to integrate Canvas to draw symbols, meaning different views like images or texts, for example, by using the initializer init(opaque:colorMode:rendersAsynchronously:renderer:symbols:).
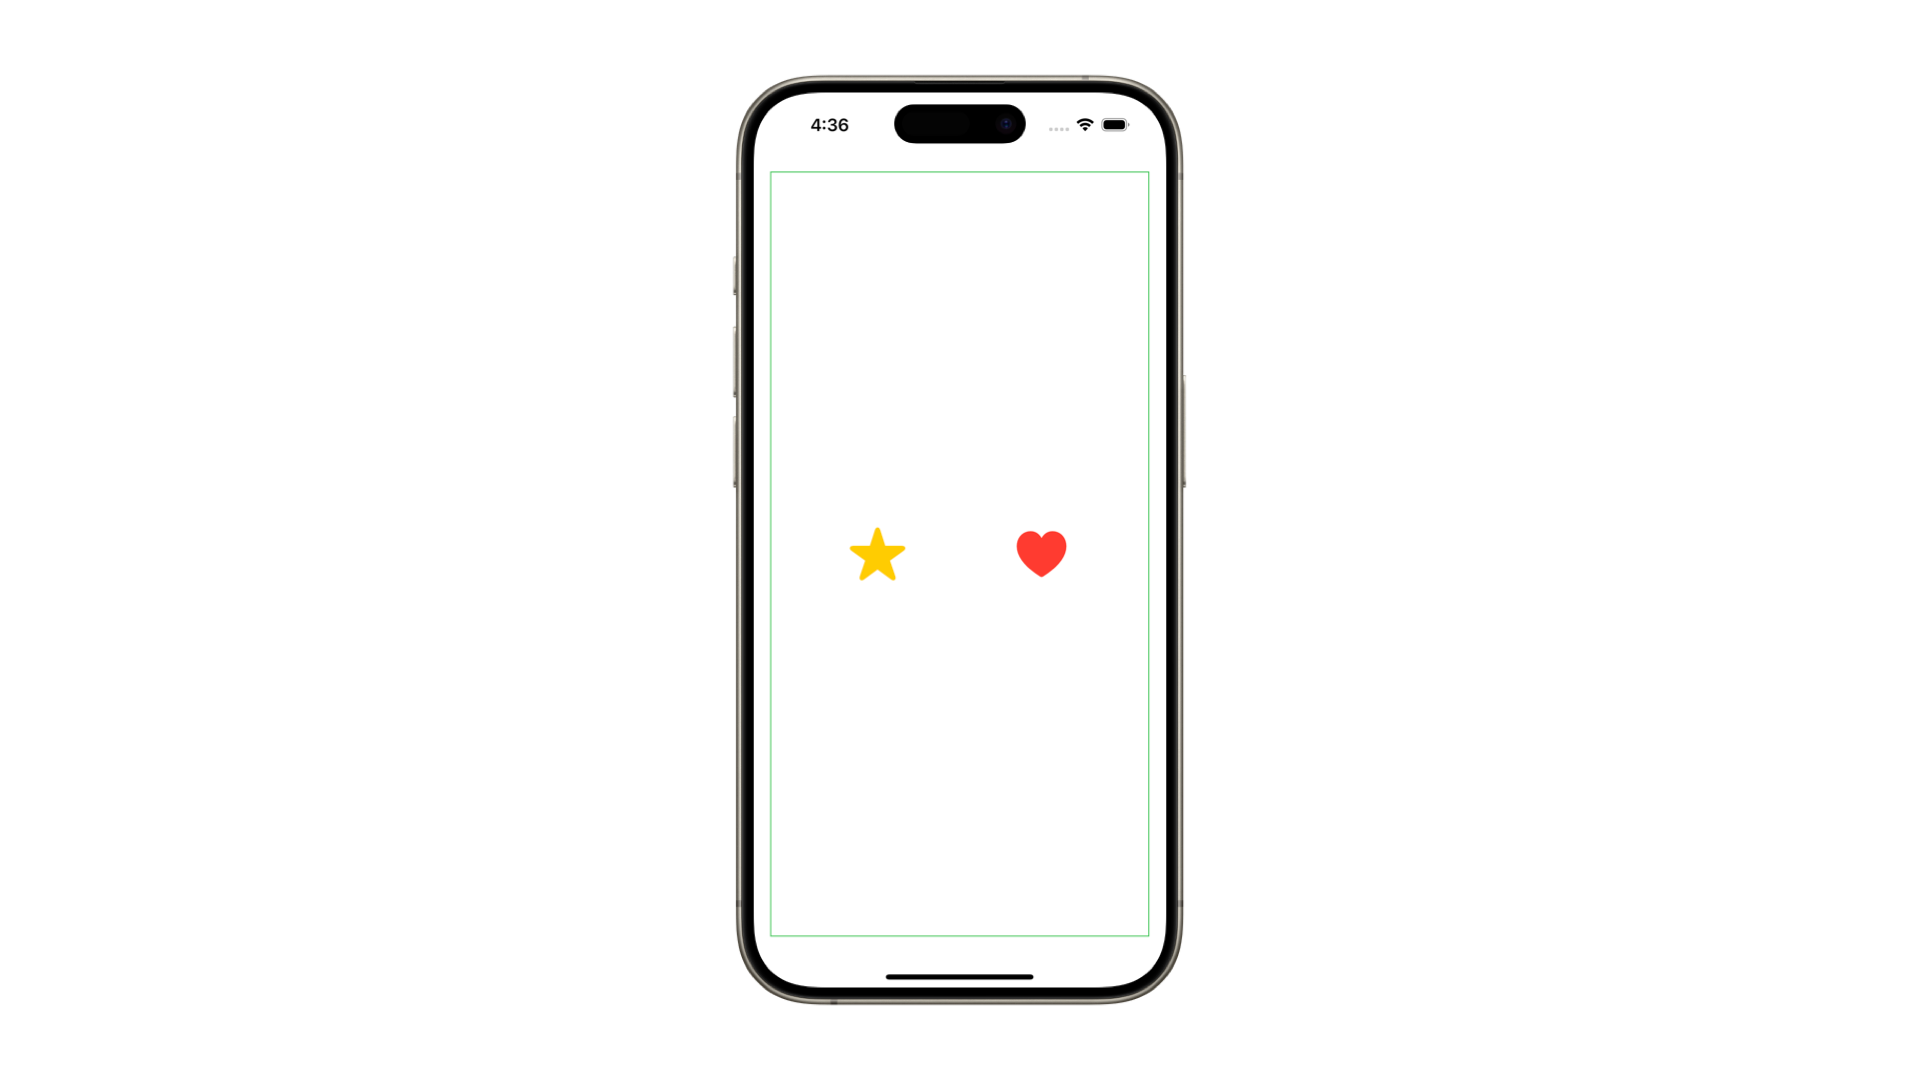
Canvas(
    // 1. Opacity
    opaque: false,
    // 2. ColorMode
    colorMode: .nonLinear,
    // 3. Rendering mode
    rendersAsynchronously: false,

    // 4. Render closure
    renderer: { context, size in
        // 4. a. Resolving the symbols
        if let resolvedImage = context.resolveSymbol(id: "star"),
           let resolvedImage2 = context.resolveSymbol(id: "heart") {
            // 4. b. Adding the symbols to the context
            context.draw(resolvedImage, at: CGPoint(x: (size.width / 2) - 80, y: (size.height / 2)))
            context.draw(resolvedImage2, at: CGPoint(x: (size.width / 2) + 80, y: (size.height / 2)))
        }

    },

    // 5. Symbols ViewBuilder
    symbols: {
        // 5. a. A view
        Image(systemName: "star.fill")
            .font(.system(size: 30))
            .foregroundStyle(.yellow)
            // 5. b. The tag method
            .tag("star")
        // 5. c. Another view
        Image(systemName: "heart.fill")
            .font(.system(size: 50))
            .foregroundStyle(.red)
            // 5. d. The tag method
            .tag("heart")
    }
)
.border(.green)
Break down of the Canvas view initializer rendering symbols.
This constructor takes the following five parameters:
opaque- A Boolean set onfalseby default that allows to make the canvas fully opaque. When set ontrue, it becomes a non-opaque image, which can produce undefined results.colorMode- defines how colors are processed and displayed on the screen, set by default onColorRenderingMode.nonLinear.ColorRenderingModecomes with three built-in modes:nonLinearIt uses the standard sRGB color space with gamma correction, which adjusts the brightness of colors to align with human visual perception, ensuring that colors appear natural and consistent across different devices.linearIt uses the standard sRGB color space without gamma correction, so colors are handled in their raw form. This results in more accuracy during operations like blending or applying lighting effects. However, when displayed directly, they may appear darker than expected because the human eye perceives brightness non-linearly.extendedLinear- it extends the capabilities of thelinearsRGB color space by allowing color component values beyond the standard range [0, 1], enabling representation of a broader spectrum of colors, including those that are more vivid or intense than what standard sRGB can depict. Keep in mind that the standard sRGB color space range is [0, 1] and all values outside can produce undefined results.
rendersAsynchronously- A boolean value, set onfalseby default, which allows it to present its contents to its parent view asynchronously.renderer- A closure called whenever the content needs to be redrawn that allows to have access to:GraphicsContextwhich represents the context to draw in by using its methods;CGSize, representing the current size of the canvas.
- Resolving and retrieving the symbols via
resolveSymbol(id:)method. - Adding the symbols to the context.
symbols- aViewBuilderthat provides the canvas with the views to be drawn - that can be tagged with thetag(_:)modifier to be discoverable and retrieved by using theresolveSymbol(id:)method.- A view.
- The tag method to make the view discoverable.
Canvas implementation in a SwiftUI view
We will be using the initializer init(opaque:colorMode:rendersAsynchronously:renderer:symbols:).
You might want to fill your canvas with graphics that are images, text, or drawing elements that do not consist of constructed paths. For this kind of situation, we need to rely on the Canvas view initializer based on symbols.
To learn how to integrate a Canvas that handles symbols in a SwiftUI view, we'll create one where you can draw lines using SF Symbols.
First, define a custom type called SymbolLine that will represent the drawn line on the canvas.
struct SymbolLine {
    var points: [CGPoint]
    var symbol: String
}
The SymbolLine type has two different properties:
- A collection of
CGPoints- representing all the points composing our drawn line. - A
String- to store the name of the SF Symbol.
This type will hold all the needed information to display the symbol lines we want to draw on the canvas.
Now, create a view representing the symbol selection bar that allows you to choose and change the symbol to be used while drawing.
struct SymbolBarView: View {

    @Binding var selectedSymbol: String
    @Binding var currentLine: SymbolLine

    var symbols: [String]

    var body: some View {
        HStack {
            ForEach(symbols, id: \.self) { symbol in
                Image(systemName: symbol)
                    .foregroundStyle(selectedSymbol == symbol ? Color.accentColor : .black)
                    .font(.system(size: 24))

                    .onTapGesture {
                        selectedSymbol = symbol
                        currentLine.symbol = symbol
                    }
                    .padding(5)
                    .overlay(
                        Circle()
                            .stroke(Color.gray, lineWidth: selectedSymbol == symbol ? 2 : 0)
                    )
            }
        }
    }
}
SymbolBarView binds two variables to its parent view:
- the selected symbol chosen by the user;
- the current line being drawn.
It also takes an array of String - representing the symbols’ names.
It works as follows:
- It detects the tap gesture.
- It updates the variables when one of the symbols is tapped.
Now, in our ContentView , we need a way to detect and collect where the user is moving on the screen while drawing; this information will be used for displaying each line on the canvas.
struct ContentView: View {
    // State variable to store all the lines drawn by the user
    @State private var lines: [SymbolLine] = []
    // State variable to keep track of the current line being drawn
    @State private var currentLine = SymbolLine(points: [], symbol: "star.fill")
    // State variable to store the currently selected symbol for drawing
    @State private var selectedSymbol: String = "star.fill"

    // The SF symbols' names that users can choose
    var symbols = ["star.fill", "heart.fill", "circle.fill", "sun.max.fill", "moon.fill"]

    var body: some View {
        VStack {
            // The canvas
            Canvas(opaque: false, colorMode: .linear, rendersAsynchronously: true,
                renderer: { context, size in
                   // To be implemented
                },
                symbols: {
                    // To be implemented
                }
            )
            // Drag gesture to record drawn lines
            .gesture(
                // 1. Detect the DragGesture on the screen
                DragGesture()
                    .onChanged { value in
                        // a. Calculate the distance from the last point to the current point
                        if let lastPoint = currentLine.points.last {
                            let dx = value.location.x - lastPoint.x
                            let dy = value.location.y - lastPoint.y
                            // b. If the distance is less than 40 points, ignore the movement to prevent unnecessary points
                            if sqrt(dx * dx + dy * dy) < 40 {
                                return
                            }
                        }
                        // 2. Append the current drag location to the current line's points
                        currentLine.points.append(value.location)
                        // 3. Add the updated current line to the lines array
                        lines.append(currentLine)
                    }
                    .onEnded { _ in
                        // 4. Reset the current line with the selected symbol after the drag ends
                        currentLine = SymbolLine(points: [], symbol: selectedSymbol)
                    }
            )

            // Symbols selection bar for changing the drawing symbol
            SymbolBarView(selectedSymbol: $selectedSymbol, currentLine: $currentLine, symbols: symbols)
                .padding()
        }
        .background(.ultraThinMaterial)
    }
}
- Create a
DragGestureto detect and store the dragging movement on the screen when the user is drawing the lines.- Calculate the distance from the last point to the current point.
- If the distance is less than 40 points, ignore the movement to prevent unnecessary points.
- Append the touch locations to
currentLine.points, a state variable that keeps track of the current line being drawn. - This line is then added to the
linesarray, which stores all lines to be rendered to display the out-coming drawing. - When the dragging is over, the
currentLineis reset with the selected symbol, preparing for the next drawing.
Now that we have all the information needed to display the drawings, we are ready to use them to implement the Canvaslogic.
struct ContentView: View {

    ...

    var body: some View {
        VStack {
            Canvas(opaque: false, colorMode: .nonLinear, rendersAsynchronously: true,
                renderer: { context, size in
                    // 1. Iterate over each line that has been drawn
                    for line in lines {
                        // 2. Iterate over each point in the current line
                        for point in line.points {
                            // 3. Resolve the symbol associated with the line
                            if let resolvedSymbol = context.resolveSymbol(id: line.symbol) {
                                // a. Draw the resolved symbol at the specified point
                                context.draw(resolvedSymbol, at: point)
                            }
                        }
                    }
                },
                symbols: {
                    // 4. Define the symbols that can be used in the canvas
                    ForEach(symbols, id: \.self) { symbol in
                        Image(systemName: symbol)
                            .font(.system(size: 40))
                            // 5. Assign a tag to identify the symbol
                            .tag(symbol)
                    }
                }
            )

            ...

        }
    }

}
In the render closure:
- Iterate over each line that has been drawn.
- For each line, iterate over each of its points.
- Resolve the symbol associated with the line using
resolveSymbol(id:).a. Draw the resolved symbol at the specified point by usingdraw(_:at:anchor:).
In the symbols ViewBuilder :
- Define the symbols that can be used in the canvas: in this example we have a collection of different SF Symbols names, so we iterate over each of them to create the view that will render them.
- Assign a tag to identify the symbol. All the views specified in the
symbolsViewBuilderare rendered, stored and available to the canvas. By usingtag(_:), they can be retrieved within the renderer using theresolveSymbol(id:)method.