
Exploring the Foundation Models framework
Explore the different pieces of the Foundation Models framework which allows access to Apple's on-device models.

Apple’s Foundation Models framework (introduced in iOS 26) exposes the on-device large language models powering Apple Intelligence. It is a privacy-first, on-device AI toolkit that brings advanced language understanding and generation to apps.
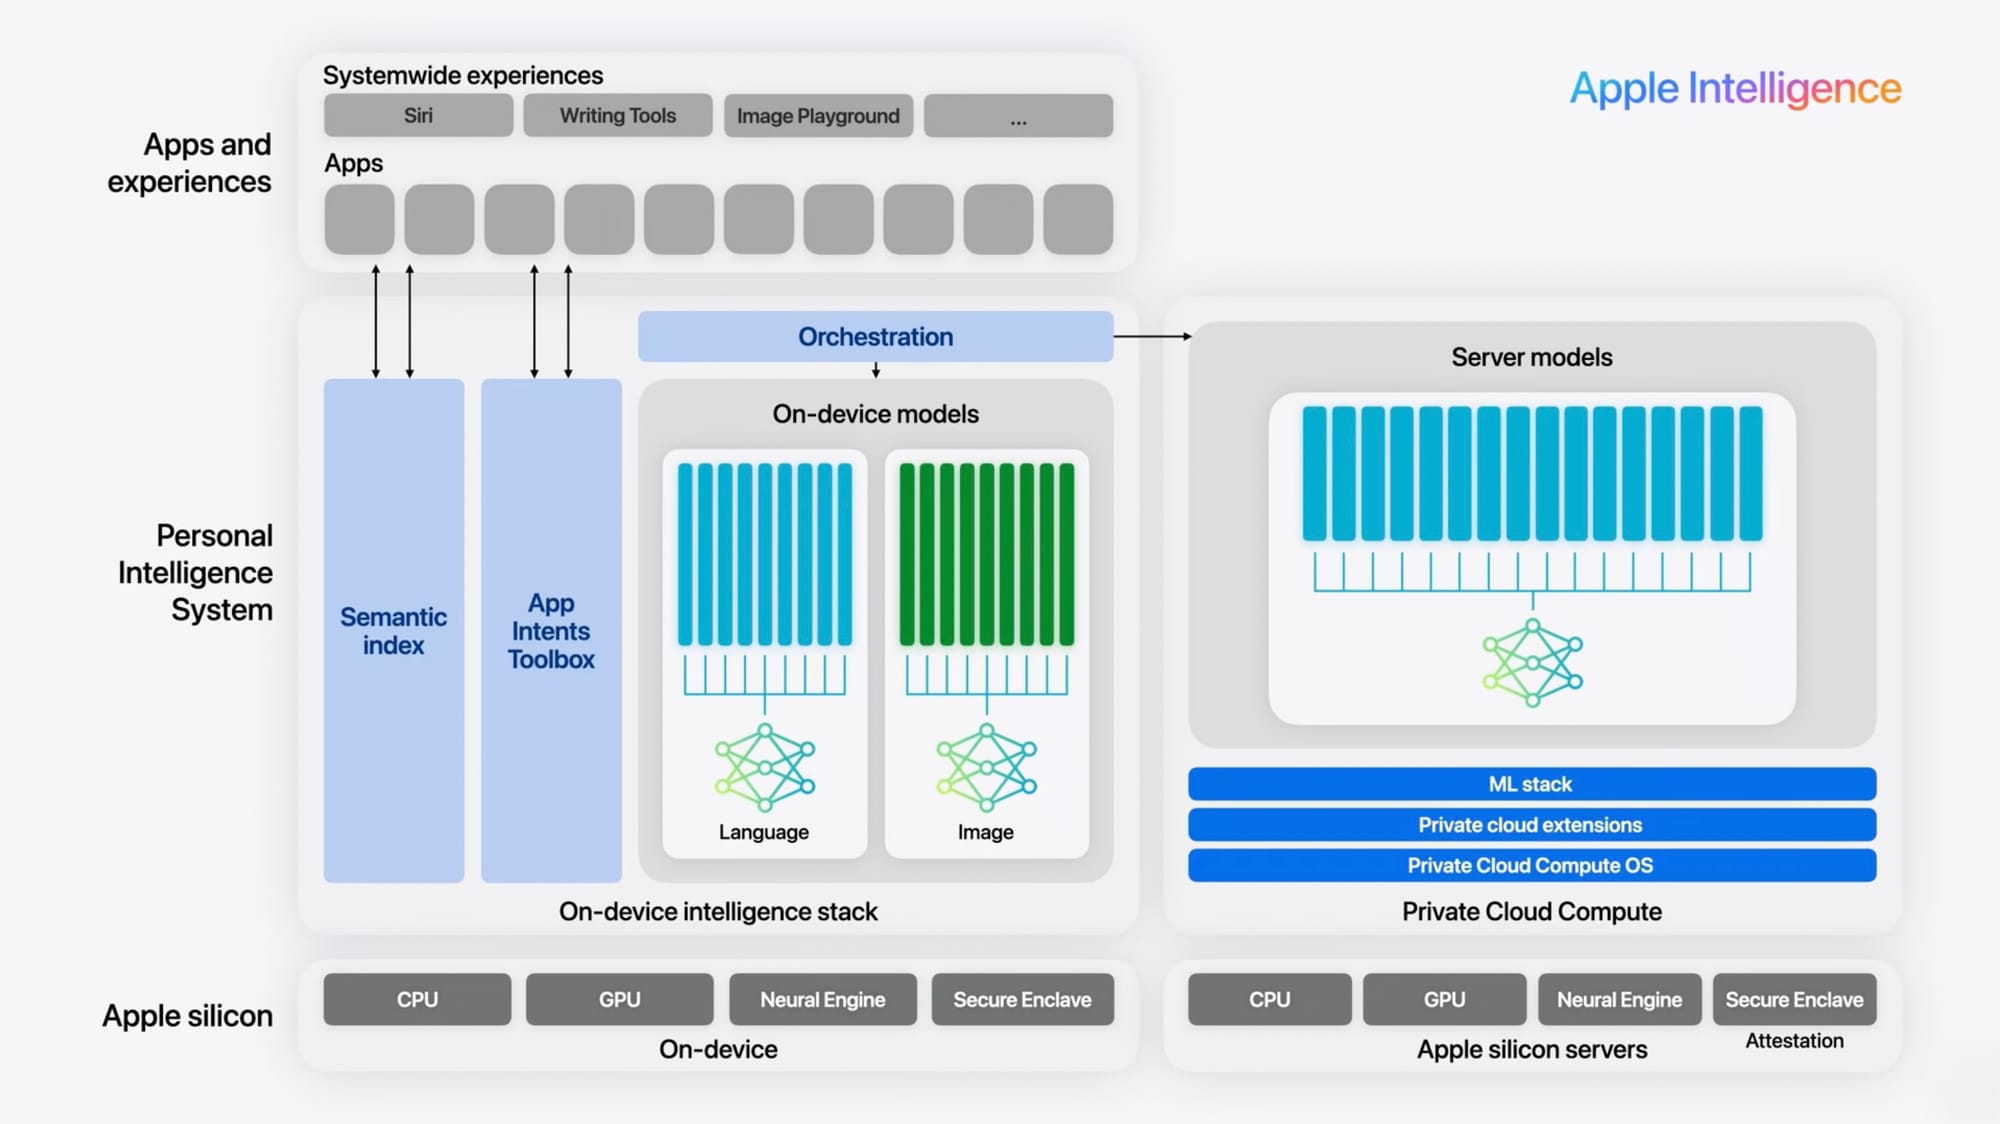
The Foundation Models live inside “Apple Intelligence”. In practice, this means a family of specialized models (e.g. an ~3B‑parameter language model) run primarily on-device using Apple silicon (CPU/GPU/Neural Engine) for speed and privacy. Private Cloud Compute (PCC), a secure cloud service running on Apple silicon with its own hardened OS and ML stack.
In this article, we’ll dive into the new Foundation Models API to use the built-in language models: how to get the system language model, create a session, generate and stream responses, use guided generation, and integrate custom Tools. We’ll examine all parameters and show sample code for each feature.
The System Language Model
import FoundationModels

// Base language model (general text generation)
let generalModel = SystemLanguageModel.default

// Specialized for content tagging
let taggingModel = SystemLanguageModel(useCase: .contentTagging)
The SystemLanguageModel is the primary access point to Apple’s built-in LLM. SystemLanguageModel.default returns the base model for general-purpose text tasks. This default model is optimized for creative generation and Q&A. According to Apple’s docs, it “powers Apple Intelligence” and is great for content generation or question answering.
In addition, you can request specialized adapters by supplying a SystemLanguageModel.UseCase. For example, using contentTagging yields a model fine-tuned for tagging and extraction tasks:
let taggingModel = SystemLanguageModel(useCase: .contentTagging)
The contentTagging model is trained for tasks like generating topic tags, extracting entities, and detecting topics from text (Apple notes that the content-tagging adapter “outputs topic tags” by default). You can use this in apps to auto-tag or classify user content.
Before using the model, always check its availability on the device. Only Apple Intelligence–enabled devices support it. For example:
let model = SystemLanguageModel.default

switch model.availability {
case .available:
    // Model is ready to use
case .unavailable(let reason):
    // Handle cases: device not eligible, Apple Intelligence off, model downloading, etc.
}
In this case, if the model is unavailable you can handle errors, display a message like “device not eligible” or provide other kinds of feedback to the users, and only proceed with session creation when model.availability == .available.
The Language Model Session
// Default session using SystemLanguageModel.default, default guardrails
let session = LanguageModelSession()

// Customized session with explicit parameters
let session2 = LanguageModelSession(
    model: taggingModel,
    guardrails: .default,
    tools: [myTool1, myTool2],
    instructions: {
        "You are a helpful assistant. Provide concise answers."
    }
)
A LanguageModelSession is a “single context” for interacting with the model. It maintains the conversation history (prompt/response transcript) between calls. You typically create one session per chat or interaction. The initializer has several parameters:
- model: The
SystemLanguageModelto be used. By default, the session usesSystemLanguageModel.default. You can supply a custom model (e.g. acontentTaggingmodel). - guardrails: Safety filters for prompts and responses. Currently, a
defaultguardrail is always applied, enforcing Apple’s content guidelines. (At present, you cannot disable it) - tools: An array of custom
Toolinstances that the model may invoke during generation. If you have no tools, you can pass an empty array or omit this parameter. - instructions: An initial “system prompt” string or a closure returning
Instructionsthat guides the model’s behavior. For example:
let session = LanguageModelSession {
    """
    You are a friendly customer support assistant. Greet the user warmly
    and provide clear, helpful information.
    """
}
- This sets the session’s instructions. The model will consider these instructions first, before user prompts. You can use an
InstructionsBuilderDSL (as shown above) to add context, rules, or examples. - transcript: Instead of instructions, you can initialize a session from a previous
Transcript, restoring multi-turn history. This lets you resume or pre-load context.
Inside a SwiftUI view you can store a session as a state variable (e.g. @State var session = LanguageModelSession()). If you expect to call the model immediately, you may want to call the session method prewarm(promptiPrefix:) to load the model in advance. While the session is responding use the property isResponding to keep track of the status of the response and only allow new inputs when the session is done.
The Session response methods
The LanguageModelSession type rensponse methods send a prompt to the model and await a complete response. You can call it passing either a simple string value or a Prompt builder. It also supports guided generation via a GenerationSchema or a Generable type. For example:
// Simple string prompt
let sportResult = try await session.respond(to: "Hello, who won the Italian Football Championship in 2023?")
print(sportResult.content)  // e.g. "The Italian Football Championship for the 2022–23 season was won by SSC Napoli"

// With guided generation using a Generable struct
@Generable struct Weather { let temperature: Double; let condition: String }

let weatherResult = try await session.respond(
    to: Prompt("Provide today’s weather."),
    generating: Weather.self,
    includeSchemaInPrompt: false,
    options: GenerationOptions(temperature: 0.5)
)

let weather: Weather = weatherResult.content
The parameters of a respond method can include:
- prompt: The user’s input, either as a
Stringor aPrompt(using thePromptDSL for complex prompts). - schema / generating: You can pass a
GenerationSchema(for dynamic schemas) or aGenerable.Type(i.e. a Swift struct marked@Generable) to tell the model to output structured data. If you use this, the returnedResponse<T>will have a content of that type instead of a rawString. - includeSchemaInPrompt: A boolean flag (default
true) which, if set, will automatically include the JSON schema definition in the prompt. Setting it tofalsecan be useful if you manually integrate schema instructions. - options: A
GenerationOptionsstruct to control randomness and length. For example, you can set the temperature (0.0–2.0) for creativity, or limit the maximum number of tokens.
Low temperature yields more predictable text, while higher temperature produces more varied output.
Thesamplingparameter controls how the model picks each next word during generation. With thegreedyoption, the model always chooses the most likely token, producing deterministic and consistent results. In contrast,random(probabilityThreshold:seed:)(top-p) andrandom(top:seed:)(top-k) introduce controlled randomness by sampling from a subset of likely tokens, enabling more creative and varied outputs. You can also provide a seed with these random modes to make the output reproducible, which is useful for debugging or caching.
let options = GenerationOptions(
    sampling: .greedy,
    temperature: 0.8,
    maximumResponseTokens: 200
)

let answer = try await session.respond(
    to: "Summarize this text...",
    options: options
)
The method returns a Response object. The Response has two parts: the generated content and the full transcript entries (conversation history). When you call the method respond(to:options:), the returned Response<String>’s content property contains the model’s reply, and transcriptEntries contains the sequence of user and assistant messages.
Use session.respond for synchronous generation when you need the complete answer. Set generating: or schema: if you want structured output. Adjust includeSchemaInPrompt and options as needed for your use case.
The Session stream response
The stream response methods let you receive partial results as the model generates them. This can make the UI feel more responsive (like watching text appear live). Instead of returning one final Response, it returns an AsyncSequence of intermediate snapshots. For example:
let stream = try await session.streamResponse(
    generating: MyStruct.self,
    options: GenerationOptions(),
    includeSchemaInPrompt: false
) {
    "Please generate a report about SwiftUI views."
}

for try await partial in stream {
    // `partial` is a MyStruct.PartiallyGenerated
    updateUI(with: partial)
}
Under the hood, Foundation Models streams snapshots of the partially generated output. These snapshots are instances of the special PartiallyGenerated type (see next section) where fields are filled in gradually. The framework does not stream raw text tokens; instead it sends the partially-constructed structured output. Each item in the AsyncSequence is such a snapshot.
In code, each partial response you await is a (usually partially filled) @Generable object. You can update your UI for each new piece. This allows SwiftUI views to bind to the streaming data and animate it. Just remember to handle the final result (when all fields are non-optional) and errors.
Partially generated responses
When you use streamResponse(generating:includeSchemaInPrompt:options:prompt:), each streamed element has type T.PartiallyGenerated. The PartiallyGenerated type is auto-generated by the compiler from your @Generable struct. It mirrors your struct but makes every property optional, reflecting incremental completion. For example, if you have:
@Generable struct Profile {
    let name: String
    let age: Int
    let bio: String
}
Then streamResponse(generating: Profile.self) will yield snapshots of type Profile.PartiallyGenerated where name, age, and bio start out as nil and gradually get values.
In your code, you typically check which fields are non-nil and display them. Streaming in this structured way lets your UI show partial results with smooth animations.
The @Generable macro
import FoundationModels

@Generable
struct WeatherReport: Equatable {
    let temperature: Double
    let condition: String
    let humidity: Double
}
To get structured output from the model, use the @Generable macro on your Swift structs or enums. This tells the compiler to generate the schema for that type and handle parsing.
All stored properties of a @Generable type must themselves be generable (primitive types like String, Int, arrays, etc., are already supported). At compile time, the macro creates a JSON schema and an initializer so that when the model returns JSON, it can be decoded directly into your Swift type.
In practice, you define your output data model with @Generable. For example, to have the model generate a set of user info, you might write:
@Generable
struct UserProfile: Equatable {
    let firstName: String
    let lastName: String
    let email: String
}
Then you call session.respond(generating: UserProfile.self). The framework uses the schema to prompt the model for that JSON structure, and returns a Response<UserProfile> with content parsed into your struct. This avoids fragile string parsing.
In short, @Generable bridges your Swift types and the LLM’s output format in a seamless, type-safe way.
The @Guide macro
Along with @Generable, you can use the @Guide macro to constrain or instruct individual fields. This provides additional hints to the model about what values to produce. For example:
@Generable
struct Movie {
    let title: String

    @Guide(description: "An action movie genre")
    let genre: String

    @Guide(.anyOf(["PG-13", "R", "PG", "G"]))
    let rating: String
}
Here, @Guide does two things. With the description parameter, you give a natural-language cue that the field should be an action movie genre.
With anyOf(_:), you restrict the output to those specific rating options. Apple explains that @Guide lets you “provide additional context or a specific prompt” for a property, or constrain it to an enumeration or pattern. You can also use count(_:) to fix the length of an array property, or provide a regex for strings. In effect, @Guide fine-tunes the schema for each field, improving accuracy and ensuring the model’s output matches your expectations (without @Guide, the model chooses values more freely based on overall prompt context).
The Tool Protocol and Tool Output
Tools enable the model to call into your app’s code to perform actions or fetch data. If you want to integrate other frameworks with the Foundation Models, such as CoreLocation for finding the closest restaurants, for example, this is the way to go. You can define a tool, conform to the Tool protocol, and make sure it has:
- name: A short identifier (String) like
"findRestaurants"(no spaces or punctuation). This is how the model refers to the tool. - description: A human-readable sentence explaining what the tool does. This description is included in the model’s prompt so it knows when to use the tool.
- Arguments: A nested type, usually a
@Generable struct, that defines the parameters the model will pass to the tool. For example:
@Generable
struct SearchArgs {
    @Guide(description: "What to search for")
    let query: String
    @Guide(.count(2))
    let topN: Int
}
- call(arguments:): An
async throwsmethod taking yourArgumentstype and returning aToolOutput. This contains the tool’s result (see below).
For example:
final class FindRestaurantsTool: Tool {
    let name = "findRestaurants"
    let description = "Finds nearby restaurants based on a query."

    @Generable
    struct Arguments {
        @Guide(description: "The name or type of restaurant to search for.")
        let query: String
        @Guide(.count(3))
        let maxResults: Int
    }

    func call(arguments: Arguments) async throws -> ToolOutput {
        // Your code to find restaurants...
        let list = ["Pasta Place", "Sushi Spot", "Burger Barn"]

        return ToolOutput(list.joined(separator: ", "))
    }
}
This example shows the key pieces. As Apple’s documentation states, each Tool needs a name and a natural-language description. The Arguments values must be either a @Generable type or a GeneratedContent object so that the model can generate valid arguments. The call(arguments:) method is where you implement the tool’s functionality; it returns a Self.Output. The ToolOutput can encapsulate either a string or a structured result.
In code, you simply return ToolOutput("some text") or ToolOutput(myGenerableObject).
As noted in Apple’s documentation, “The return value is a ToolOutput that can either be a string, or a GeneratedContent object”. Once the tool is called, the framework inserts the output back into the session transcript so the model can continue generation with that data. To use tools, pass them into the session:
let tools: [any Tool] = [FindRestaurantsTool(), OtherTool()]
let session = LanguageModelSession(tools: tools)
The model will decide if and when to call your tools, based on the ongoing prompt. You can observe session.transcript to see tool calls recorded, and handle errors if the model attempts a call that fails.
Conclusion
The Foundation Models framework unlocks on-device generative AI for Swift developers. We’ve covered how to obtain the system language model (SystemLanguageModel), create a LanguageModelSession, and use methods like respond and streamResponse to get generated text or structured data.
We also explored guided generation with @Generable and @Guide for predictable, type-safe output, and how to define custom Tools that the model can invoke.
Throughout, we cited Apple’s documentation and community guides. In practice, these APIs let you build privacy-respecting chatbots, summarizers, content generators and more, all powered by Apple Intelligence.
As of iOS 26, using the on-device LLM is as easy as writing a few lines of Swift code, enabling powerful new app experiences. As soon as you get your hands on them, we encourage you to experiment with Foundation Models (keeping performance in mind) and compare them to Apple’s other ML offerings. The future of on-device AI is here, and this framework makes it readily accessible to developers.
If you want to take a deeper look at the official documentation, check:
