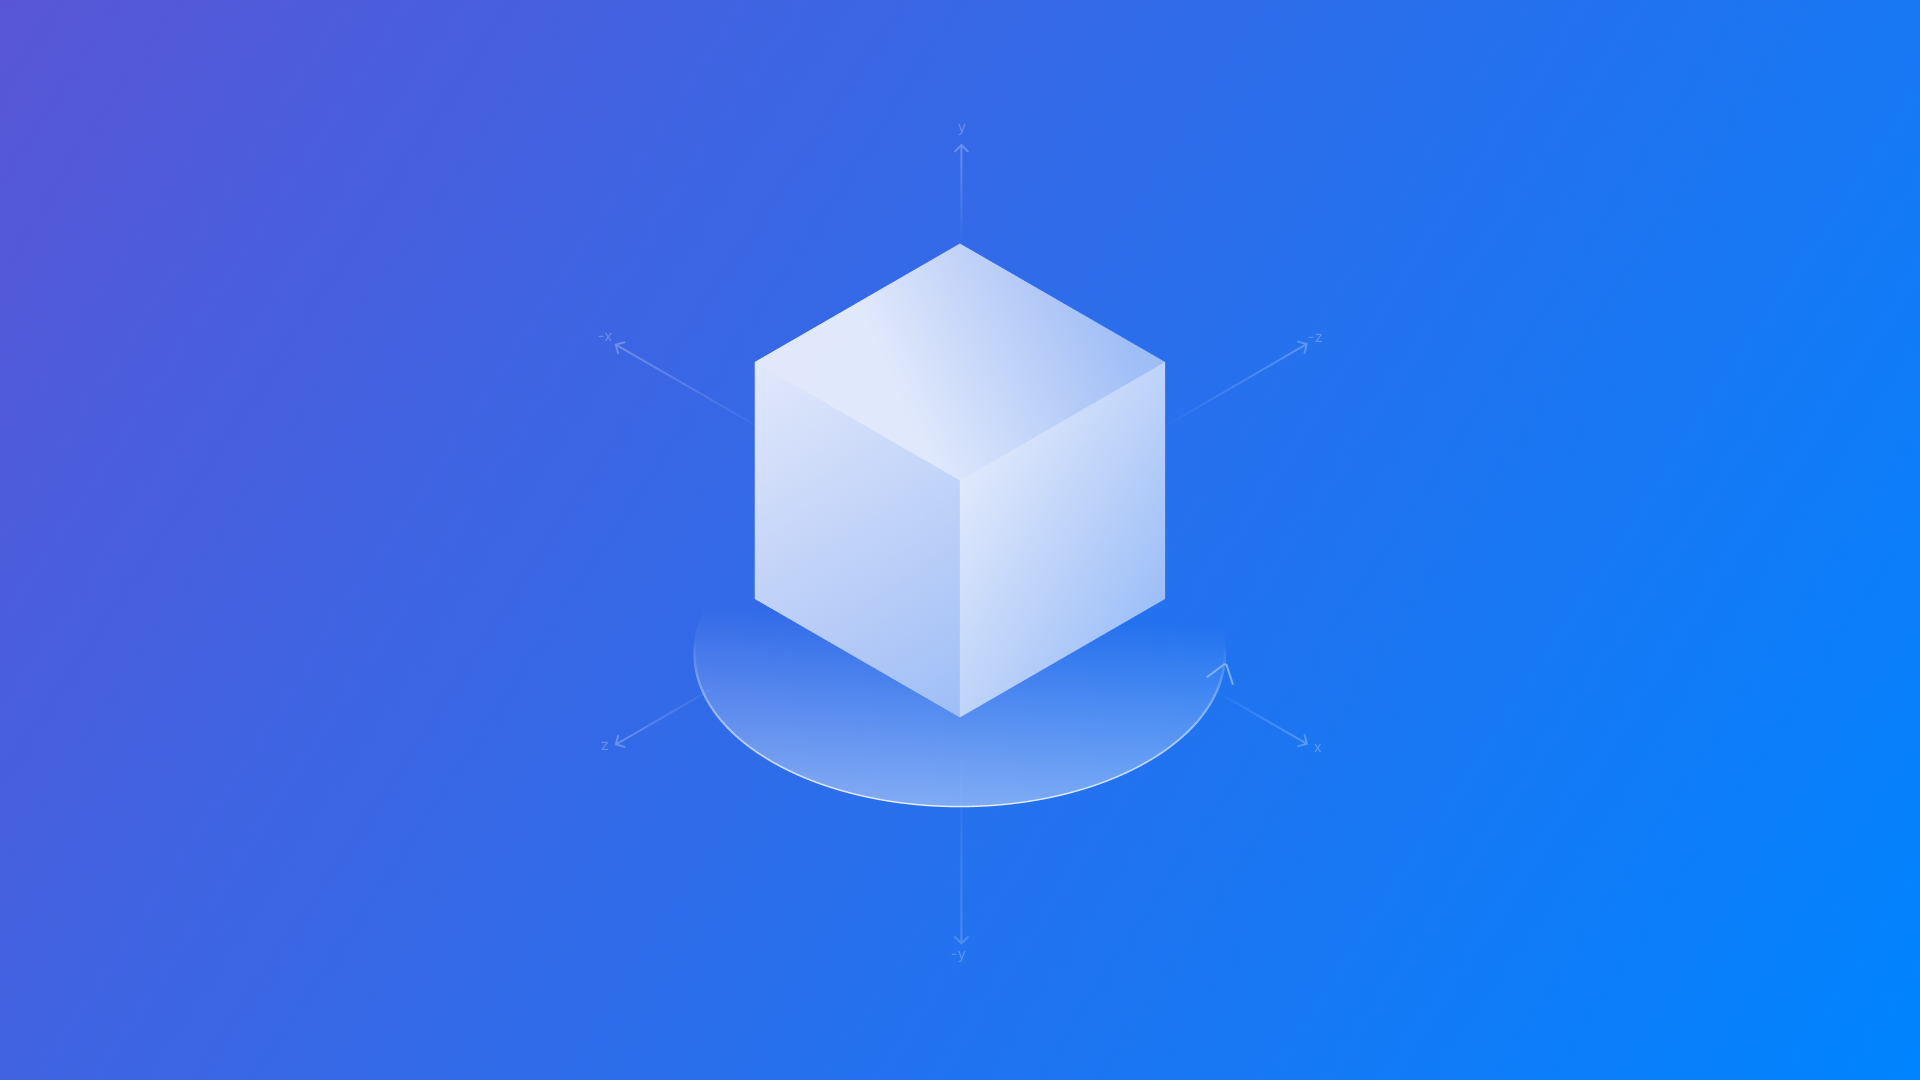
Implementing direct object interaction in visionOS
Learn how to implement direct object interaction in visionOS using RealityKit and SwiftUI and gesture inputs to create responsive experiences in spatial apps.

SwiftUI in visionOS 26 brings a new level of interactivity to 3D content with the introduction of the manipulable(using:) and manipulationGesture(updating:coordinateSpace:operations:inertia:isEnabled:onChanged:) modifiers. These APIs allow developers to create gesture-driven experiences using just a few lines of code.
In this article, we’ll explore how developers can take advantage of these two new modifiers for adding a new layer of interactivity to volumetric windows in visionOS comparing all the different behaviors.
The simplest way to allow users to manipulate a 3D model is to apply the manipulable(using:) modifier. This enables all available gestures (move, rotate, scale) and automatically returns the model to its original state after the gesture ends.
import SwiftUI
import RealityKit
import RealityKitContent

struct ContentView: View {

    var body: some View {
        VStack {
            Model3D(named: "plane")
                .manipulable()
        }
    }

}
Using the manipulable(using:) modifier gives users the ability to interact with the model naturally, without any extra configuration.
We may want the model to stay where the user leaves it, or programmatically reset its state. The manipulable(transform:coordinateSpace:operations:inertia:isEnabled:onChanged:) variant lets us bind the model’s transform to a SwiftUI variable.
import SwiftUI
import RealityKit
import RealityKitContent

struct ContentView: View {

    @State private var transform: AffineTransform3D = .identity
    @State private var opacity: CGFloat = 1

    var body: some View {
        VStack {
            Model3D(named: "plane")
                .manipulable(transform: $transform) { event in
                    switch event.phase {
                    case .active(_):
                        opacity = 0.5
                    case .ended(_):
                        withAnimation {
                            opacity = 1
                        } completion: { }
                    default:
                        break
                    }
                }
                .opacity(opacity)
        }
    }
}
In the provided example, the model becomes less opaque when the user interacts with it, retaining the last position where the user left it.
We can also create more complex experiences using a gesture attached to one view to control the manipulation of another. This is possible by combining manipulationGesture(updating:) and manipulable(using:) modifiers:
import SwiftUI
import RealityKit
import RealityKitContent

struct ContentView: View {

    @State private var manipulationState = Manipulable.GestureState()

    var body: some View {
        VStack {
            // Gesture controller
            Model3D(named: "controller")
                .manipulationGesture(updating: $manipulationState)

            // Target of manipulation
            Model3D(named: "plane")
                .manipulable(using: manipulationState)
                .opacity(manipulationState.isActive ? 1 : 0.5)
        }
    }
}
In this example, while the user is interacting with the 3D object responsible for receiving the direct manipulation (the "controller"), the second one (the "plane") gets manipulated. Imagine a scenario in which a 3D object can be an input method for controlling a volumetric window in space.
For complete control over which gestures are allowed, their effects, and how the view responds, use the full initializer.
import SwiftUI
import RealityKit
import RealityKitContent

struct ContentView: View {
    var body: some View {
        VStack {
            Model3D(named: "plane")
                .manipulable(
                    coordinateSpace: .local,
                    operations: [.rotate, .translate], // Only allow rotate and translate
                    inertia: .high,
                    isEnabled: true
                ) { event in
                    print("Manipulation event: \(event)")
                }
        }
    }
}
The setup in the example above restricts interactions to rotation and translation, increases inertia for a more resistant feel, and prints manipulation events to the console for debugging.
We can also implement this direct interaction with a ModelEntity object displayed within a RealityView container using the ManipulationComponent:
import SwiftUI
import RealityKit
import RealityKitContent

struct ContentView: View {
    var body: some View {
        VStack {
            RealityView { content in
                if let entity = try? await ModelEntity(named: "plane"){
                    ManipulationComponent.configureEntity(entity)
                    content.add(entity)
                }
            }
        }
    }
}