
Implementing windows in visionOS
Learn the fundamentals of using windows in a visionOS application.


Content in visionOS apps can be presented through windows or volumes, each characterized by distinctive attributes. In general, windows typically showcase 2D or 3D content like a media gallery in Photos, while volumes are perfect for presenting immersive 3D objects and content.
Windows serves as a foundational layer for digital content. These windows ensure a seamless user experience with a familiar appearance and functionality akin to other platforms. Users can manipulate size, position, and closure using window management controls. Furthermore, windows can integrate recognizable elements like menus, tab bars, and toolbars alongside innovative components such as ornaments.
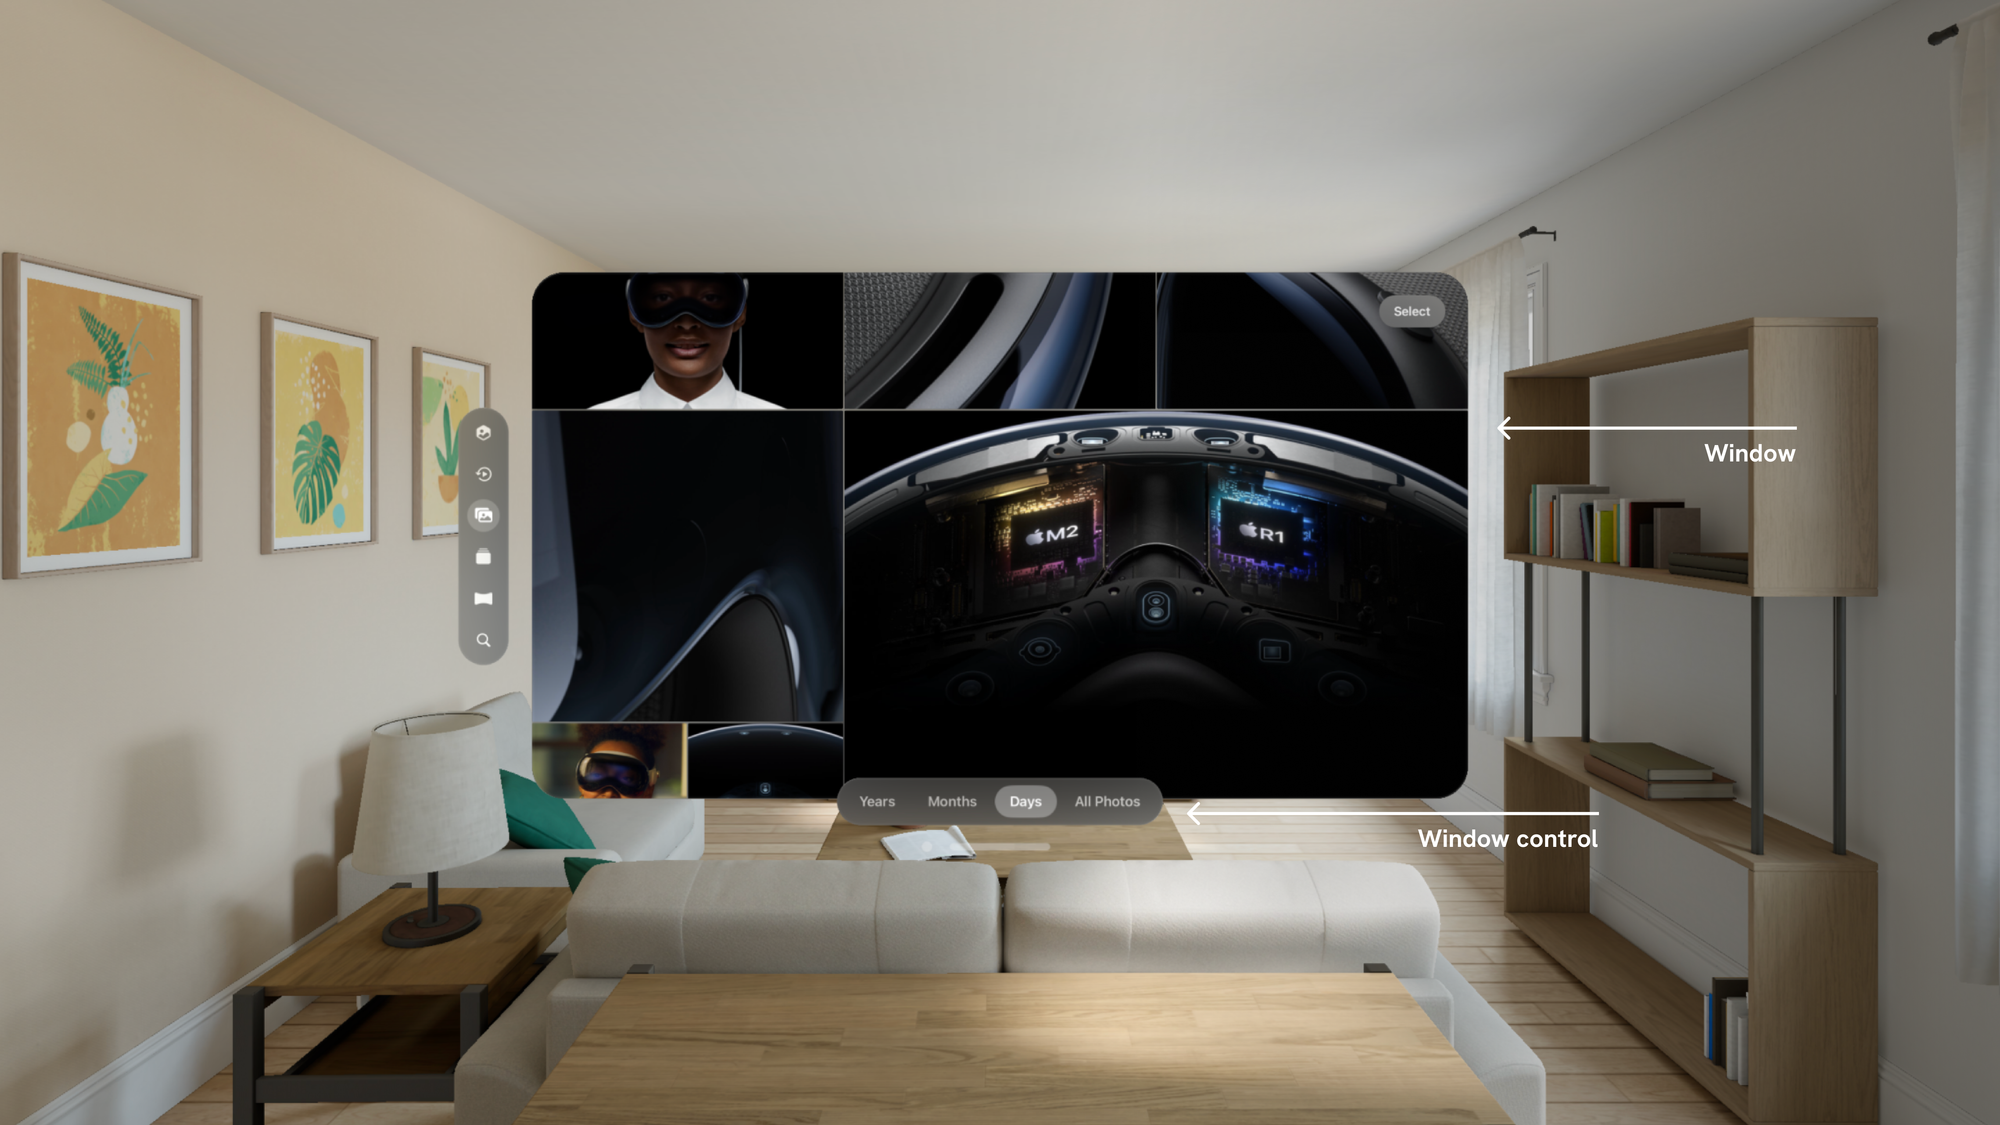
A visionOS window features an unmodifiable background material known as glass, incorporating specular reflections and shadows to convey scale and position, making your content blend seamlessly into the user's surroundings. By default, a window measures 1280x720 pt and is positioned approximately two meters in front of the user upon opening.
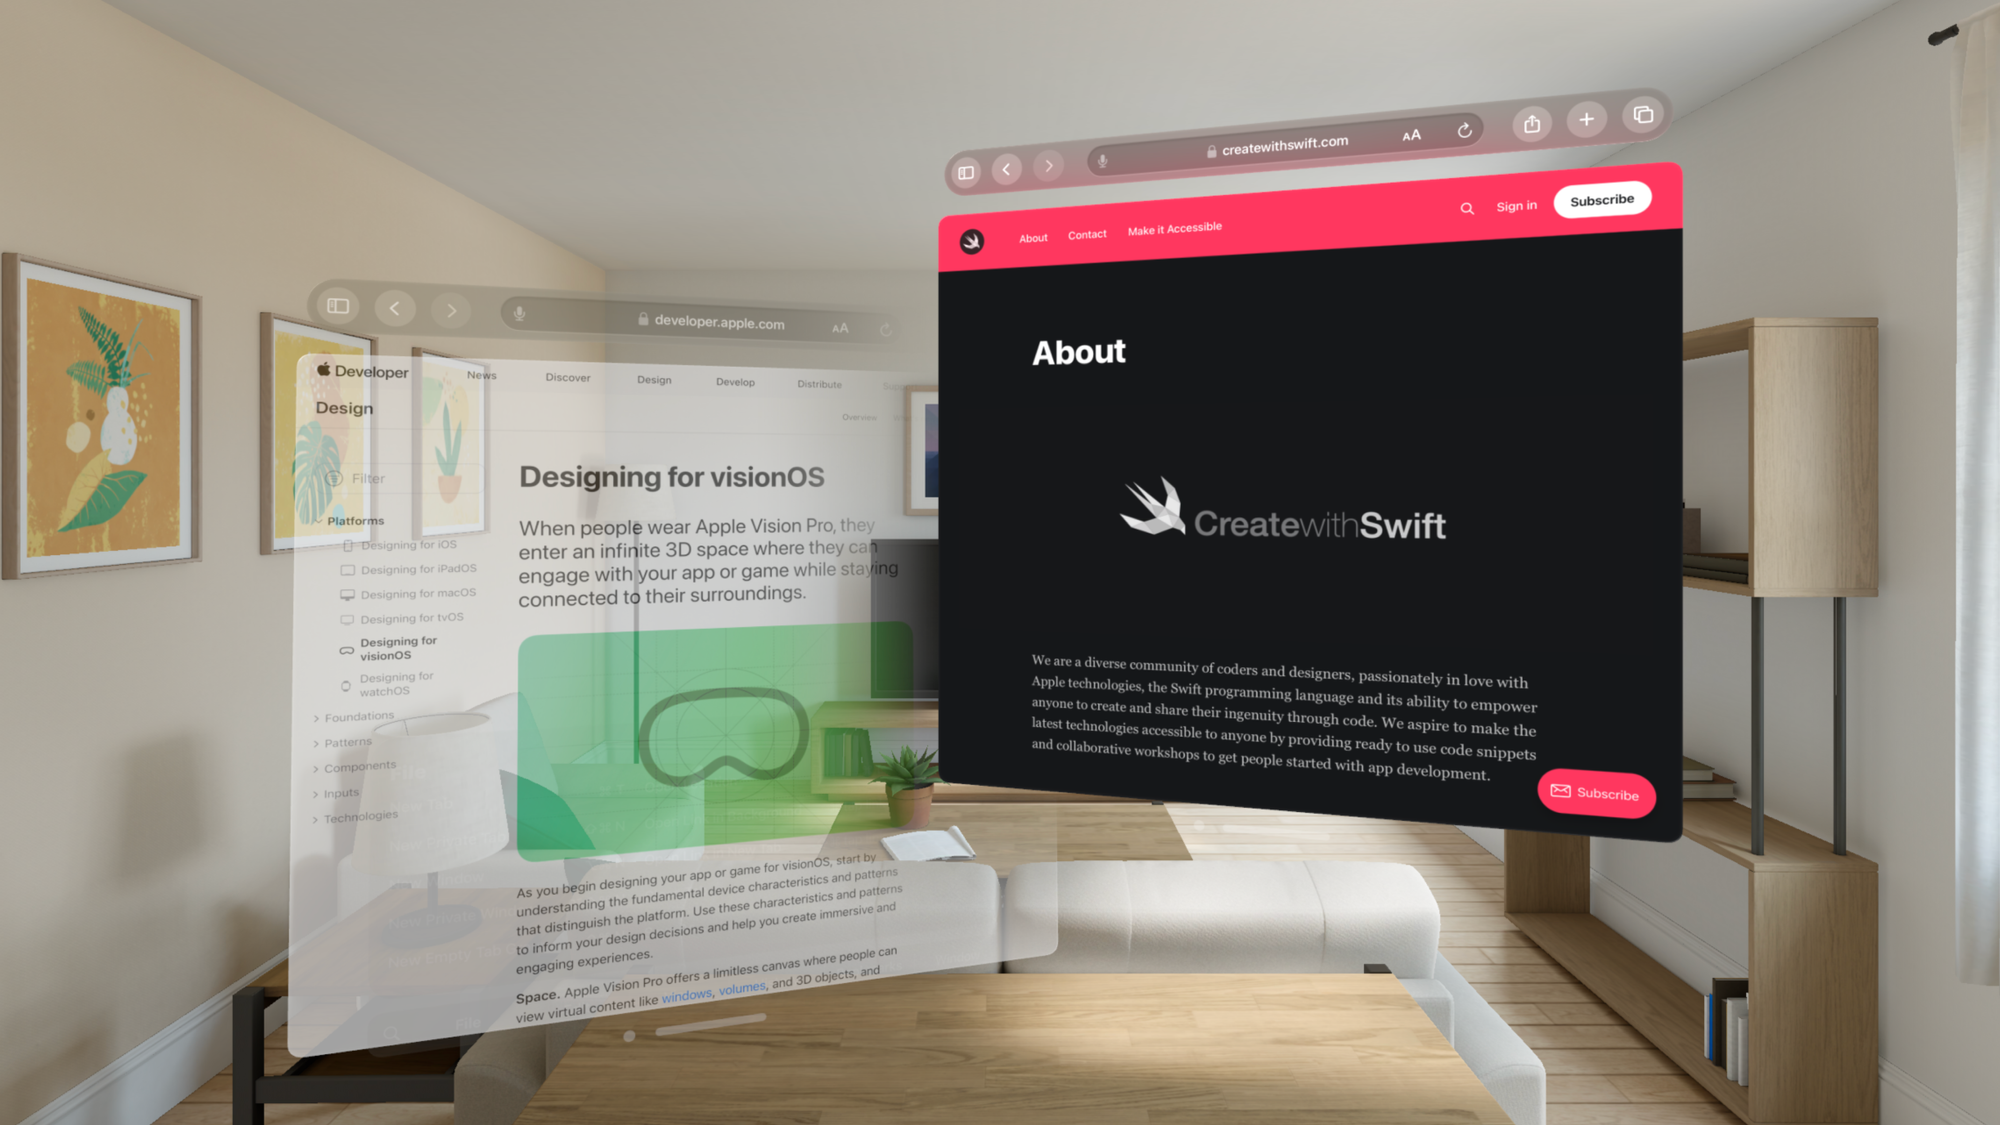
In visionOS, users can open multiple windows like they do on macOS. However, this new system provides an expansive canvas offering the freedom to organize content in a tangible environment. Selecting a specific window reduces the opacity of other windows, enhancing focus on the chosen content. Additionally, windows that overlap automatically become translucent, facilitating the visibility of the selected content.
Implementing multiple windows
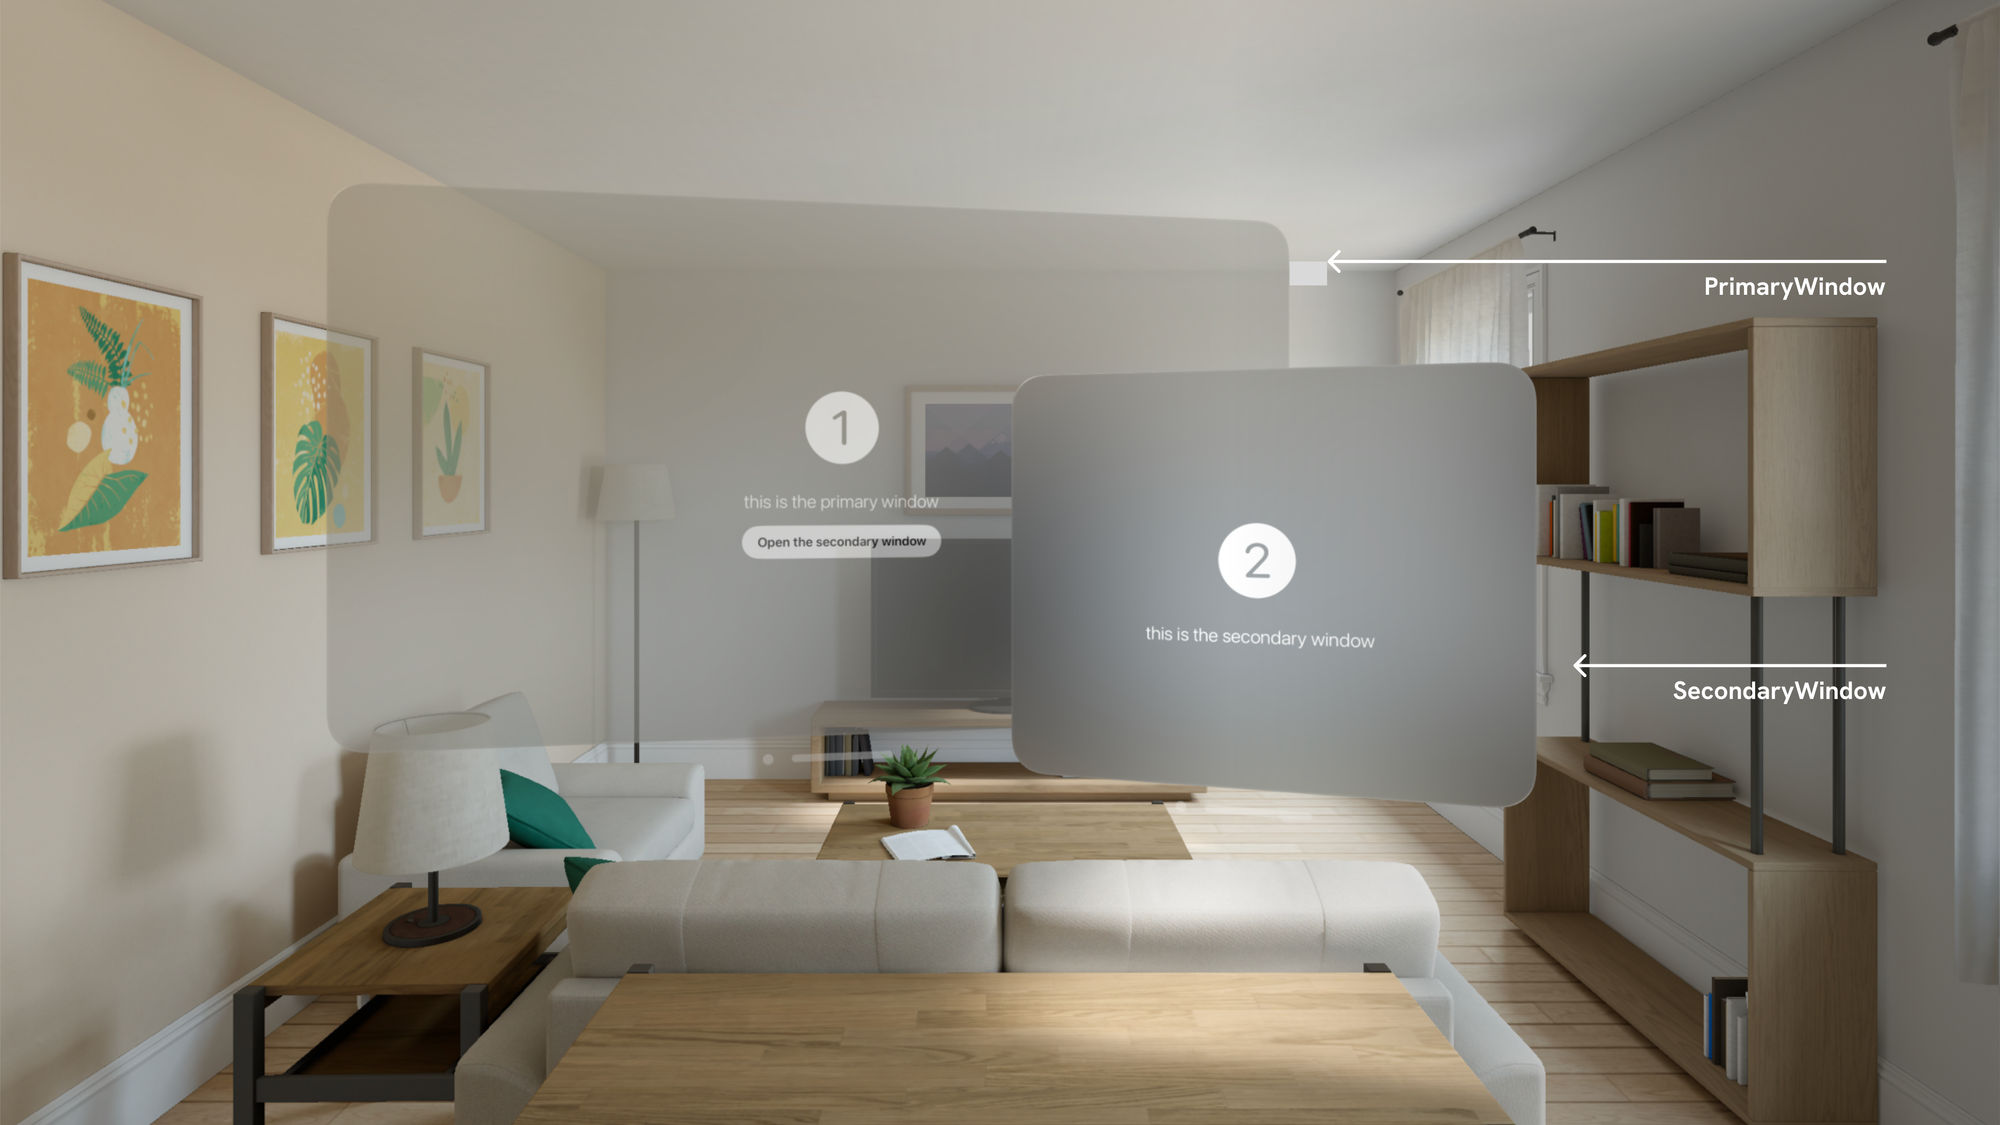
Let’s explore the steps to design a dual-window interface within the visionOS framework. We will build a simple visionOS app made of a PrimaryWindowView that opens through a button a SecondaryWindowView.
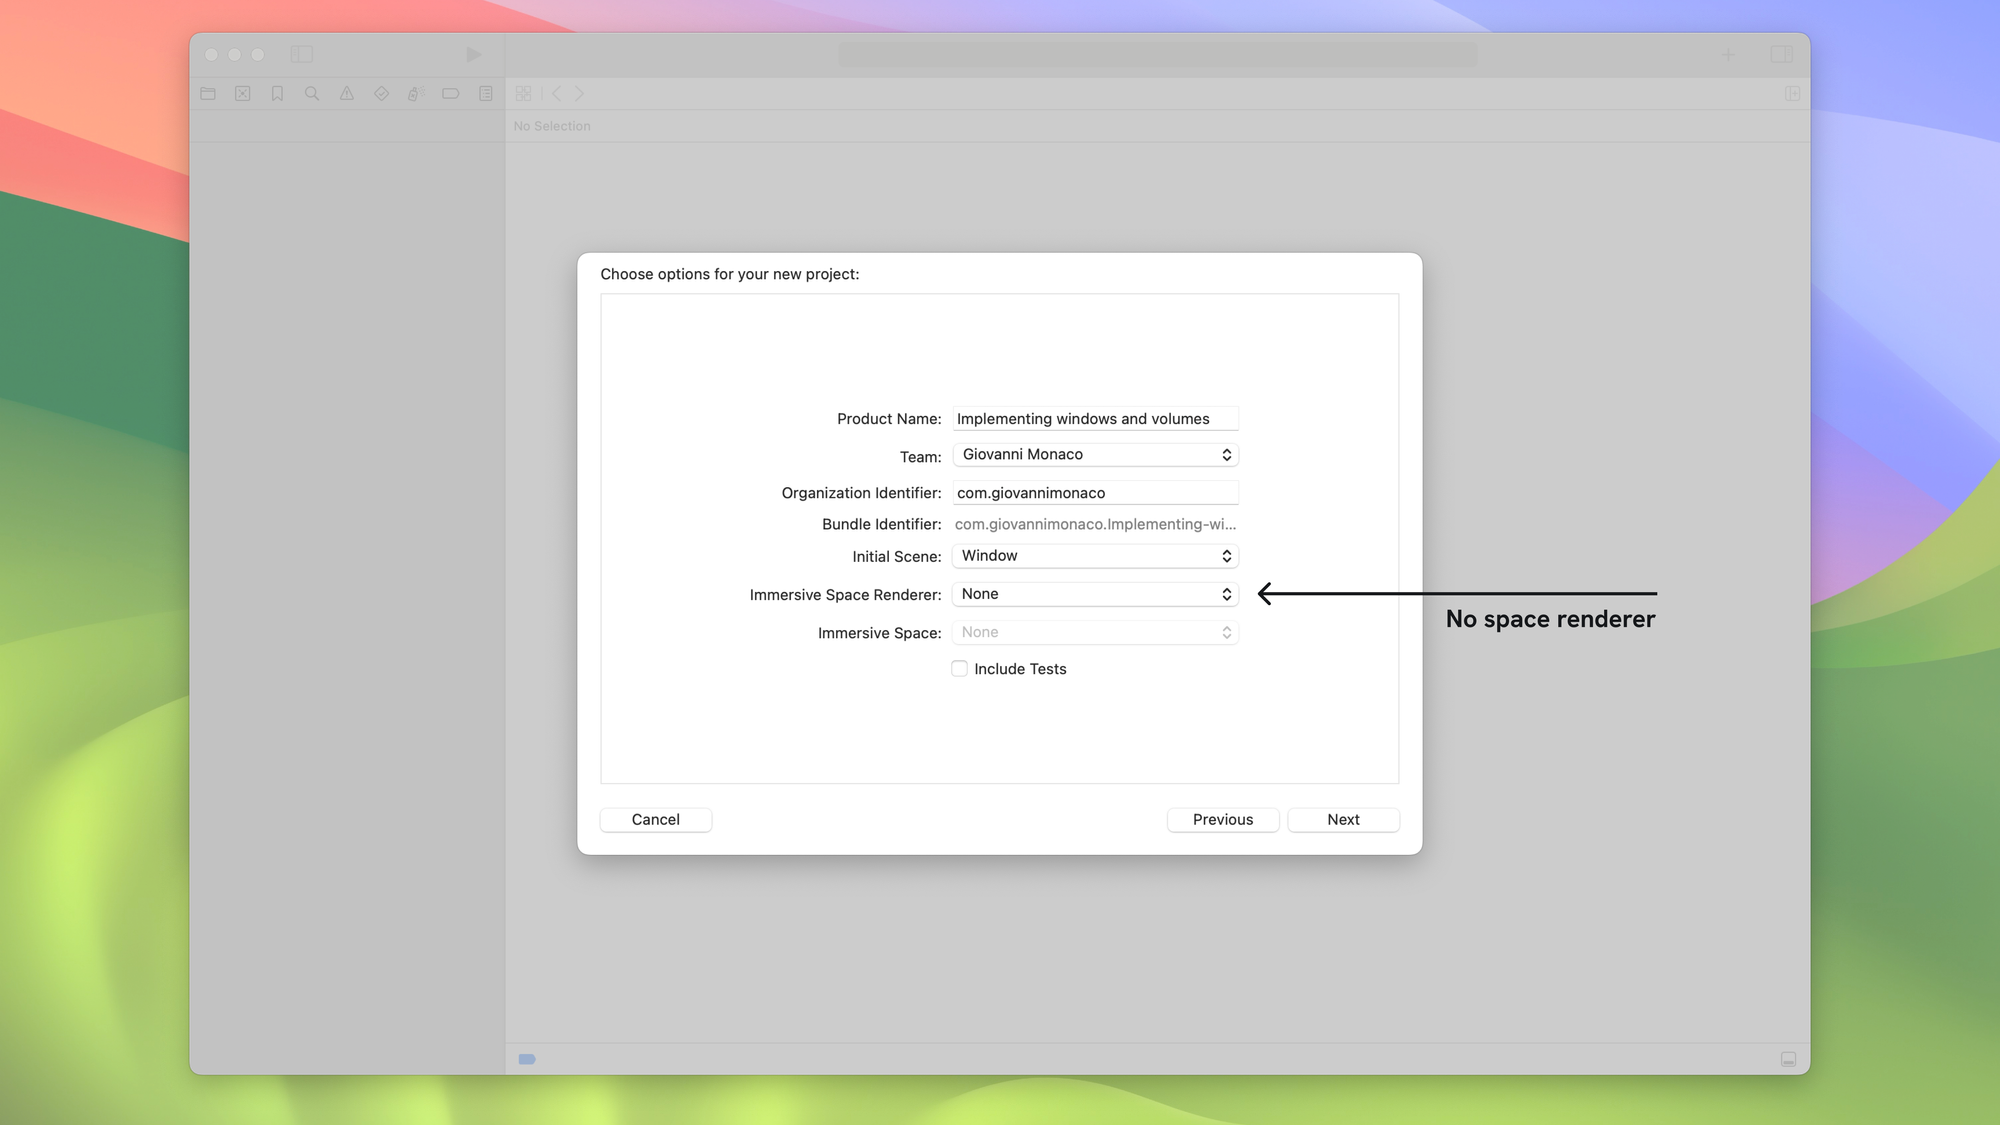
The journey begins by initiating a new project within visionOS. Ensure you have set up the necessary configurations and named the project appropriately.
When configuring the Immersive Space Renderer, opt for the None setting. While Apple offers templates for every possible immersive space, opting for the None setting allows us to understand the underlying processes from scratch.
Before starting the creation of our two Views, let's add in our shared ViewModel a variable that will control whether the secondary window is showing or not.
import Foundation
@Observable
class ViewModel {
var secondaryWindowIsShowing: Bool = false
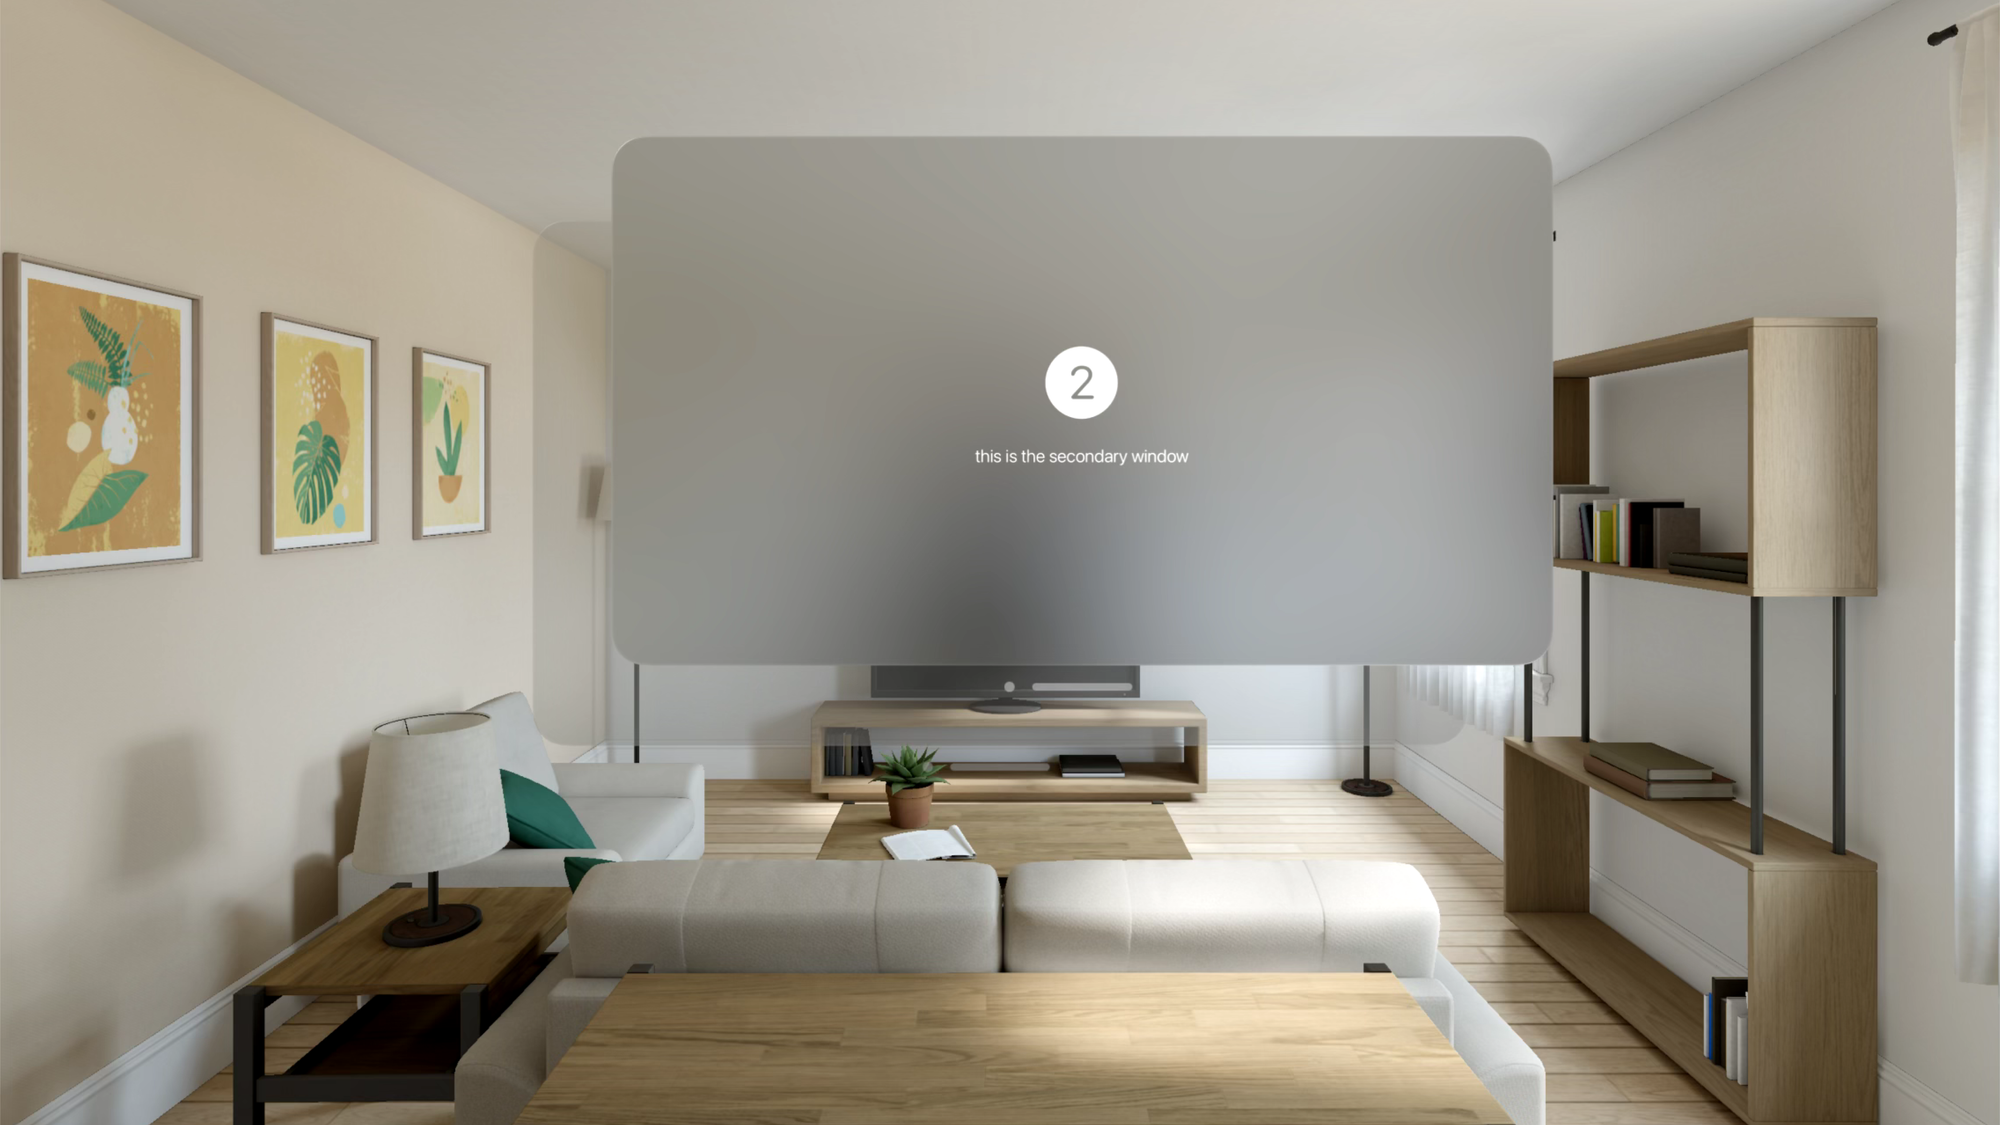
}The pivotal step towards dual-window functionality involves the creation of the SecondaryWindowView. This component serves as the secondary interface, distinct from the primary window, providing an additional space for content display or interaction. Developers can customize this window to suit specific needs, tailoring the layout and content for optimal user engagement.
import SwiftUI

struct SecondaryWindowView: View {

    @Environment(ViewModel.self) private var model

    var body: some View {

        VStack(spacing: 18.0) {
            Image(systemName: "2.circle.fill")
                .resizable()
                .aspectRatio(contentMode: .fit)
                .frame(width: 100,height: 100)
                .fontWeight(.light)
                .padding()

            Text("this is the secondary window")
                .font(.title)
                .fontWeight(.light)
        }
        .onDisappear {
            model.secondaryWindowIsShowing.toggle()
        }

    }
}

#Preview {
    SecondaryWindowView()
        .environment(ViewModel())
}
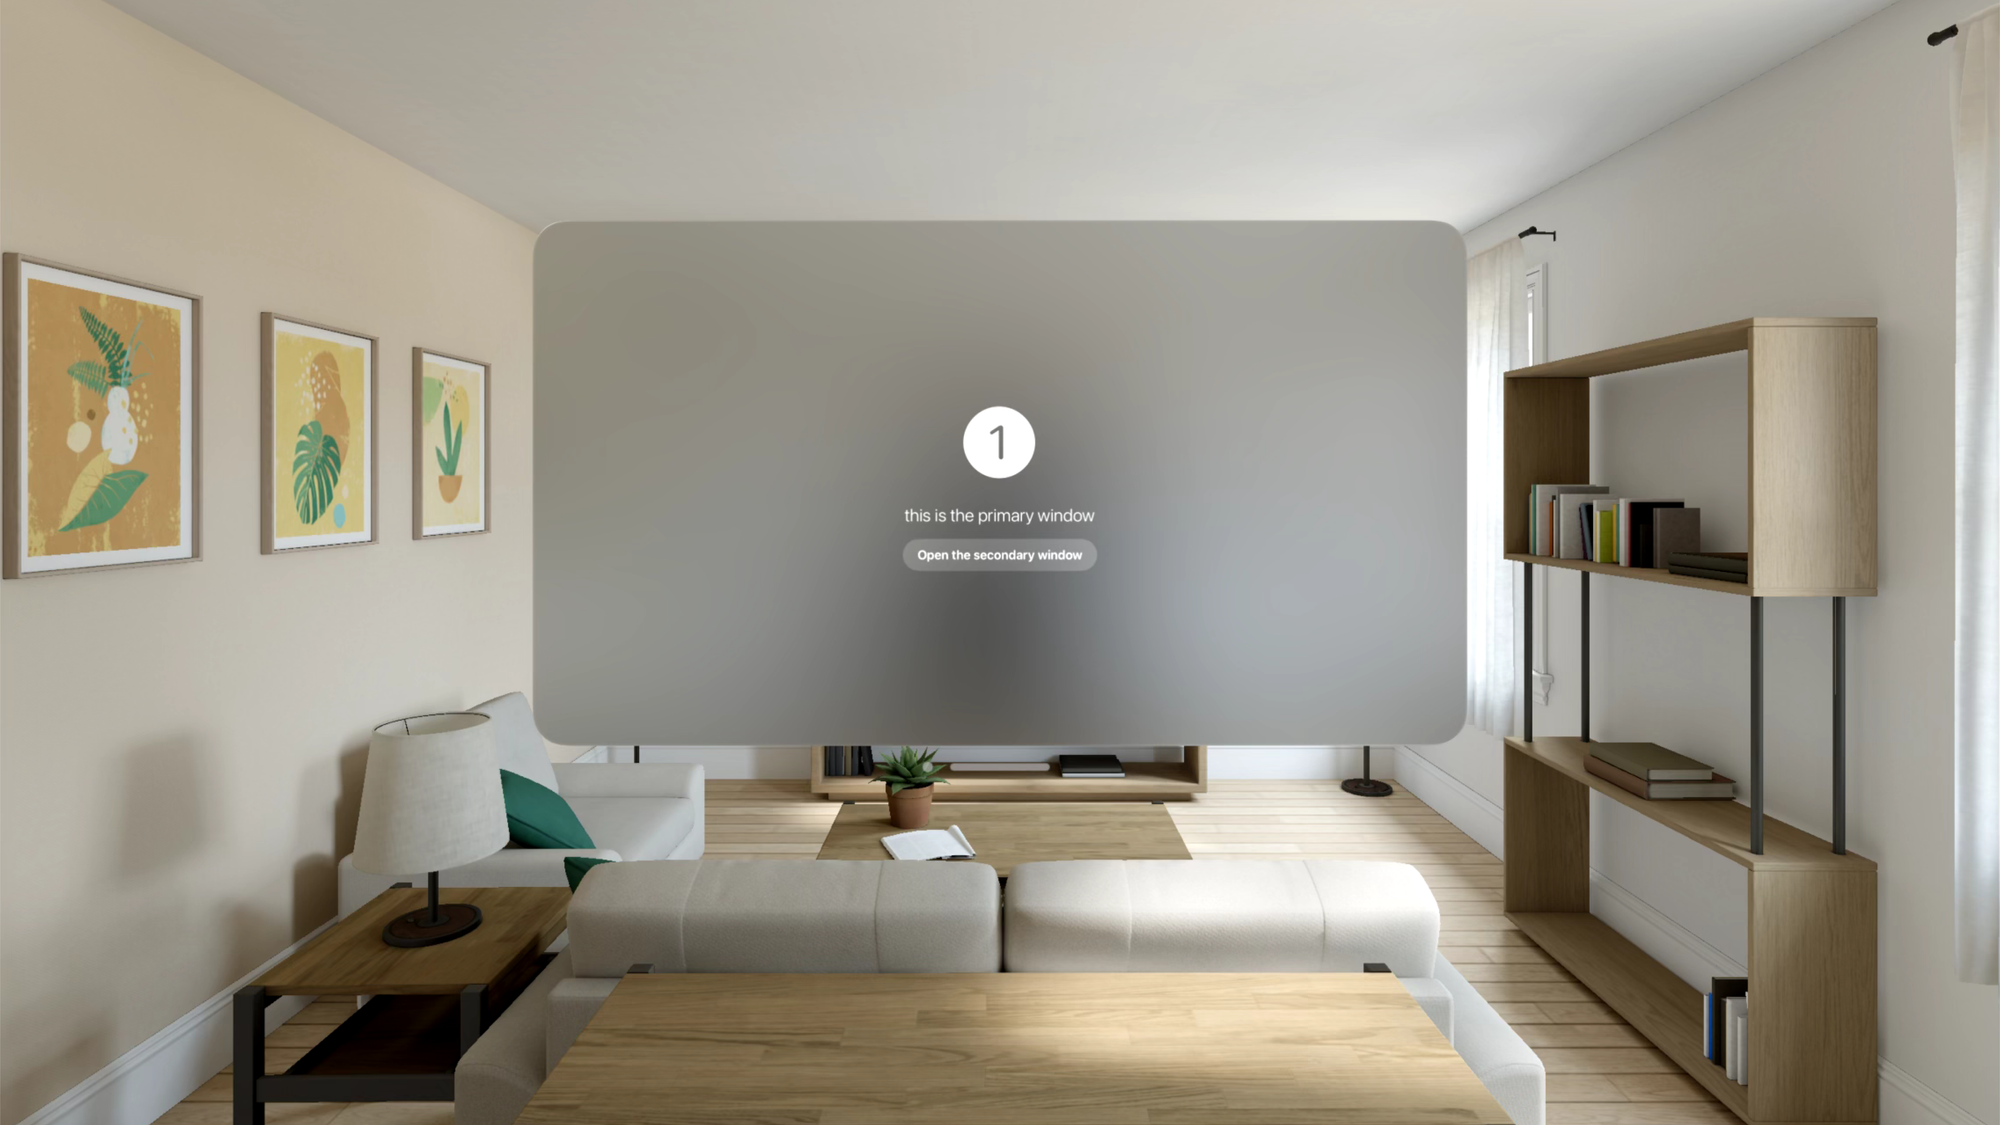
With the SecondaryWindowView in place, attention shifts to creating the PrimaryWindowView. This primary interface serves as the main hub of interaction. We need a simple button capable of opening/closing the SecondaryWindowView we have just created.
import SwiftUI

struct PrimaryWindowView: View {

    @Environment(ViewModel.self) var model

    @Environment(\.openWindow) private var openWindow
    @Environment(\.dismissWindow) private var dismissWindow

    var body: some View {

        @Bindable var model = model

        VStack(spacing: 18.0) {
            Image(systemName: "1.circle.fill")
                .resizable()
                .aspectRatio(contentMode: .fit)
                .frame(width: 100,height: 100)
                .fontWeight(.light)
                .padding()

            Text("this is the primary window")
                .font(.title)
                .fontWeight(.light)

            Toggle("Open the secondary window", isOn: $model.secondaryWindowIsShowing)
                .toggleStyle(.button)
        }
        .onChange(of: model.secondaryWindowIsShowing) { _, isShowing in
            if isShowing {
                openWindow(id: "secondaryWindow")
            } else {
                dismissWindow(id: "secondaryWindow")
            }
        }

    }
}

#Preview(windowStyle: .automatic) {
    PrimaryWindowView()
        .environment(ViewModel())
}
The last step is to update the structure that conforms to the App protocol, the file automatically generated by Xcode that provides the entry point into your app.
import SwiftUI

@main
struct ImplementingWindowsAndVolumesApp: App {

    @State private var model = ViewModel()

    var body: some Scene {
        WindowGroup {
            PrimaryWindowView()
                .environment(model)
        }

        WindowGroup(id: "secondaryWindow") {
            SecondaryWindowView()
                .environment(model)
        }
    }
}
Wrapping up, we've comprehensively established the structure for multiple windows within our application. Following this schema, you can implement as many windows as necessary in your app.
Windows' considerations
- Choose an initial window size that minimizes empty areas to maintain focus on the main content.
- Design default sizes that align with the content — for instance, a Keynote window defaults to a wide format for slides, while a Safari window defaults to a tall format for webpages.
- Enable users to resize app windows but set thoughtful minimum and maximum size values.
- Ensure visual consistency by verifying that the edges of a window match the size of its containing scene.
- If the 3D content extends too far from the window's surface, consider using volumes for a more immersive experience.
Embrace the future with Apple's visionOS, an infinite canvas that transforms how you create the apps you love. Stay tuned and explore with us the latest advancements of this transformative digital experience.