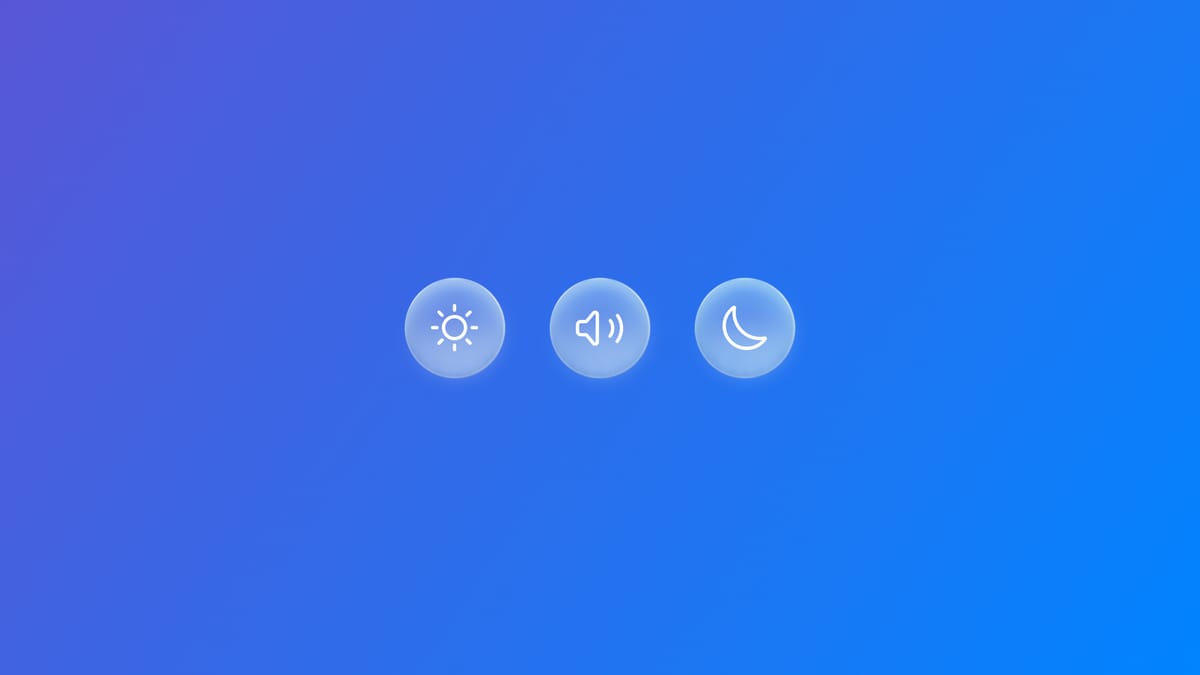
Morphing glass effect elements into one another with glassEffectID
Learn how to blend grouped glass effect components into a unique one during transitions using glassEffectID modifier.
GlassEffectContainer is a view that groups Liquid Glass elements together into a single one. Its peculiarity lies in the ability to transform these grouped elements into one another, blending from several shapes into a unique one during transitions.
The modifier that allows for this morphing effect is the glassEffectID(_:in:) one, available for 26.0 beta on only and to be used on each grouped element in the GlassEffectContainer that is involved in this blending behavior.
If you don’t know how to properly set this latter, check this article.

glassEffectID(_:in:) takes two different parameters:
- An identity value to be associated with that element.
- A
@Namespaceof the shared animation context.
Normally, when views change—such as swapping an icon or showing a new section—SwiftUI animates layout changes. And, with Liquid Glass, SwiftUI can also morph the actual shape of the effect. But to do so, it needs to know which shapes are "related" so that it can animate between them correctly.
To start implementing it:
import SwiftUI

struct GlassTransitionExample: View{
    // 1.
    @Namespace private var namespace

    var body: some View {
        // 2.
        GlassEffectContainer(spacing: 40.0) {
            VStack(spacing: 40.0) {
                // 3.
                Image(systemName: "thermometer.sun.fill")
                    .frame(width: 80.0, height: 80.0)
                    .font(.system(size: 36))
                    // 4.
                    .glassEffect()
                    // 5.
                    .glassEffectID("thermometer", in: namespace)

                Image(systemName: "humidity.fill")
                    .frame(width: 80.0, height: 80.0)
                    .font(.system(size: 36))
                    .glassEffect()
                    .glassEffectID("humidity", in: namespace)

                Image(systemName: "wind")
                    .frame(width: 80.0, height: 80.0)
                    .font(.system(size: 36))
                    .glassEffect()
                    .glassEffectID("wind", in: namespace)
            }
        }
    }
}
- Use
@Namespaceto create a shared animation context. - Create a
GlassEffectContainer. - Declare the elements that it has to group together.
- Apply to each of them the
glassEffect(_:in:isEnabled:)to enable the Liquid Glass effect. - Apply to each of them the
glassEffectID(_:in:)passing as parameter a unique value and thenameSpacejust declared.
Now that we have set the container and the related modifiers to add the Liquid Glass visual effect and behavior, we need to create the logic to enable the transition as the morphing effect is activated only during the animation.
import SwiftUI

struct GlassTransitionExample: View{
    // 1.
    @State private var isSingleShape: Bool = true
    ...
        GlassEffectContainer(spacing: 40.0) {
            VStack(spacing: 40.0) {
                // 2.
                Button(action: {

                    withAnimation {
                        isSingleShape.toggle()
                    }

                  }, label: {
                      Image(systemName: "leaf.fill")
                          .frame(width: 50.0, height: 50.0)
                          .font(.system(size: 26))
                  })
                  // 3.
                  .glassEffectID("togglebutton", in: namespace)
                  .buttonStyle(.glass)

                ...
            }
        }
    }
}
- Add a
@StateBoolthat checks if elements are blended into a single shape or expanded and all visible. - Create a button that handles the toggling from one state to another with some animation.
- Apply the
glassEffectID(_:in:)passing as parameter a unique value and thenameSpacedeclared.
GlassEffectContainer(spacing: 40.0) {
    VStack(spacing: 40.0) {
        ...

    	// 1.
        if !isSingleShape {
            ...
            Image(systemName: "thermometer.sun.fill")
                .frame(width: 80.0, height: 80.0)
                .font(.system(size: 36))
                .glassEffect()
                .glassEffectID("thermometer", in: namespace)

            Image(systemName: "humidity.fill")
                .frame(width: 80.0, height: 80.0)
                .font(.system(size: 36))
                .glassEffect()
                .glassEffectID("humidity", in: namespace)

            Image(systemName: "wind")
                .frame(width: 80.0, height: 80.0)
                .font(.system(size: 36))
                .glassEffect()
                .glassEffectID("wind", in: namespace)
        }
    }
}- Then, use an if-condition to make the
GlassEffectContainergrouped elements be visible or hidden accordingly.
To recap, use glassEffectID(_:in:) modifier especially when showing or hiding elements so that they can morph smoothly into each other instead of simply appearing or disappearing.
This approach enhances both visual appeal and user experience, making transitions feel more fluid, natural and alive when using Liquid Glass effect.


