
Play an animation in RealityKit
Learn how to play animation on 3D models using RealityKit.


When we design augmented reality experiences, a crucial step involves specifying animated behaviors for objects. This will add layers of interactivity, transforming static elements into dynamic components within the augmented environment. In some cases, models may already contain animations, however, we can still define specific behaviors using RealityKit.
Play built-in animation of USDZ models
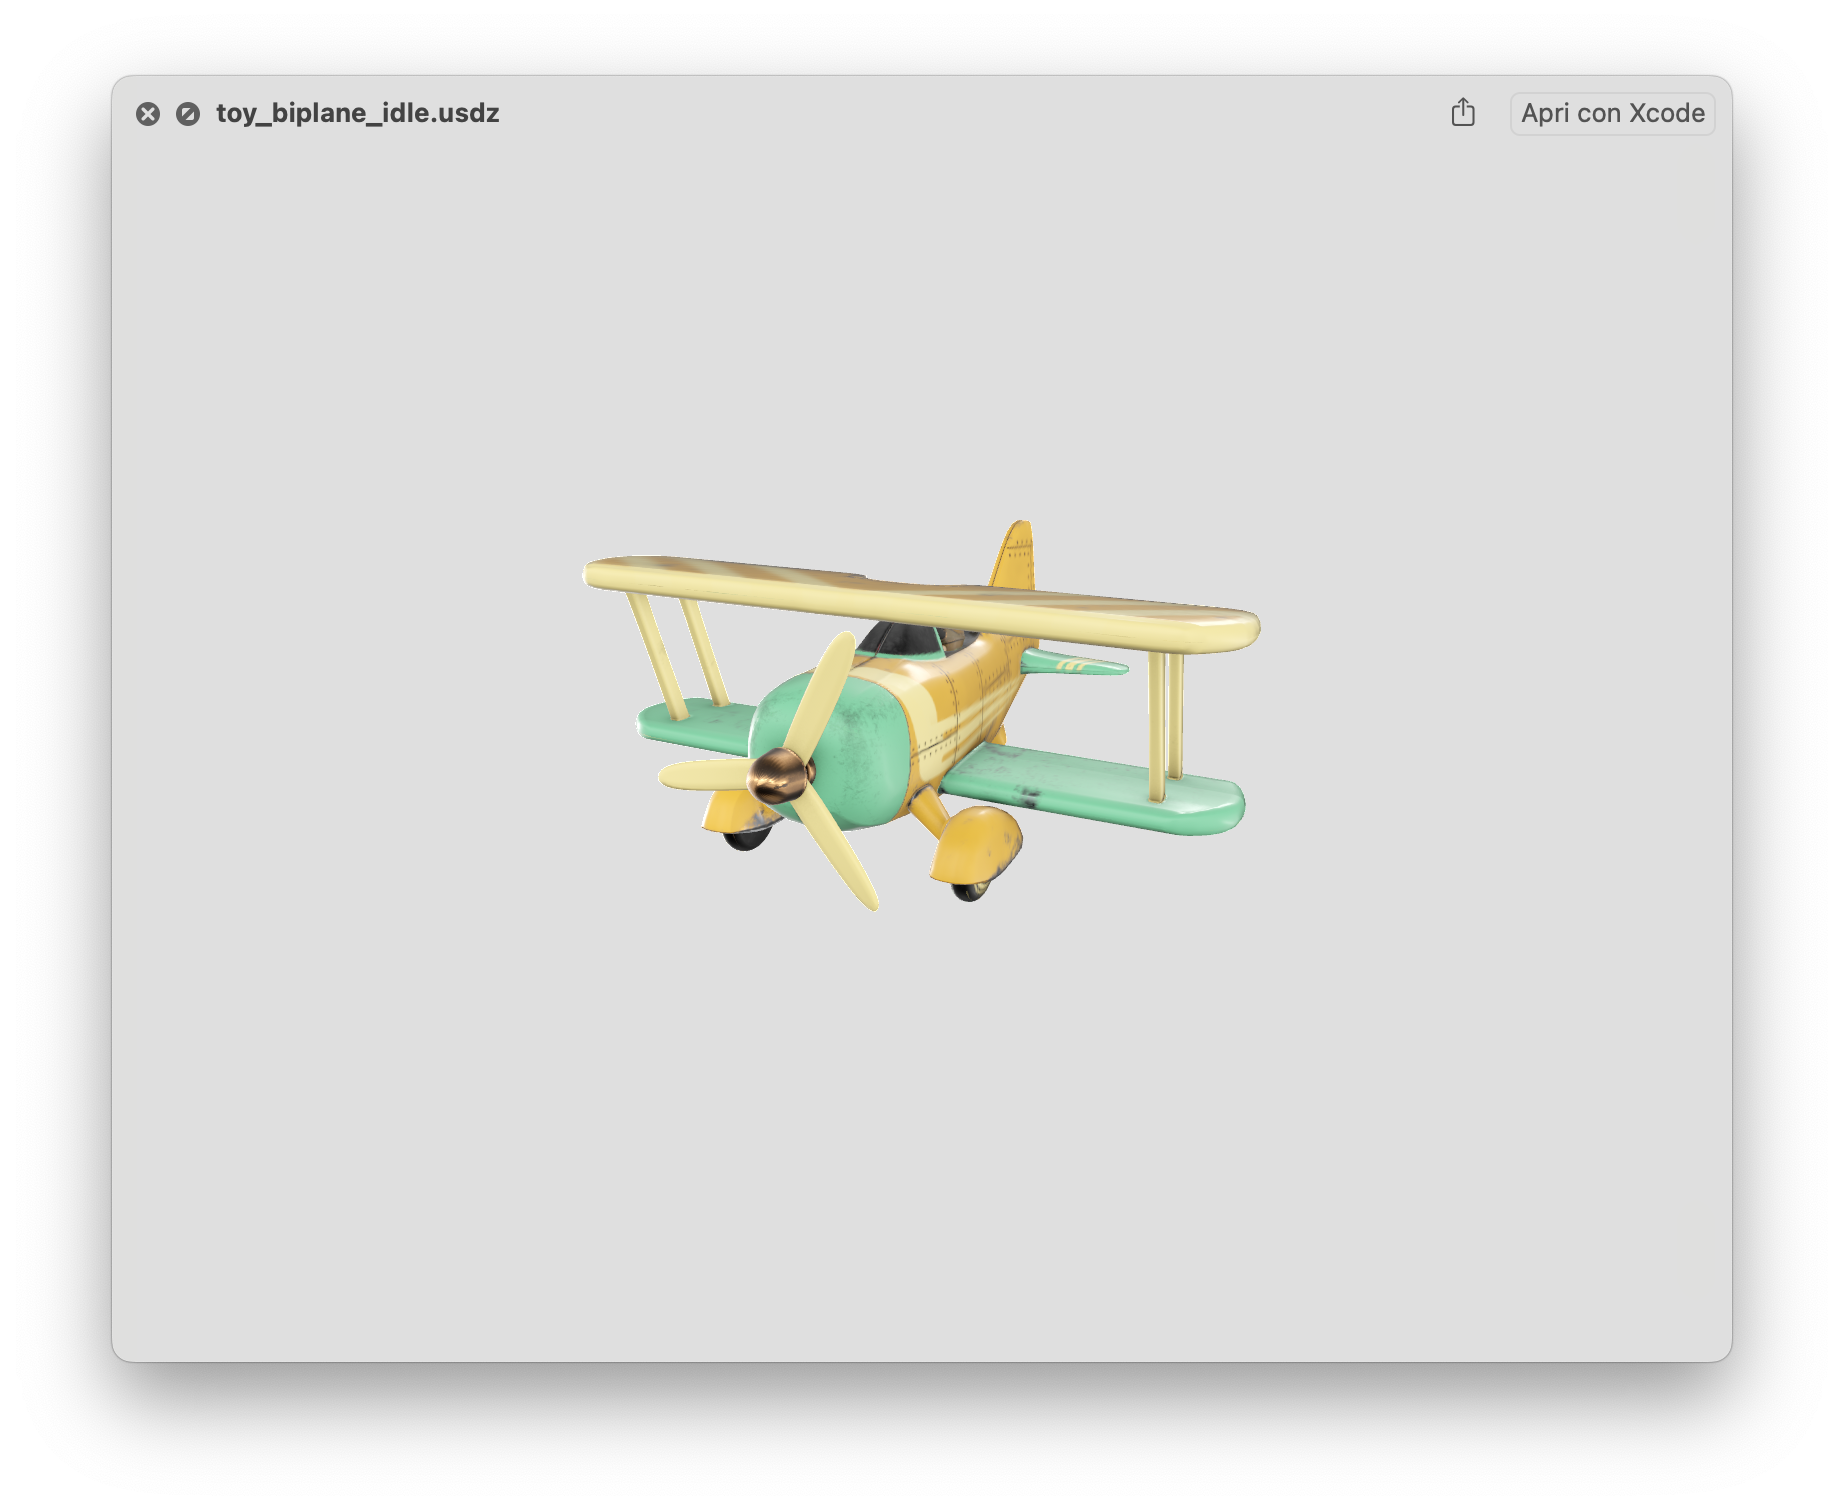
Some models already have a set of animations embedded. Playing this type of animation in RealityKit is simple and straightforward. We can check if our model contains some animation directly through QuickLook. For example, here is what we can see when opening one of the USDZ assets that Apple provides:
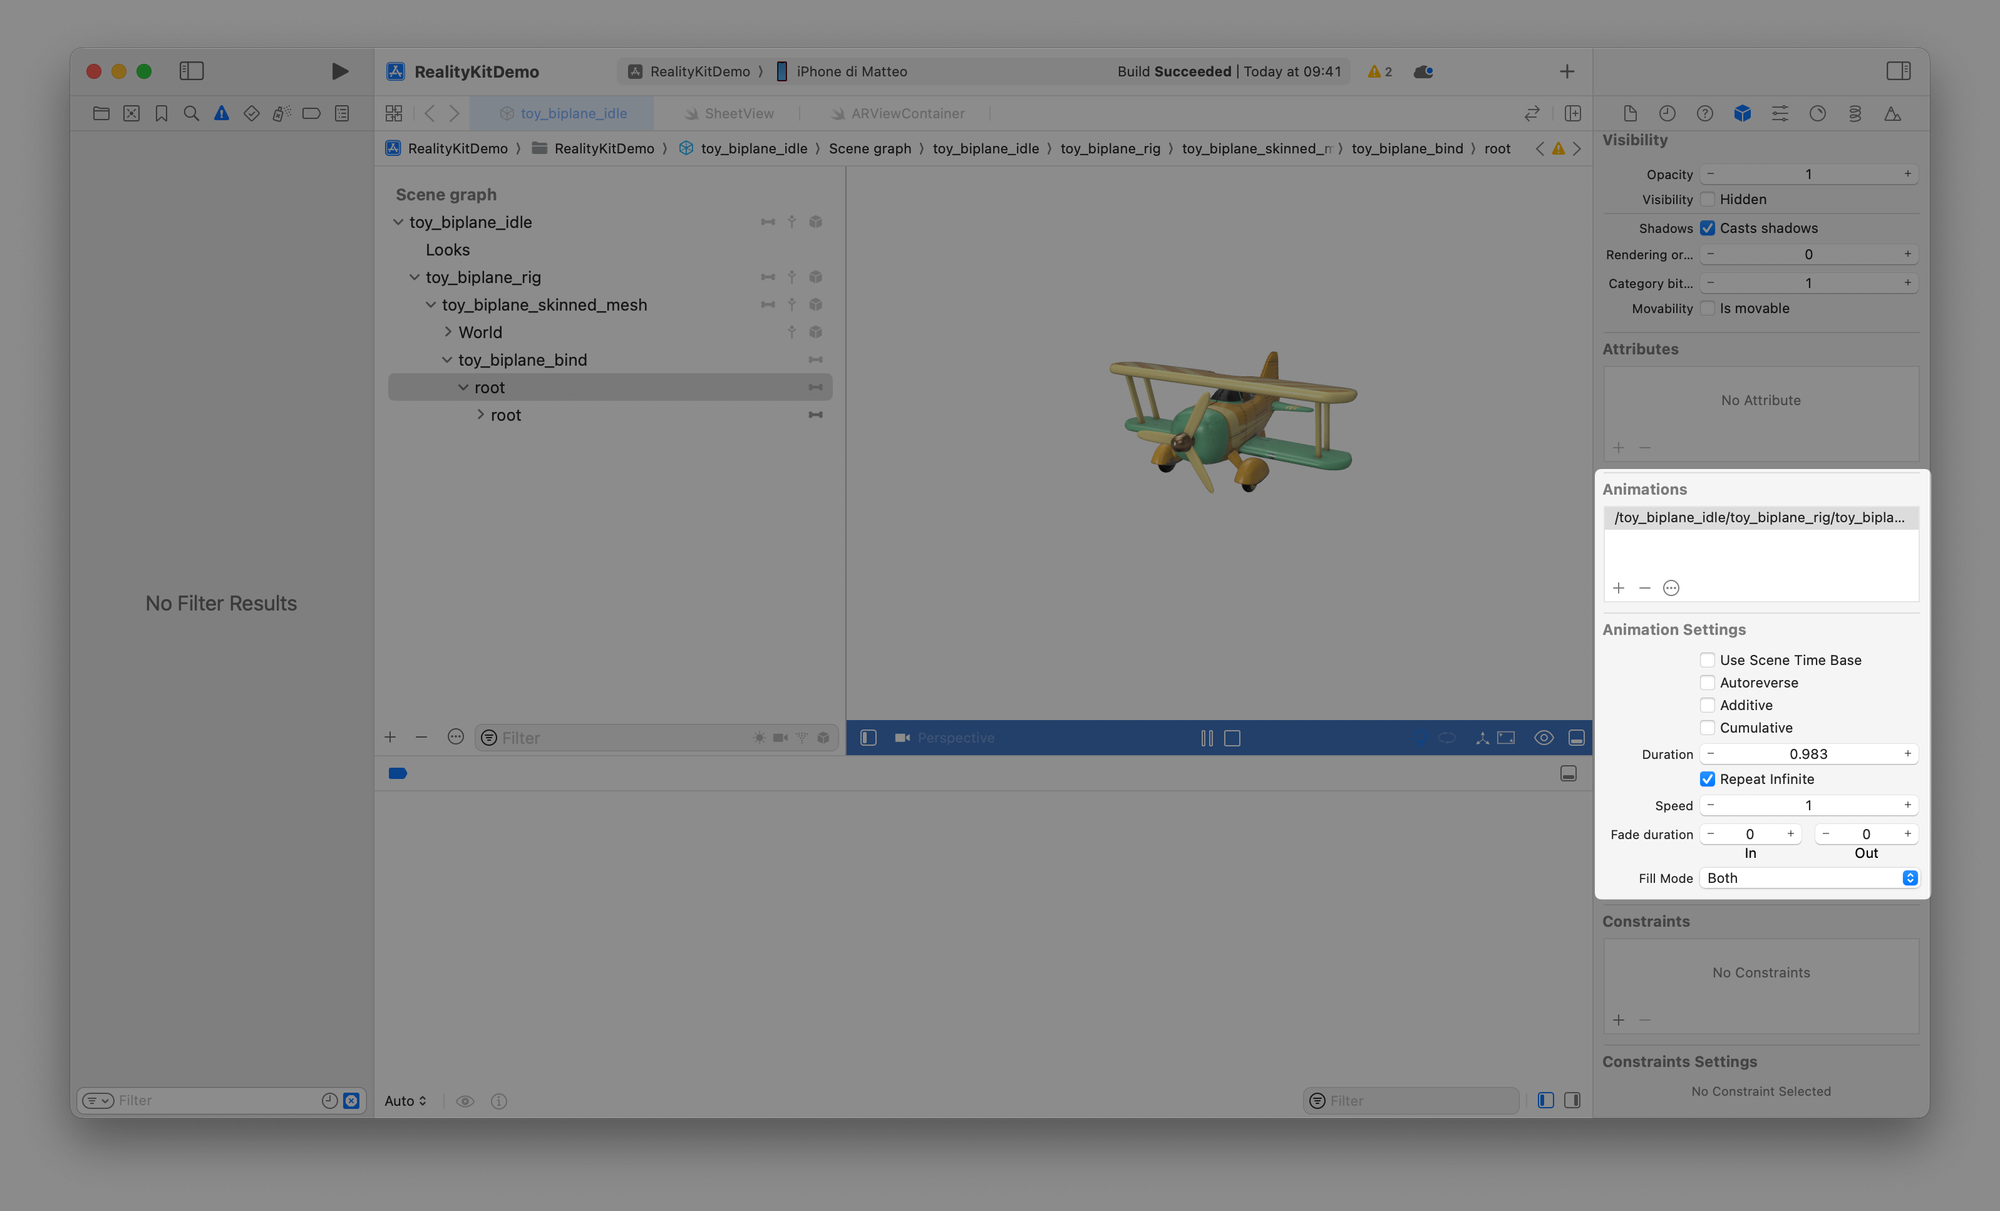
We can also go deeper into understanding the structure of the assets using Xcode. In the Node Inspector panel, we can analyze a lot of information about our USDZ model, including the built-in animation. We can also play the animation directly in Xcode.
Playing this type of animation inside our app is intuitive. Any animation supported by RealityKit will automatically appear in the availableAnimations array property. The only thing that we need to do is play these animations using the playAnimation() method.
for anim in modelEntity.availableAnimations {
    modelEntity.playAnimation(anim.repeat(duration: .infinity),
                              transitionDuration: 1.25,
                              startsPaused: false)
}
Once the model is placed in the environment the animation will be automatically played.
Define custom animations
Besides the animations already embedded within models, we can define our custom animation.
To indicate the new location we need a Transform, a component that defines the scale, rotation, and translation of an entity.
The RealityKit framework has different types of animation that we can define on our model.
Move
The first thing is declaring a transform variable and assigning to it the transform value of our model entity. In this way, the proportion of the entity will still be the same once the AR session starts.
Then, we can define the transformation we want to apply to the model on the transform variable. The translation property defines the position of the entity along the x, y, and z axes.
We can also act on the rotation property of the Transform, like in the following example:
// Retrieve the current transformation of the model entity
var transform = modelEntity.transform
// // Set the rotation of the entity
transform.rotation = simd_quatf(angle: .pi, axis: [0,1,0])
// Move the modelEntity to its new transformed position
modelEntity.move(to: transform, relativeTo: modelEntity.parent, duration: 5.0)
From to By
Using a FromToByAnimation object allows you to define a starting value from for the property being animated, representing its initial state at the animation's onset. Additionally, you can set an ending value to to determine how the property will be after the animation.
var transform = modelEntity.transform

// Update the translation component of the transform to move the entity up by 0.5 units along the y-axis
transform.translation = [0,0.5,0]

// Define an animation using FromToByAnimation
let animationDefinition = FromToByAnimation(to: transform, bindTarget: .transform)

// Create an AnimationView using the defined animation with a delay
let animationViewDefinition = AnimationView(source: animationDefinition, delay: 2, speed: 0.5)

// Generate an AnimationResource from the AnimationViewDefinition
let animationResource = try! AnimationResource.generate(with: animationViewDefinition)

modelEntity.playAnimation(animationResource)
Orbit
The OrbitAnimation helps objects move in a circle smoothly. It changes how they're positioned bit by bit to create a circular motion around their starting point.
var transform = modelEntity.transform

// Update the translation component of the transform to move the entity
transform.translation = [0.1, 0, 0]

// Define an orbit animation
let animationDefinition = OrbitAnimation(duration: 5, axis: [0, 1, 0], startTransform: transform, bindTarget: .transform)

let animationResource = try! AnimationResource.generate(with: animationDefinition)

modelEntity.playAnimation(animationResource)
BlendTree
With the BlendTreeAnimation we can merge different animations into a single one. The following code snippets show you an example of how:
var transform = modelEntity.transform
var transform2 = modelEntity.transform

// Move the entity up by 0.5 units along the y-axis
transform.translation = [0, 0.5, 0]

// Rotate the entity by 180 degrees around the y-axis
transform.rotation = simd_quatf(angle: .pi, axis: [0,1,0])

// Move the entity up by 0.5 units along the y-axis and -0.8 units along the z-axis
transform2.translation = [0, 0.5, -0.8]

// Rotate the entity by 180 degrees around the y-axis
 transform2.rotation = simd_quatf(angle: .pi, axis: [0,1,0])


// Define two separate animations using FromToByAnimatio
        let animationDefinition1 = FromToByAnimation(to: transform, duration: 1.0, bindTarget: .transform)
        let animationDefinition2 = FromToByAnimation(to: transform2, duration: 1.0, bindTarget: .transform)


// Create a Blend Tree Animation by blending the two animations
let blendTreeDefinition = BlendTreeAnimation<Transform>(
            BlendTreeBlendNode(sources: [
                BlendTreeSourceNode(source: animationDefinition1, weight: .value(0.75)),
                BlendTreeSourceNode(source: animationDefinition2, weight: .value(0.25))
            ])
        )

let animationViewDefinition = AnimationView(source: blendTreeDefinition, delay: 5, speed: 0.5)
let animationResource = try! AnimationResource.generate(with: animationViewDefinition)

modelEntity.playAnimation(animationResource)