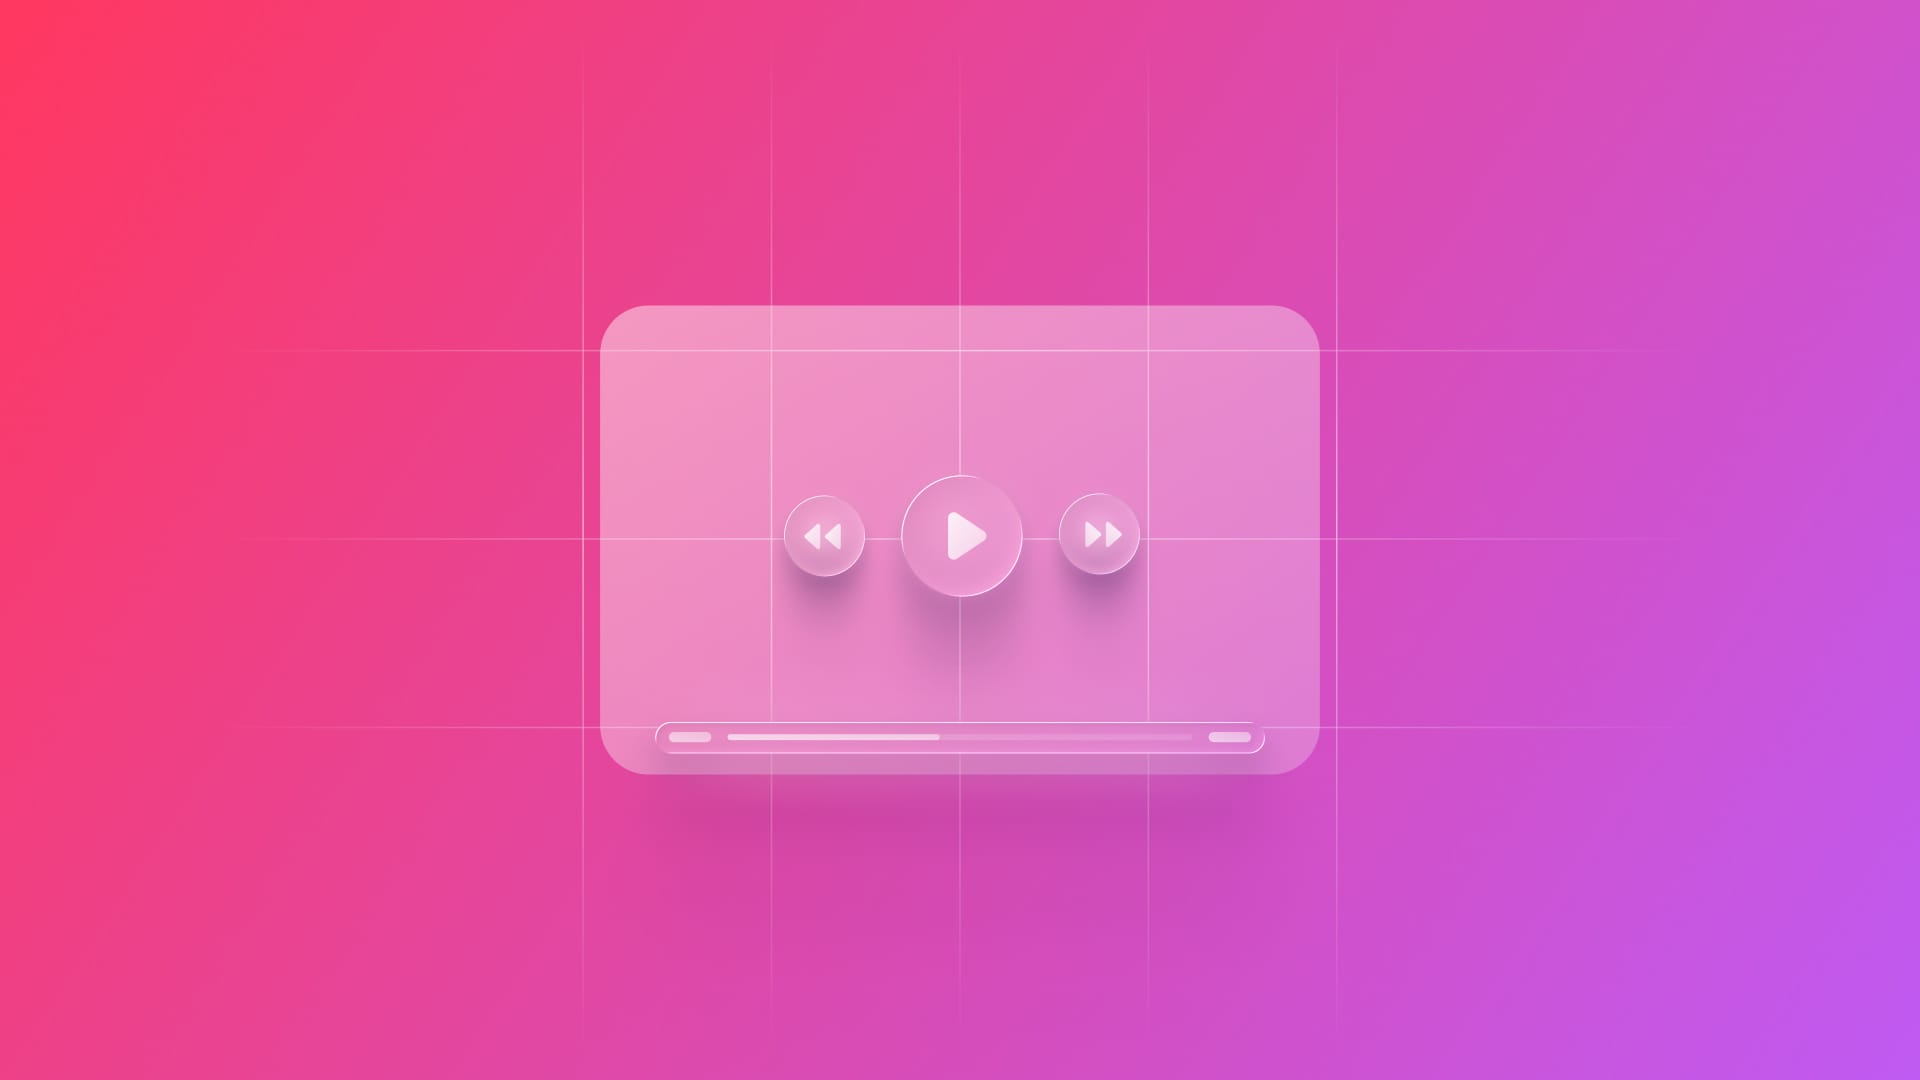
Playback controls for video in a SwiftUI app
Understand how to control video playback in a SwiftUI app with the AVKit framework.


To control video playback in a personalized way in SwiftUI, you can create separate actions to meet different user needs, such as play, pause, stop, or rewind. In this tutorial, we will develop these functionalities step by step and, at the end, integrate them into a complete and functional view.
Before we start
Create a project on Xcode using the App project template and with SwiftUI as the framework for interface implementation.
In the ContentView file import SwiftUI and AVKit so you can develop the user interface and video handling features.
Then, initialize the variable that receives the video and the extension, and call it in the view through the VideoPlayer structure.
import SwiftUI
import AVKit

struct ContentView: View {

    @State private var contentVideo = AVPlayer(url: Bundle.main.url(forResource: "video-example", withExtension: "mp4")!)

    var body: some View {

                VStack{
                    VideoPlayer(player: contentVideo)
                        .frame(width: 360, height: 250)
                        .cornerRadius(16)
                        .padding()

        }
    }
}
Step 1 - Play button
Like all other buttons that change the video state, the play button will generate a change in the video according to a logic created by manipulating objects in the view.
In this case, if the video is playing, the user can pause it with a gesture that manipulates the isPlaying variable:
@State private var isPlaying: Bool = false
- If the video is playing (
isPlaying == true), theplay()method is active. - If the video is paused (
isPlaying == false), thepause()method is active.
isPlaying ? contentVideo.pause() : contentVideo.play()
isPlaying.toggle()
For the button icon, the image changes dynamically:
- Shows the "pause" icon when the video is playing.
- Shows the "play" icon when it is paused.
Image(systemName: isPlaying ? "pause" : "play")
Consolidating the steps:
import SwiftUI
import AVKit

struct ContentView: View {

    @State private var contentVideo = AVPlayer(url: Bundle.main.url(forResource: "video-example", withExtension: "mp4")!)

    @State private var isPlaying: Bool = false

    var body: some View {

        VStack{
            VideoPlayer(player: contentVideo)
                .frame(width: 360, height: 250)
                .cornerRadius(16)
                .padding()

            Button {
                    isPlaying ? contentVideo.pause() : contentVideo.play()
                    isPlaying.toggle()
                } label: {
                    Image(systemName: isPlaying ? "pause" : "play")
            }
        }
    }
}
Step 2 - Stop button
In the stop video button structure, we need to execute the action and define the interface, as well as update the state of the isPlaying variable to indicate that the video is no longer playing, so:
pause(): Pauses the video at the current point, but does not reset it; it just stops playback.seek(to: .zero): Moves the playback to the beginning of the video (rewind).
contentVideo.pause()
contentVideo.seek(to: .zero)
isPlaying = false
- For visualization, we use the SF Symbol
"stop.circle".
Image(systemName: "stop.circle")
Here is how the ContentView should look like at the moment:
import SwiftUI
import AVKit

struct ContentView: View {

    @State private var contentVideo = AVPlayer(url: Bundle.main.url(forResource: "video-example", withExtension: "mp4")!)

    @State private var isPlaying: Bool = false

    var body: some View {

        VStack {
            VideoPlayer(player: contentVideo)
                .frame(width: 360, height: 250)
                .cornerRadius(16)
                .padding()

                Button {
                    contentVideo.pause()
                    contentVideo.seek(to: .zero)
                    isPlaying = false
                } label: {
                    Image(systemName: "stop.circle")
            }
        }
    }
}
Step 3 - Forward and backward buttons
We can also implement controls to forward or rewind a video. To achieve this, we will adopt a common pattern in media players, allowing users to forward or rewind 10 seconds of playback with a single tap.
So, we added two variables in the scope of the main struct:
newTime: stores a time value in seconds.time: stores a time inCMTimeformat, which is used byAVPlayerto navigate the video.
@State private var newTime: Double = 0
@State private var time = CMTime(seconds: 0, preferredTimescale: 600)
In the button action, we use currentTime to get the current time of the video in seconds, then subtract 10 seconds from the current time to rewind the video with the newTime variable. Note that max() prevents the video from rewinding by 0 seconds.
With the time variable, we create a new CMTime using the calculated newTime, while the preferredtimescale parameter sets the precision of the timestamp, which can be set to 600, a common and balanced value. We finish by adding seek() to the video player to skip the specified time back 10 seconds.
currentTime = contentVideo.currentTime().seconds
newTime = max(currentTime - 10, 0)
time = CMTime(seconds: newTime, preferredTimescale: 600)
contentVideo.seek(to: time)
To advance the video, add one more variable to the scope, duration should be a Double variable containing the total duration of the video.
@State private var duration: Double = 12.0
The difference between the forward and rewind buttons is the calculation of seconds performed in the newTime variable. We add 10 seconds instead of subtracting them using the min() function to ensure that it does not exceed the total duration of the video.
currentTime = contentVideo.currentTime().seconds
newTime = min(currentTime + 10, duration)
time = CMTime(seconds: newTime, preferredTimescale: 600)
contentVideo.seek(to: time)
To visualize the action, we will use the following SF Symbols:
Image(systemName: "10.arrow.trianglehead.counterclockwise") //Backward
Image(systemName: "10.arrow.trianglehead.clockwise") //Forward
Consolidating:
import SwiftUI
import AVKit

struct ContentView: View {

    @State private var contentVideo = AVPlayer(url: Bundle.main.url(forResource: "video-example", withExtension: "mp4")!)
    @State private var currentTime: Double = 0.0
    @State private var duration: Double = 12.0
    @State private var newTime: Double = 0
    @State private var time = CMTime(seconds: 0, preferredTimescale: 600)

    var body: some View {

        VStack{
            VideoPlayer(player: contentVideo)
                .frame(width: 360, height: 250)
                .cornerRadius(16)
                .padding()

             Button {
                currentTime = contentVideo.currentTime().seconds
                newTime = max(currentTime - 10, 0)
                time = CMTime(seconds: newTime, preferredTimescale: 600)
                contentVideo.seek(to: time)
             } label: {
                Image(systemName: "10.arrow.trianglehead.counterclockwise")
            }

            Button {
                currentTime = contentVideo.currentTime().seconds
                newTime = min(currentTime + 10, duration)
                time = CMTime(seconds: newTime, preferredTimescale: 600)
                contentVideo.seek(to: time)
              } label: {
                Image(systemName: "10.arrow.trianglehead.clockwise")
            }
        }
    }
}
Step 4 - Video Manipulation: Slider
To have greater control over the video, we can use Slider. This way we will move through the video and be able to remain at a specific point.
Slider(value: $currentTime, in: 0...duration) { editing in
    if !editing {
        contentVideo.seek(to: CMTime(seconds: currentTime, preferredTimescale: 600))
    }
}
The Slider uses value linked to the current time of the video, that is, to the state of the currentTime variable. The in: 0...duration parameter defines the slider range from 0 to the total time of the video and through the if condition, the code block is executed after the user releases the slider so that we do not have problems of inconsistency with the video while the slide moves.
Consolidating the steps:
import SwiftUI
import AVKit

struct ContentView: View {

    @State private var contentVideo = AVPlayer(url: Bundle.main.url(forResource: "video-example", withExtension: "mp4")!)
    @State private var currentTime: Double = 0.0
    @State private var duration: Double = 12.0

    var body: some View {

        VStack{
            VideoPlayer(player: contentVideo)
                .frame(width: 360, height: 250)
                .cornerRadius(16)
                .padding()

            Slider(value: $currentTime, in: 0...duration) { editing in
                if !editing {
                    contentVideo.seek(to: CMTime(seconds: currentTime, preferredTimescale: 600))
                }
            }
        }
    }
}
Step 5 (Optional) - Improve the layout that includes the video
You can create a background layout for the video, including video manipulation features, using SwiftUI.
struct VideoLayout: View {
    var body: some View {
        VStack{
            ZStack{
                RoundedRectangle(cornerRadius: 20)
                    .fill(Color(.secondarySystemBackground))
                    .frame(width: 380, height: 450)
                    .shadow(color: .primary, radius: 1, x: 3, y: 5)
                    .overlay(
                        HStack{
                            VStack(spacing: 5) {

                                Spacer()

                                Text("Create with Swift")
                                    .font(.system(size: 15))
                                    .fontWeight(.semibold)
                                    .foregroundColor(.primary)

                                Text("by Imaginary Institute")
                                    .font(.system(size: 10))
                                    .foregroundColor(.secondary)
                            }
                            .padding()
                            Spacer()
                        }
                    )
            }
            Spacer()
        }
    }
}
Final Result
Here we put all the buttons in a Capsule() view and the slider below, added to the layout view and the video itself:
import SwiftUI
import AVKit

struct ContentView: View {

    @State private var contentVideo = AVPlayer(url: Bundle.main.url(forResource: "video-example", withExtension: "mp4")!)
    @State private var currentTime: Double = 0.0
    @State private var duration: Double = 12.0
    @State private var isPlaying: Bool = false
    @State private var newTime: Double = 0
    @State private var time = CMTime(seconds: 0, preferredTimescale: 600)


    var body: some View {
        ZStack {
            VideoLayout()
            VStack {
                VStack{
                    VideoPlayer(player: contentVideo)
                        .frame(width: 360, height: 250)
                        .cornerRadius(16)
                        .padding()

                    Capsule()
                        .fill(.gray)
                        .brightness(0.1)
                        .frame(width: 200, height: 50)
                        .shadow(color: .primary, radius: 1, x: 2, y: 3)
                        .overlay(
                            HStack(spacing: 10) {
                                Button {
                                    currentTime = contentVideo.currentTime().seconds
                                    newTime = max(currentTime - 10, 0)
                                    time = CMTime(seconds: newTime, preferredTimescale: 600)
                                    contentVideo.seek(to: time)
                                } label: {
                                    Image(systemName: "10.arrow.trianglehead.counterclockwise")
                                }

                                Button {
                                    isPlaying ? contentVideo.pause() : contentVideo.play()
                                    isPlaying.toggle()
                                } label: {
                                    Image(systemName: isPlaying ? "pause" : "play")
                                }
                                Button {
                                    contentVideo.pause()
                                    contentVideo.seek(to: .zero)
                                    isPlaying = false
                                } label: {
                                    Image(systemName: "stop.circle")
                                }
                                Button {
                                    currentTime = contentVideo.currentTime().seconds
                                    newTime = min(currentTime + 10, duration)
                                    time = CMTime(seconds: newTime, preferredTimescale: 600)
                                    contentVideo.seek(to: time)
                                } label: {
                                    Image(systemName: "10.arrow.trianglehead.clockwise")
                                }
                            }.foregroundStyle(.white)
                        )


                    Slider(value: $currentTime, in: 0...duration) { editing in
                        if !editing {
                            contentVideo.seek(to: CMTime(seconds: currentTime, preferredTimescale: 600))
                        }
                    }.tint(.gray).frame(width: 200, height: 40).padding(.horizontal)
                }
                Spacer()
            }

        }
    }
}

struct VideoLayout: View {
    var body: some View {
        VStack{
            ZStack{
                RoundedRectangle(cornerRadius: 20)
                    .fill(Color(.secondarySystemBackground))
                    .frame(width: 380, height: 450)
                    .shadow(color: .primary, radius: 1, x: 3, y: 5)
                    .overlay(
                        HStack{
                            VStack(spacing: 5) {

                                Spacer()

                                Text("Create with Swift")
                                    .font(.system(size: 15))
                                    .fontWeight(.semibold)
                                    .foregroundColor(.primary)

                                Text("by Imaginary Institute")
                                    .font(.system(size: 10))
                                    .foregroundColor(.secondary)
                            }
                            .padding()
                            Spacer()
                        }
                    )
            }
            Spacer()
        }
    }
}
As a result, we built a video playback interface in SwiftUI using the AVKit framework, with custom controls for play, pause, stop, 10-second forward and backward, as well as a synchronized progress slider.