Playing a video in a SwiftUI app
Learn how to implement a simple video player for reproducing videos in a SwiftUI app.


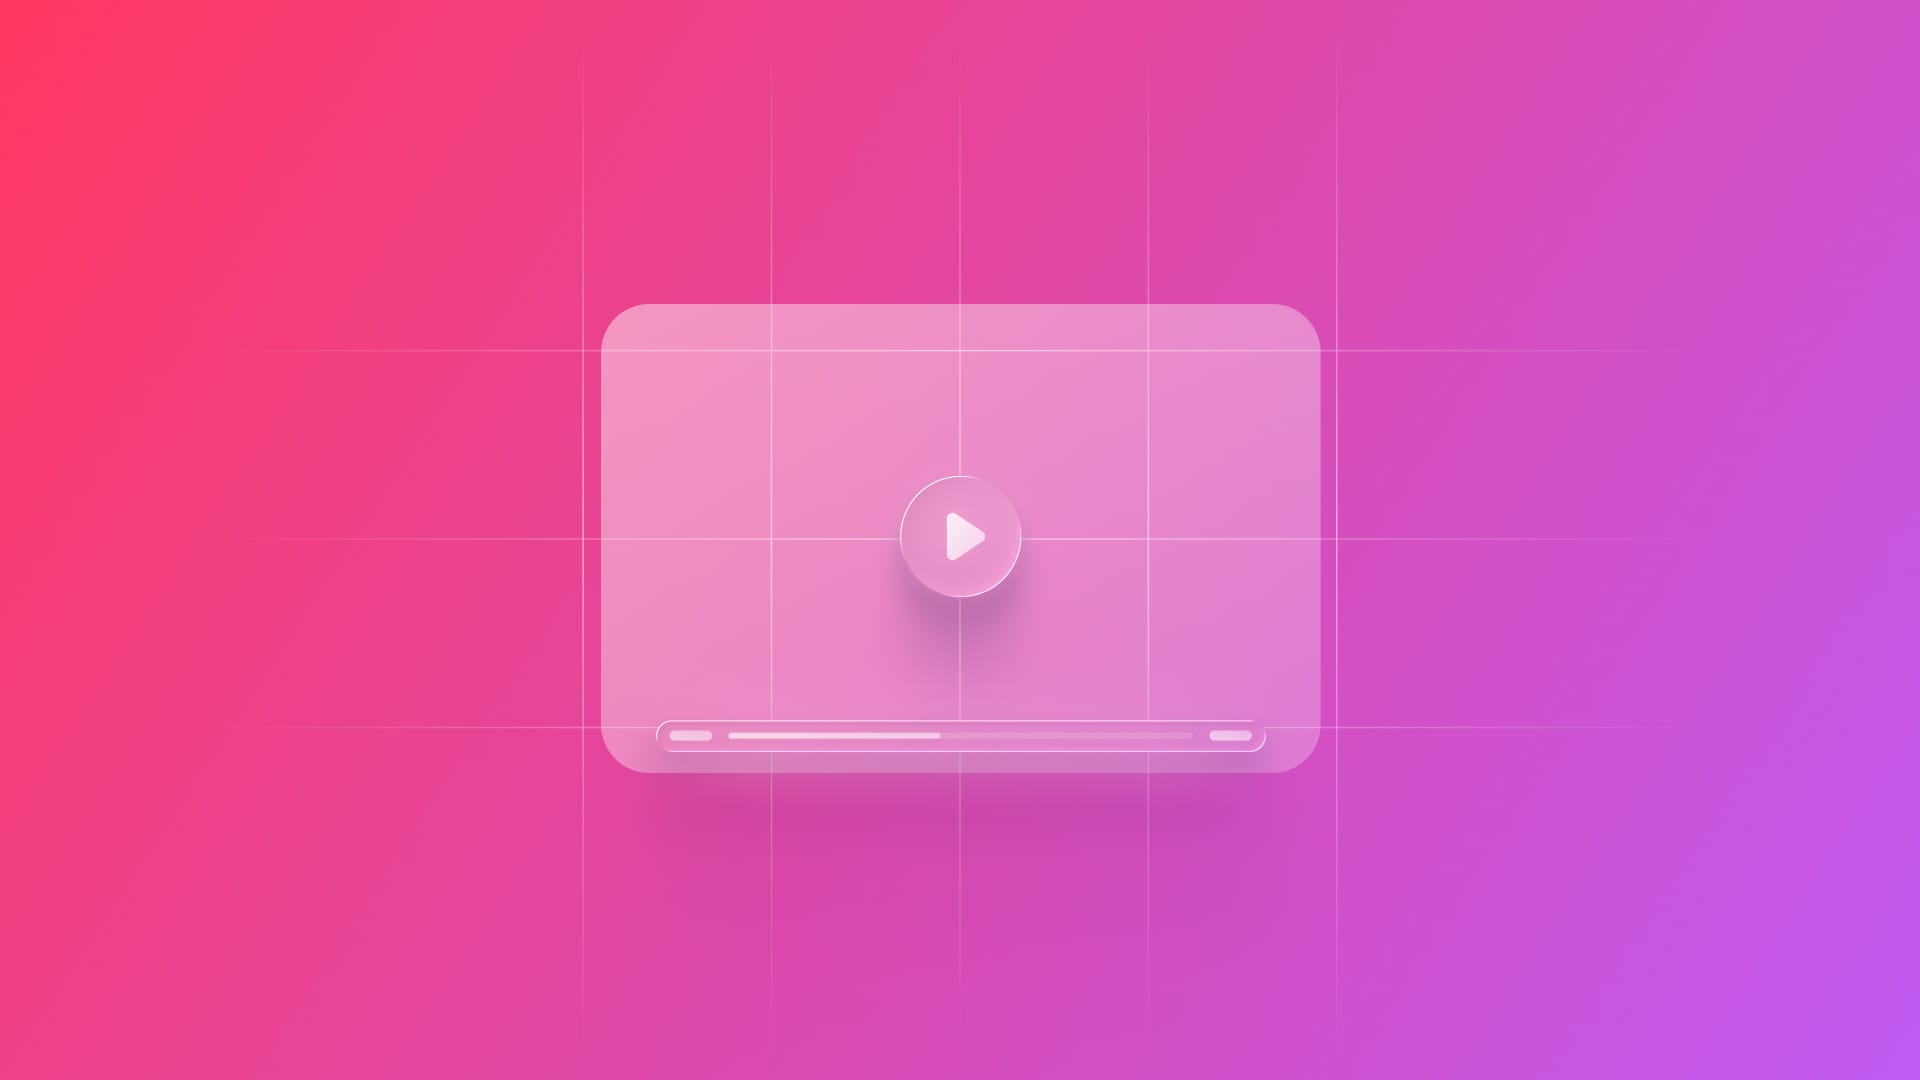
It is possible to add videos to applications with declarative UI, using the AVKit and SwiftUI frameworks, that is, display a video directly in a player with a customized layout. The following tutorial will guide you step-by-step in developing it, explaining the details.
Step 1 - Importing the frameworks
First of all, import the AVKit framework, so we have access to its dependencies and SwiftUI, to define what the user interface should do.
import SwiftUI
import AVKit
Step 2 - Creating the video player and state control
Create a @State variable, which will be our video player that loads a file, for example, mp4, from the app bundle.
@State var contentVideo = AVPlayer(url: Bundle.main.url(forResource: "video-example", withExtension: "mp4")!)
Note that the information the variable needs about the video file is under the parameter of the AVPlayer class, which manages the playback and timing of a local or remote file-based media asset.
Step 3 - Inserting the video player into the view
Bring the AVKit component that plays the video, VideoPlayer, into the application body, which allows the viewer to display the content specified in the contentVideo variable through a player and a native user interface to control playback.
VideoPlayer(player: contentVideo)
    .frame(width: 360, height: 250)
    .cornerRadius(16)
    .padding()
Note that we can manipulate the layout properties of this structure with modifiers.
Step 4 - Improving the layout that includes the video
Here’s an example of a card layout that serves as a background element. This card includes a space where the video will be displayed, helping to visually frame the content on the screen in an organized way.
struct VideoLayout: View {
    var body: some View {
        VStack {
            ZStack {
                RoundedRectangle(cornerRadius: 20)
                    .fill(Color(.secondarySystemBackground))
                    .frame(width: 380, height: 350)
                    .shadow(color: Color.black.opacity(0.4), radius: 8, x: 0, y: 4)
                    .overlay(
                        HStack {
                            VStack(spacing: 5) {
                                Spacer()

                                Text("Create with Swift")
                                    .font(.title3)
                                    .fontWeight(.semibold)
                                    .foregroundColor(.primary)

                                Text("by imaginary institute")
                                    .font(.subheadline)
                                    .foregroundColor(.secondary)
                            }
                            .padding()

                            Spacer()
                        }
                    )
            }

            Spacer()
        }
    }
}
We can then import this layout into the main view, positioning the video player component in front of the card. This creates a layered visual effect, with the card serving as a backdrop.
struct ContentView: View {

    @State var contentVideo = AVPlayer(url: Bundle.main.url(forResource: "video-example", withExtension: "mp4")!)

    var body: some View {
        ZStack {
            VideoLayout()

            VStack {
                VideoPlayer(player: contentVideo)
                    .frame(width: 360, height: 250)
                    .cornerRadius(16)
                    .padding()

                Spacer()
            }
        }
    }

}
We explored creating a straightforward interface for playing videos in SwiftUI. You can now load a local video from the package and display it within a custom layout by applying visual styles.
To dive deeper into how to play a video in a SwiftUI app, you can check out the following resources:
- Custom video player with AVKit and SwiftUI supporting Picture-In-Picture: how to create a custom video player with AVKit and SwiftUI that supports Picture-in-Picture
- Switching between HLS streams with AVKit: create a simple
VideoPlayerViewModelthat monitors the playback buffer of anAVPlayerItemand lowers the playback resolution when it is likely to stall. - AVKit: Learn more about interfaces for media playback.