
Prototyping SwiftUI interfaces with OpenAI's ChatGPT
Understand how to use OpenAI's ChatGPT conversational machine learning model to create working code for SwitfUI apps within a few minutes.
In recent months and years, OpenAI released many artificial intelligence APIs and machine learning models that support use cases from text summarization, translation, parsing unstructured data, clasification, text composition and many more. The latest addition is a model called ChatGPT which is implemented as an conversational tool.
We’ve trained a model called ChatGPT which interacts in a conversational way. The dialogue format makes it possible for ChatGPT to answer followup questions, admit its mistakes, challenge incorrect premises, and reject inappropriate requests. ChatGPT is a sibling model to InstructGPT, which is trained to follow an instruction in a prompt and provide a detailed response.
Source: ChatGPT: Optimizing Language Models for Dialogue
The internet is overflowing with many examples ranging from funny to mindblowing 🤯. In the latter category is also the ability to create usable Swift code based on simple prompts that can be used at least for prototyping, maybe much more, so let's have a look.
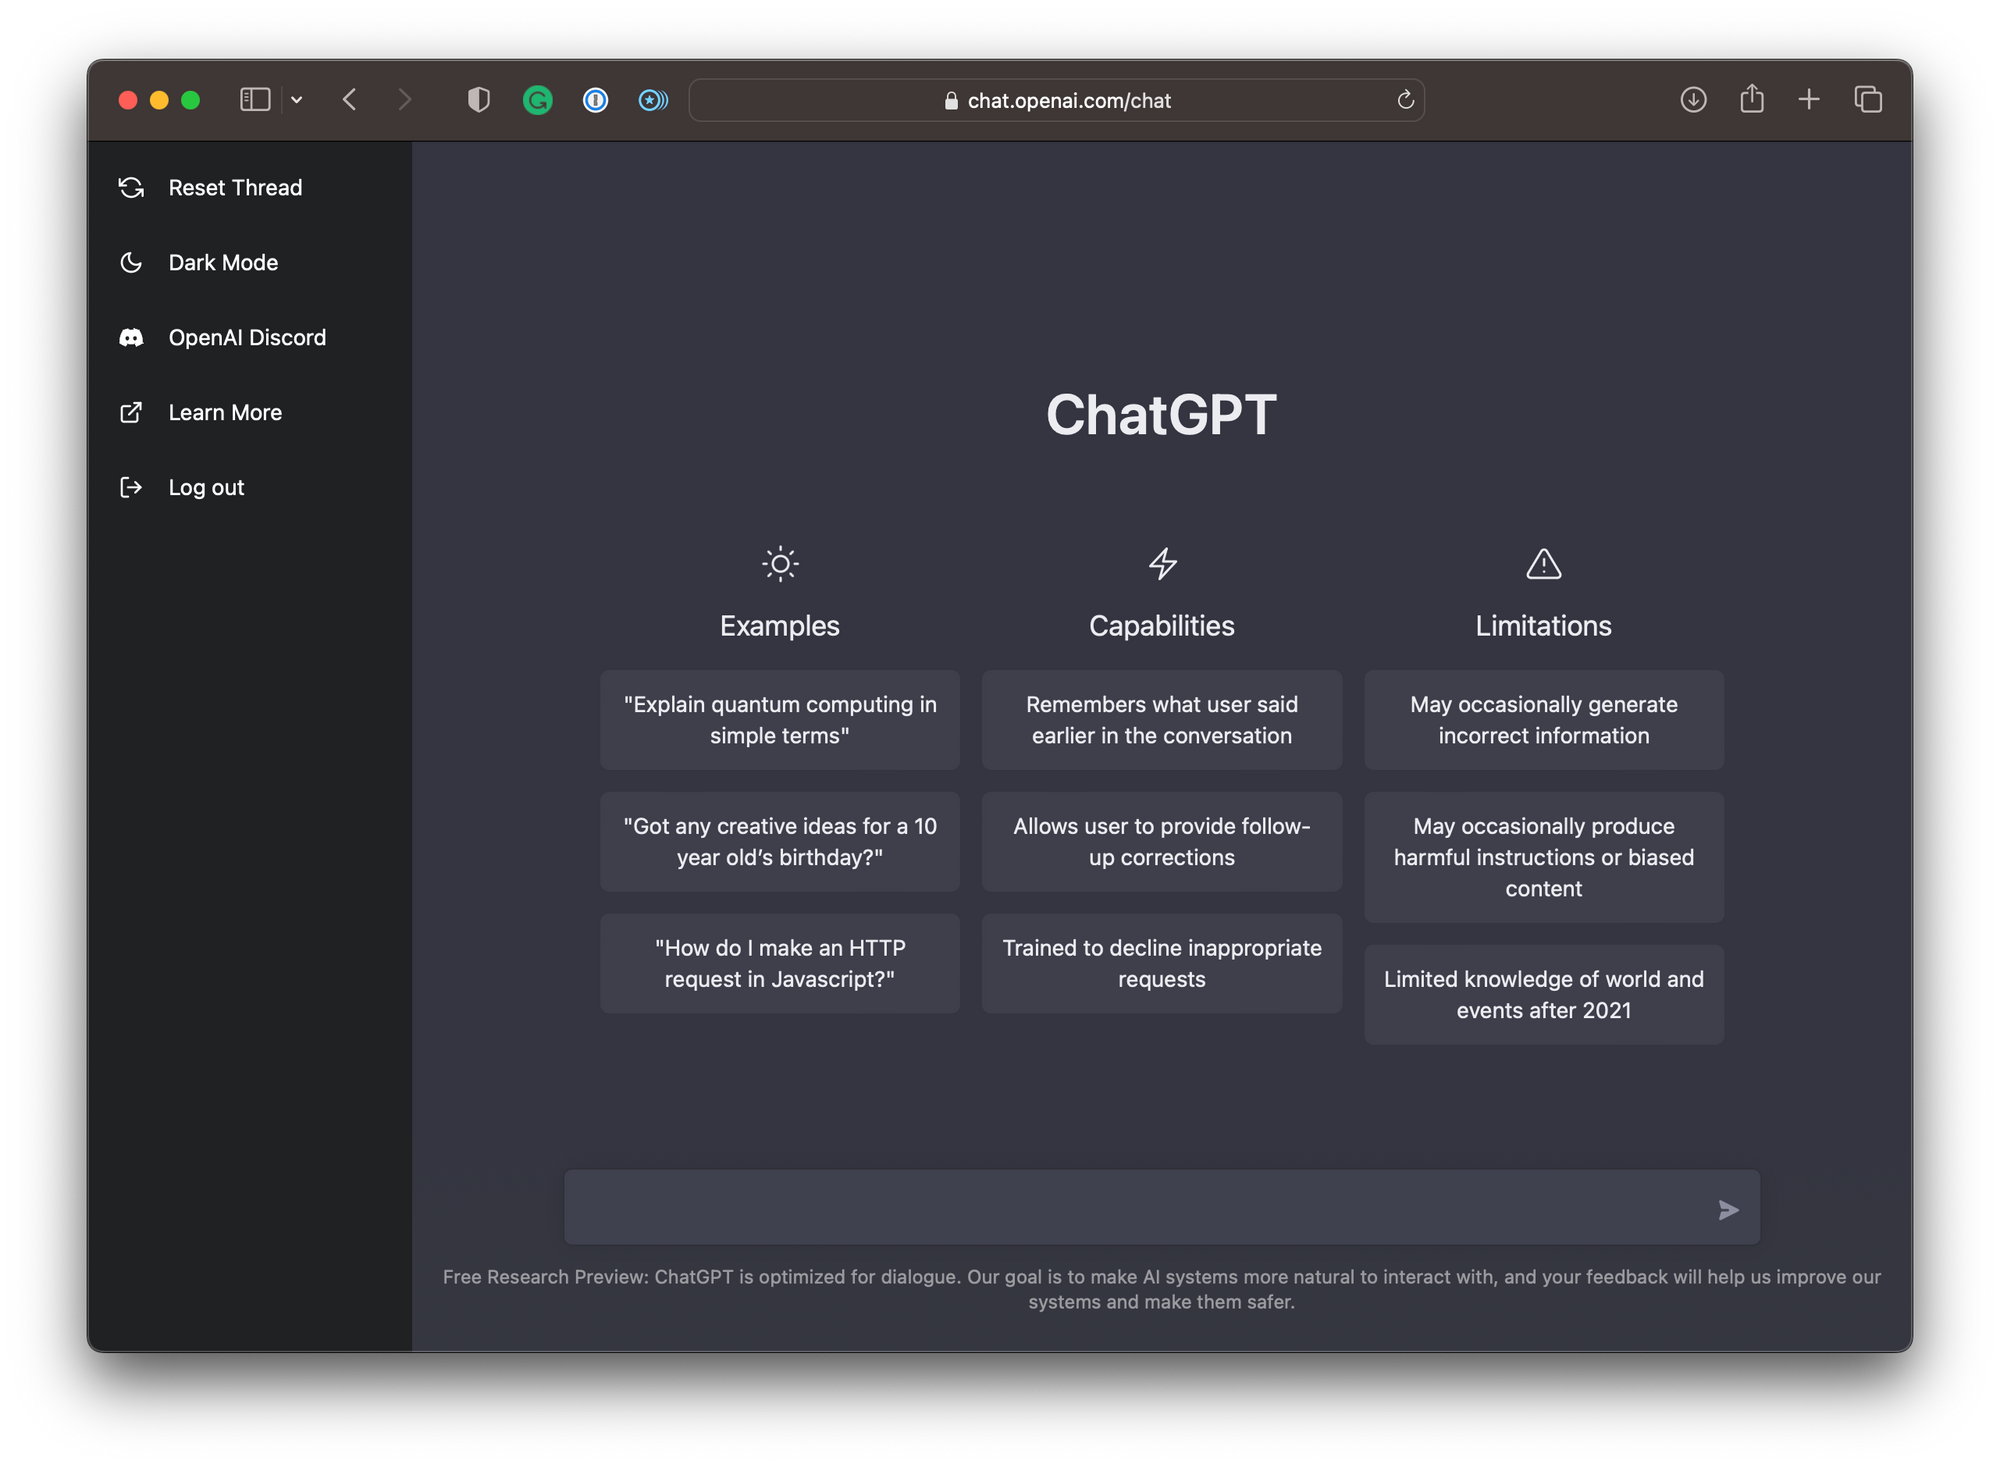
You can register to try ChatGPT for free. Once logged in, you are presented with a straightforward chat interface.
Then, it is as simple as providing prompts to the model, describing the functionality of the interface you want to create. For example, let's create an app that shows a number of emoji in a List:
create a SwiftUI app that shows
a list of all heart emojis and
the name of the emojis.
The output is surprisingly concise and even features an explanation of what the code does.
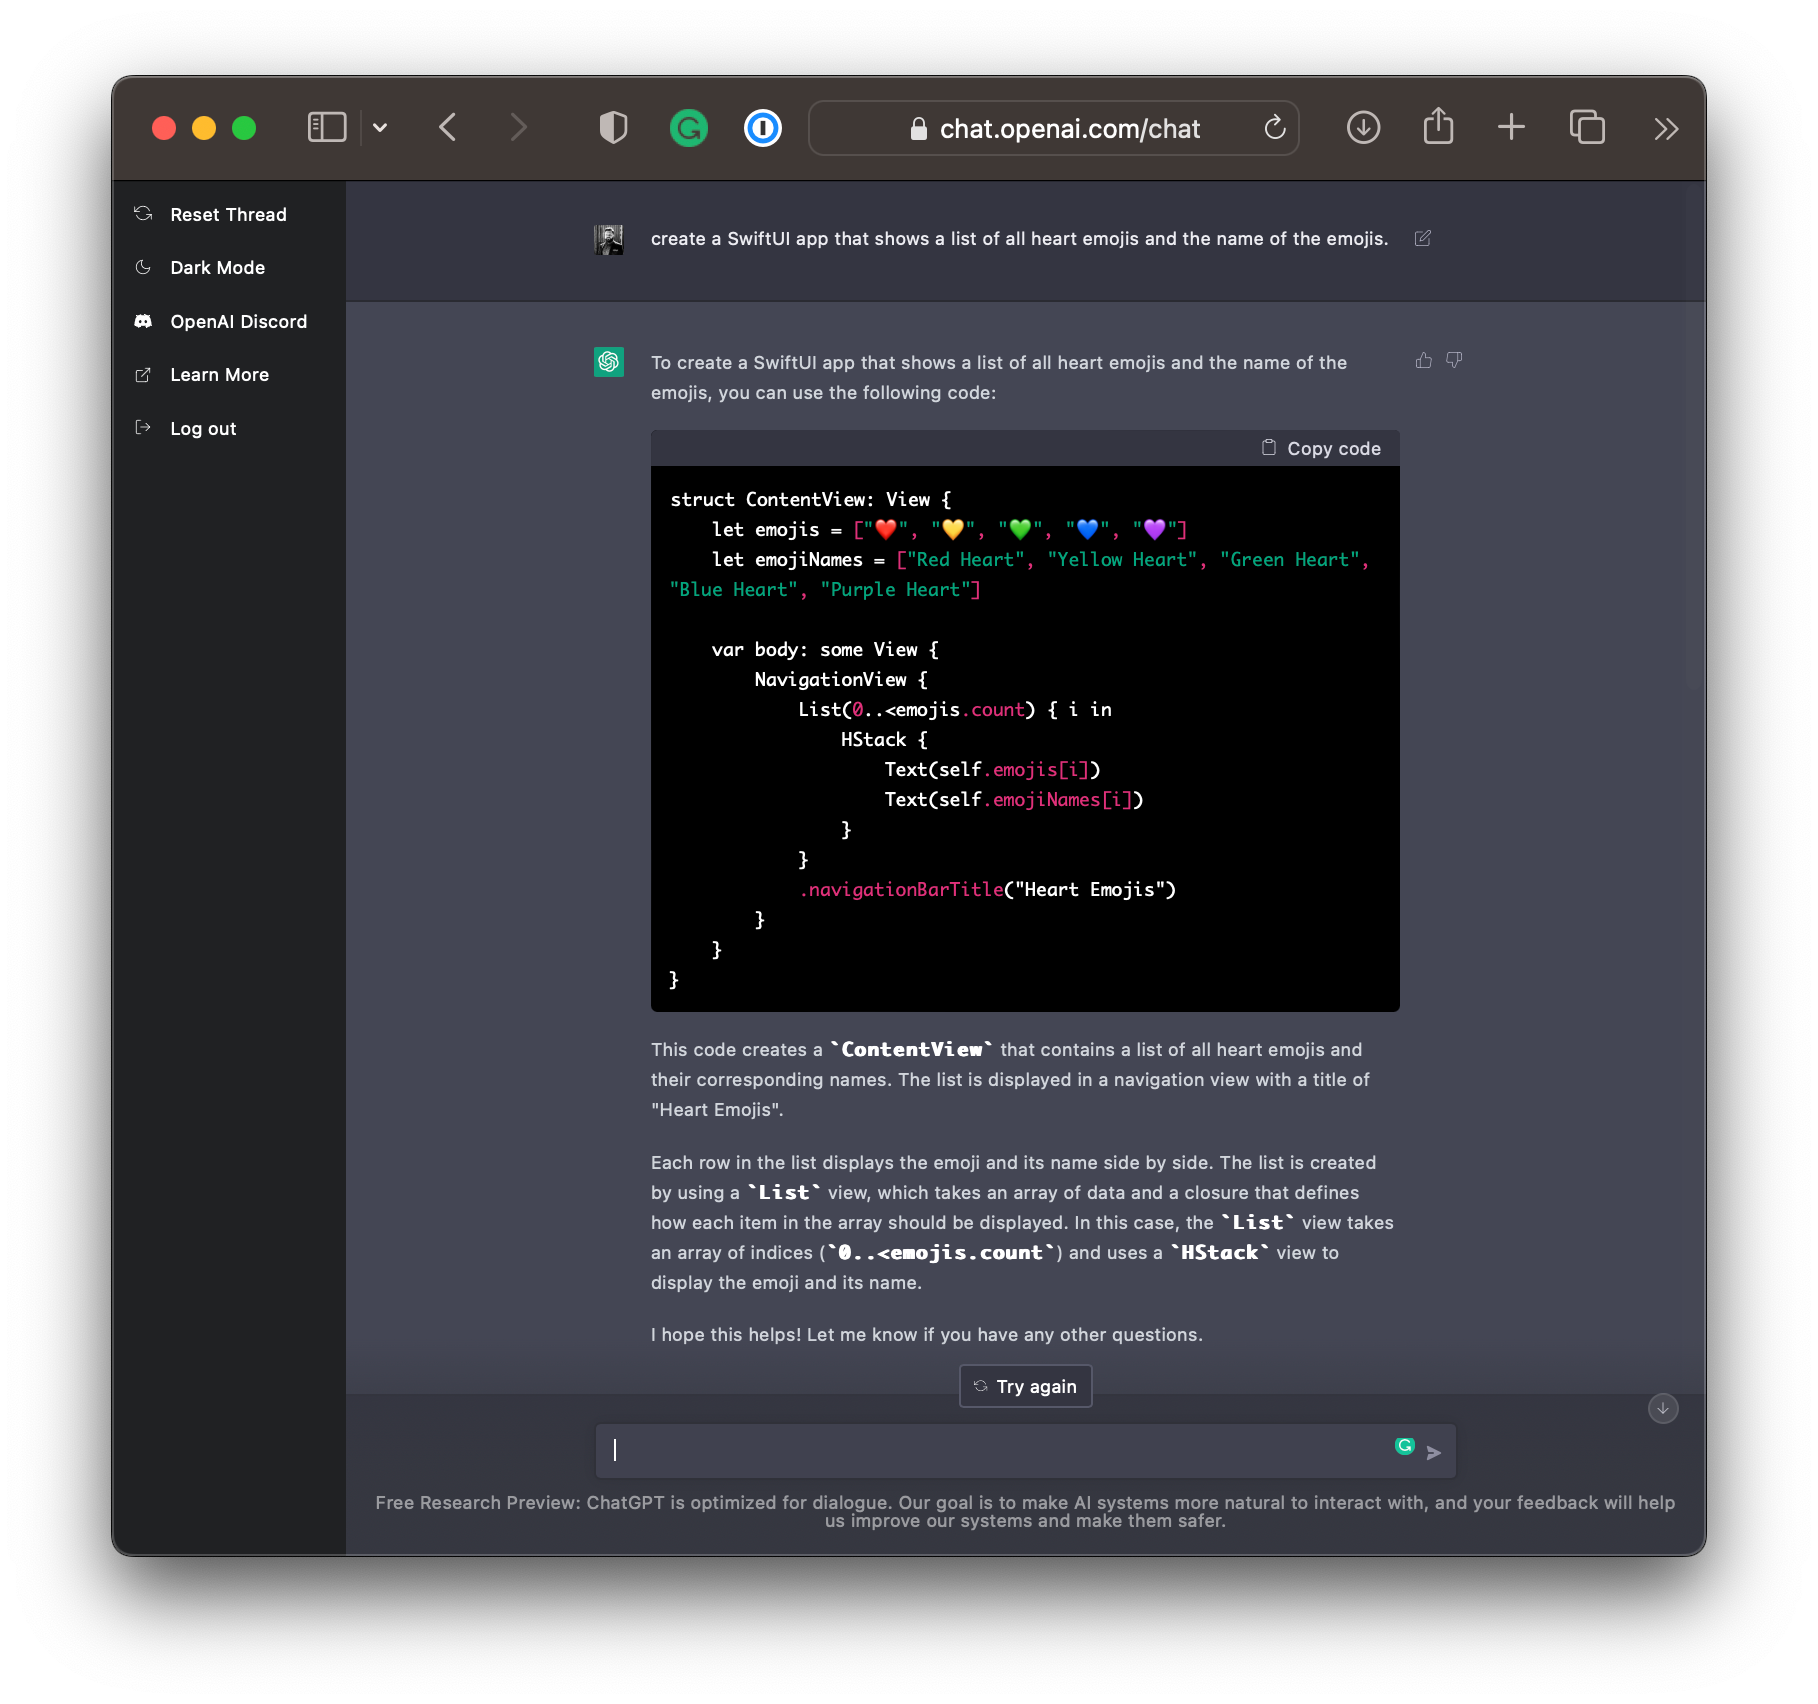
struct ContentView: View {
    let emojis = ["❤️", "💛", "💚", "💙", "💜"]
    let emojiNames = ["Red Heart", "Yellow Heart", "Green Heart", "Blue Heart", "Purple Heart"]

    var body: some View {
        NavigationView {
            List(0..<emojis.count) { i in
                HStack {
                    Text(self.emojis[i])
                    Text(self.emojiNames[i])
                }
            }
            .navigationBarTitle("Heart Emojis")
        }
    }
}
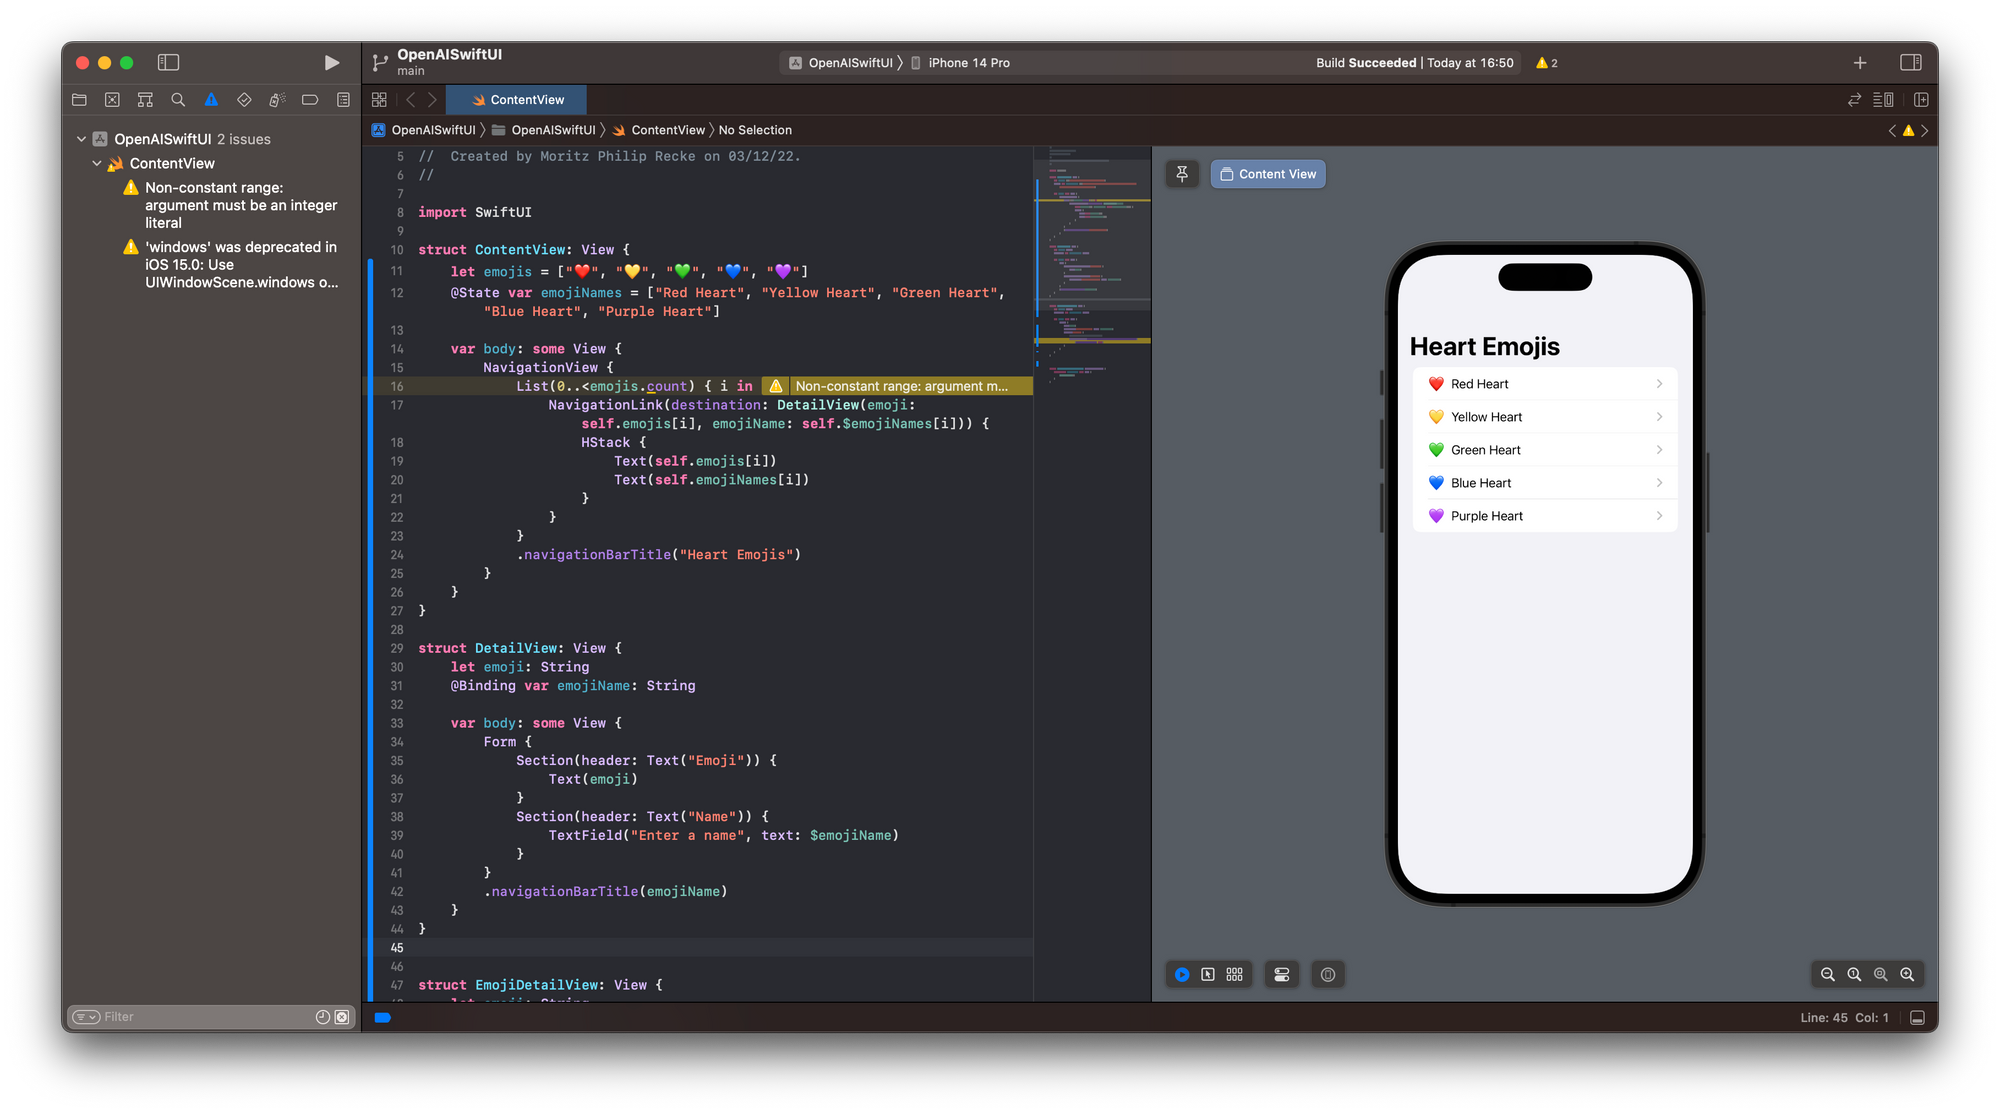
This may be an overly simplified example, but it is working. You can copy and paste the code as is inside an Xcode Project for a SwiftUI app and it will run as intended.
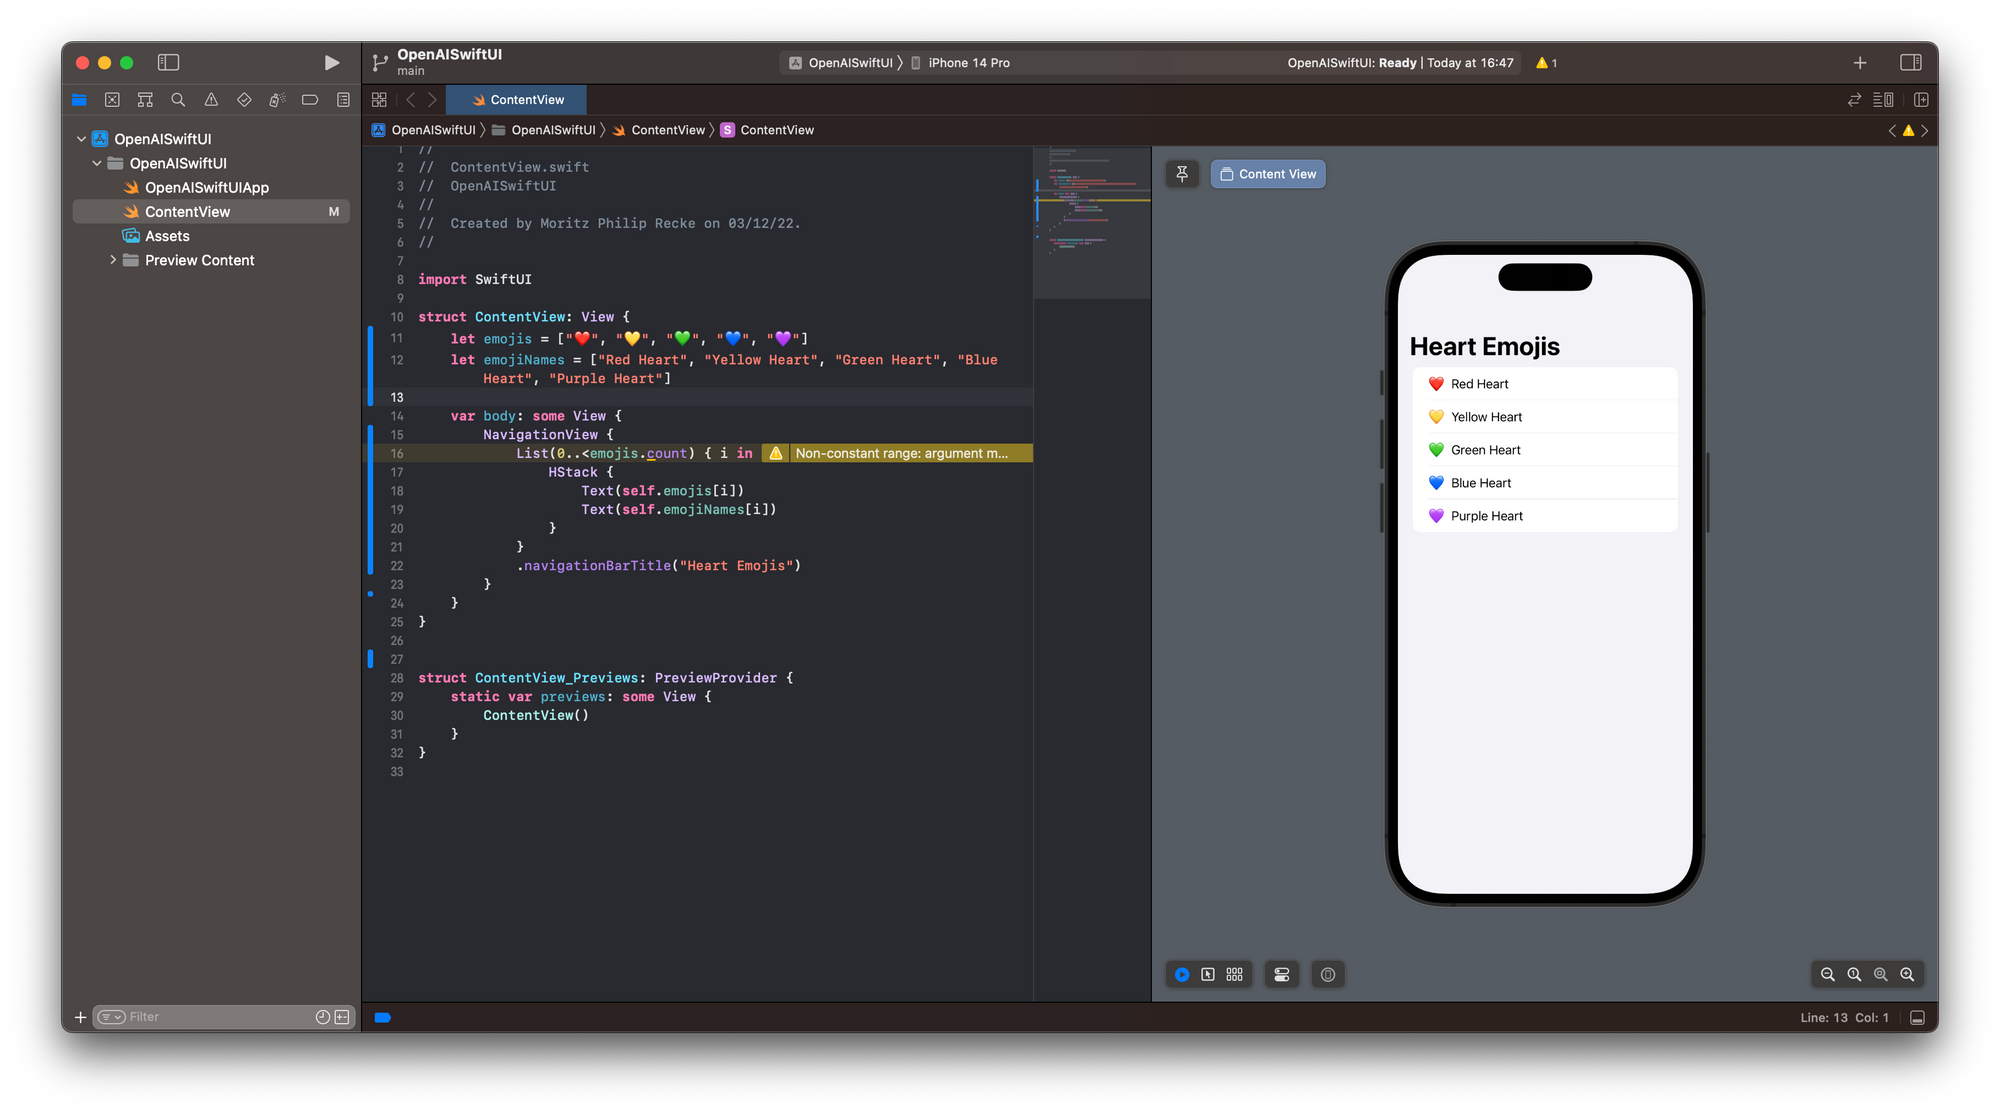
To take this further, let's say we want to add a detail view, using key features of SwiftUI such as @State and @Binding to edit information about the List content. For example we could say:
add a detail view for each emoji
that shows the name of the emoji
and make the name editable so
that any changes will be shown
in the list view.
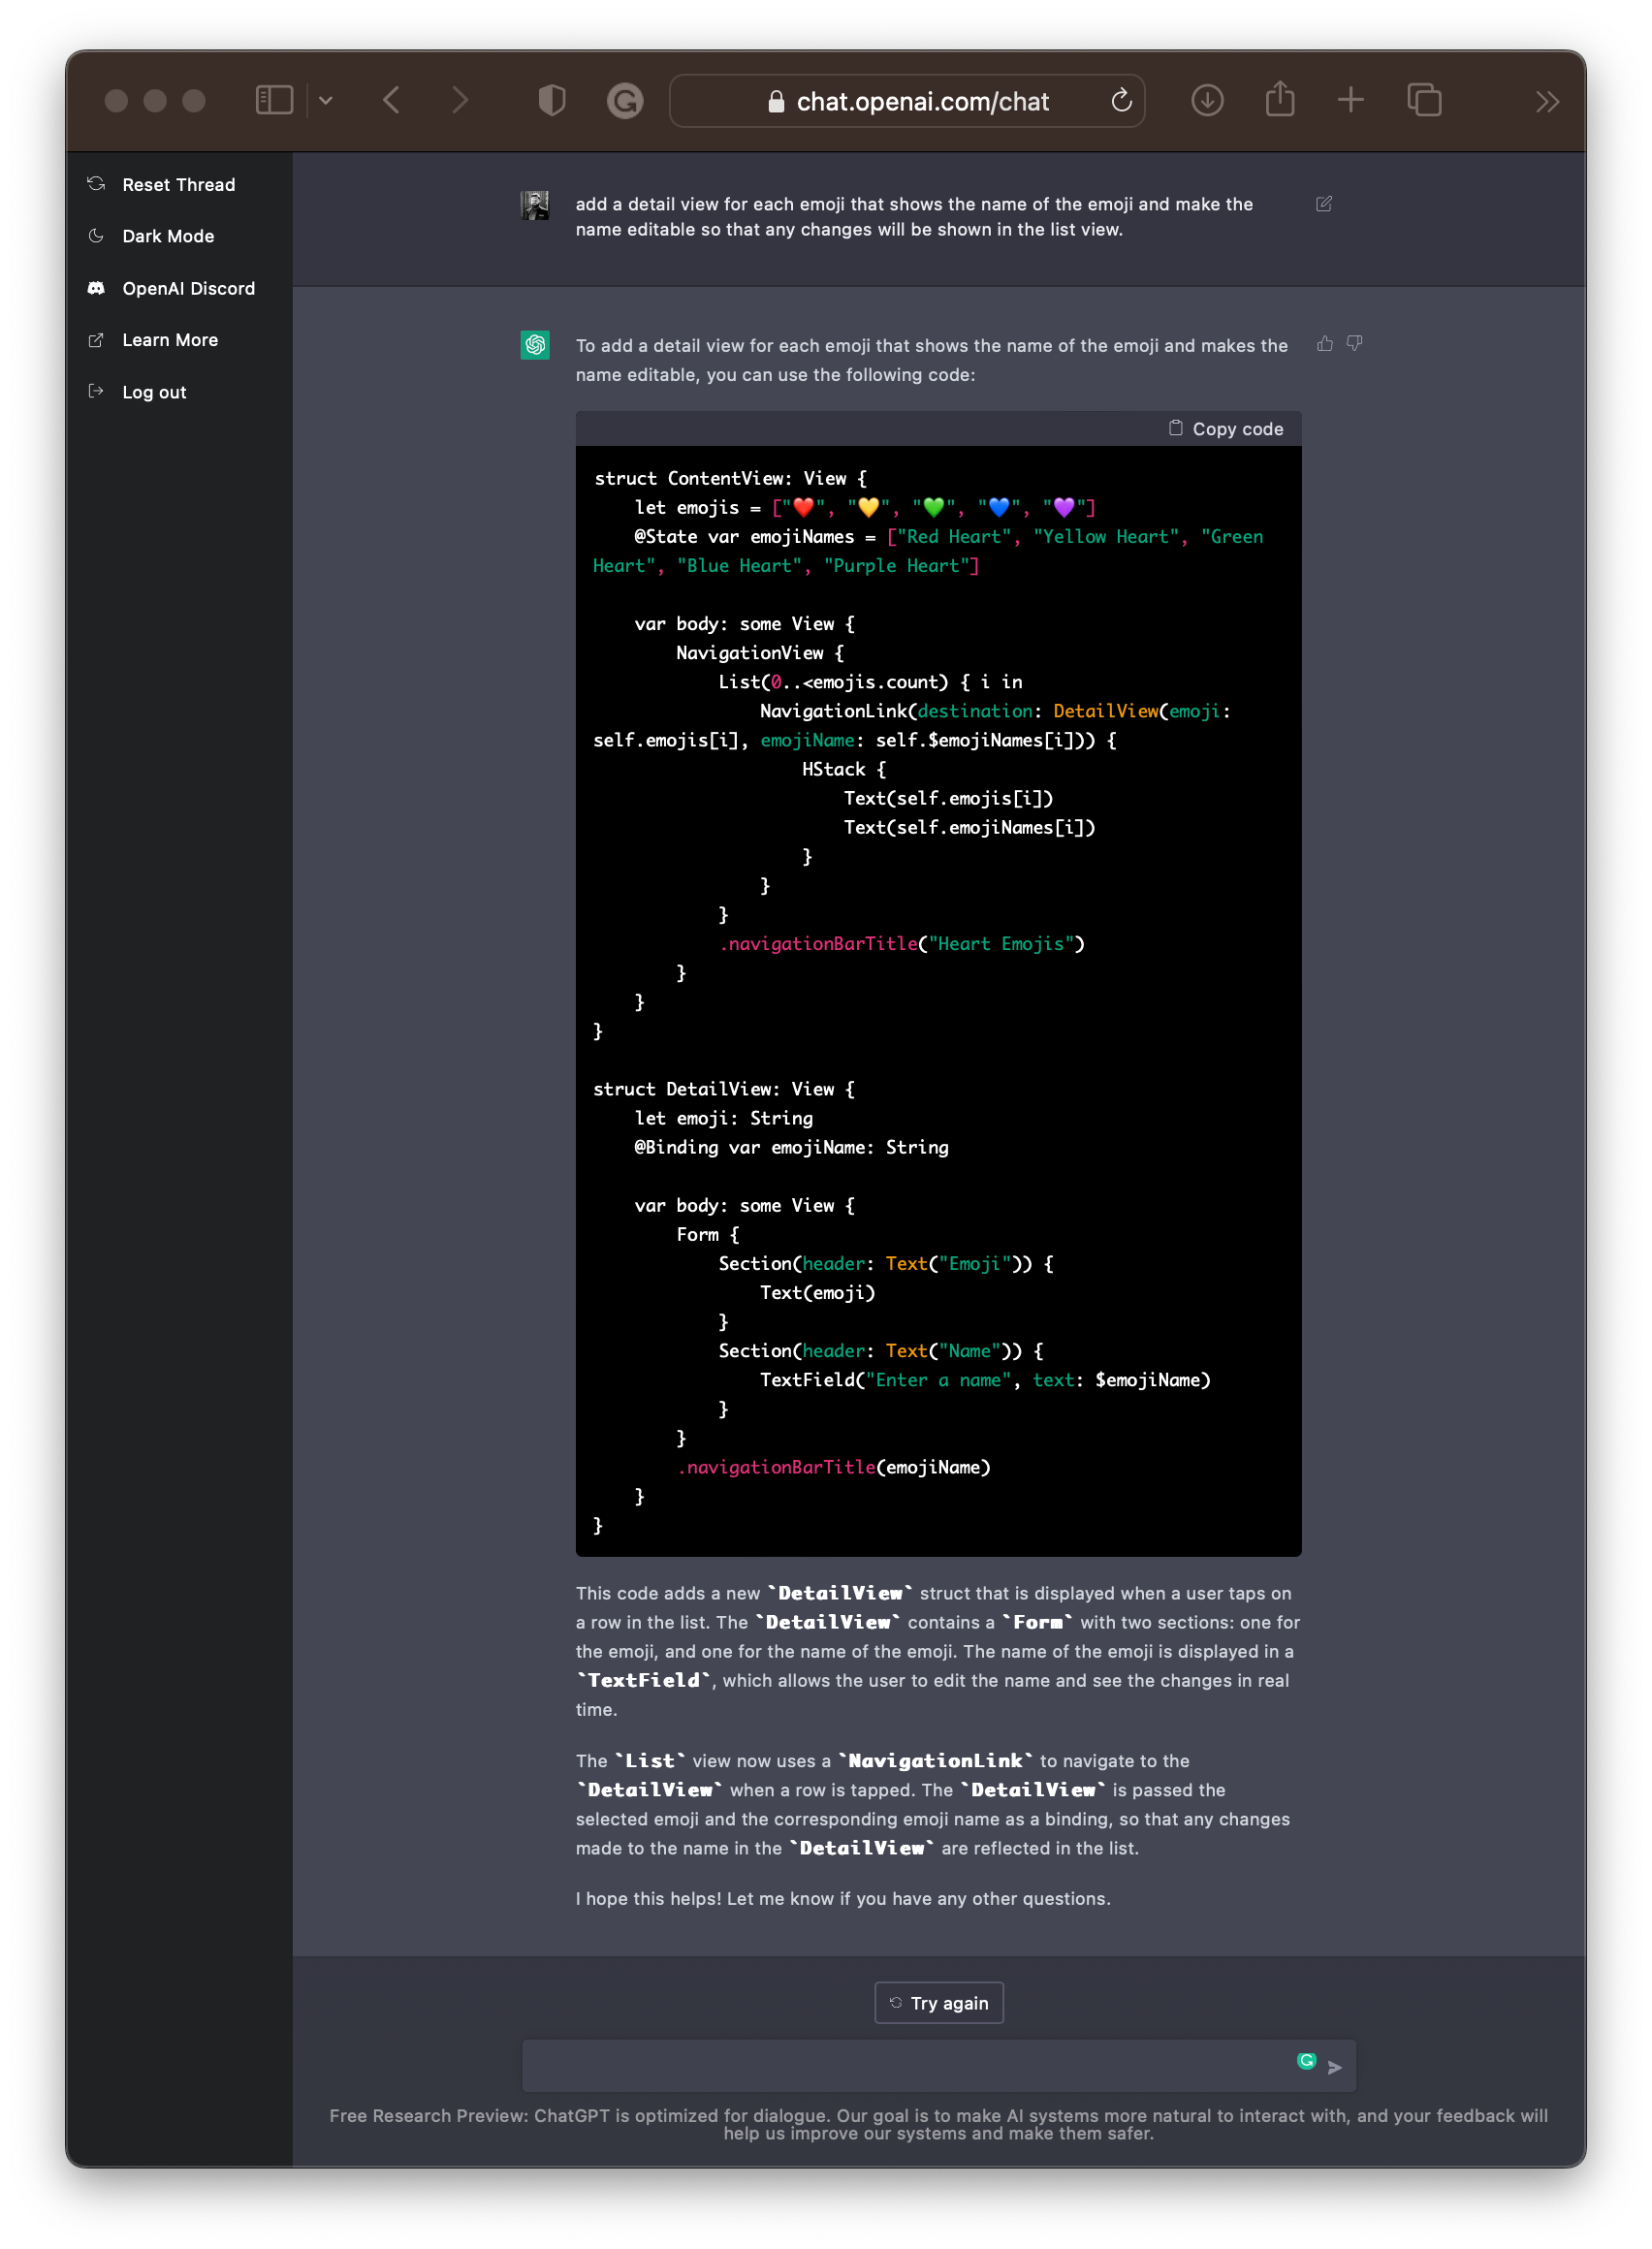
ChatGPT takes this input and regenerates the code as follows
struct ContentView: View {
    let emojis = ["❤️", "💛", "💚", "💙", "💜"]
    @State var emojiNames = ["Red Heart", "Yellow Heart", "Green Heart", "Blue Heart", "Purple Heart"]

    var body: some View {
        NavigationView {
            List(0..<emojis.count) { i in
                NavigationLink(destination: DetailView(emoji: self.emojis[i], emojiName: self.$emojiNames[i])) {
                    HStack {
                        Text(self.emojis[i])
                        Text(self.emojiNames[i])
                    }
                }
            }
            .navigationBarTitle("Heart Emojis")
        }
    }
}

struct DetailView: View {
    let emoji: String
    @Binding var emojiName: String

    var body: some View {
        Form {
            Section(header: Text("Emoji")) {
                Text(emoji)
            }
            Section(header: Text("Name")) {
                TextField("Enter a name", text: $emojiName)
            }
        }
        .navigationBarTitle(emojiName)
    }
}
Also this code example works perfectly and you can just copy and paste it into your app project in Xcode.
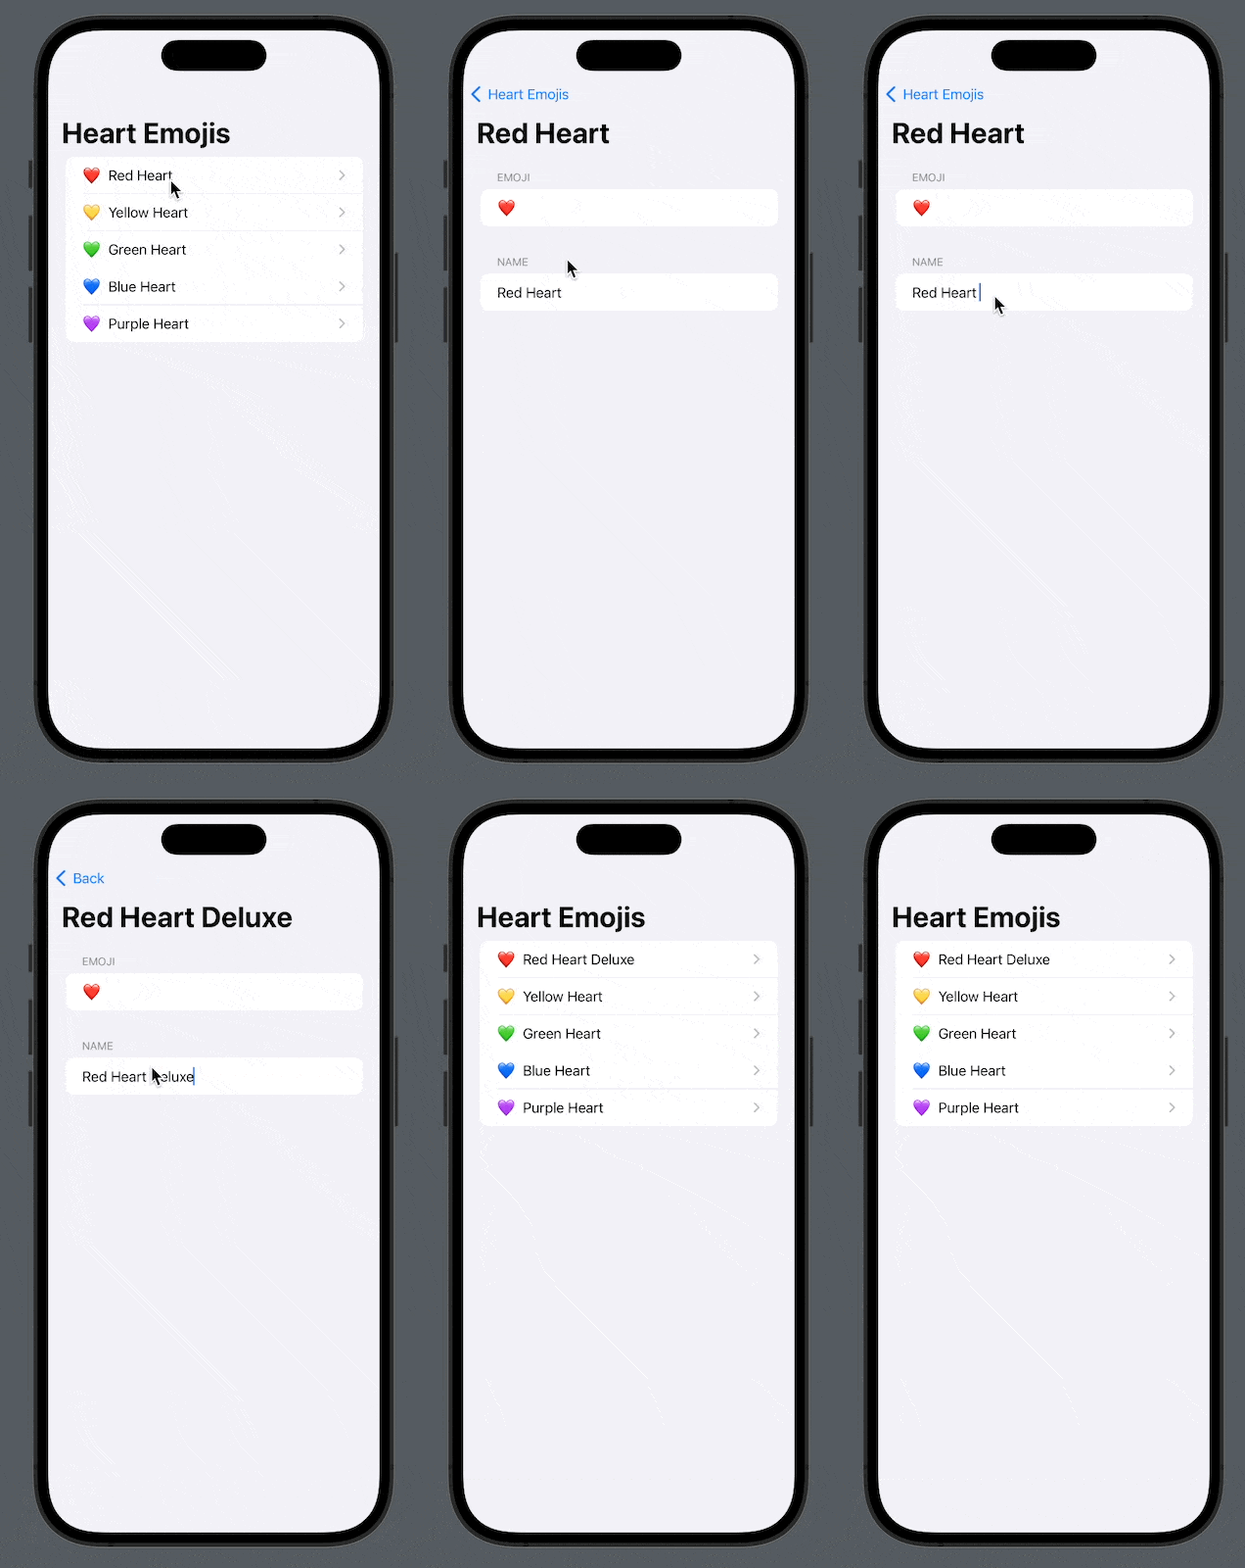
When running the app in the Simulator or as a Preview inside Xcode, the app works as expected and navigates to a detail view, where the name of the emoji can be edited. When navigating back to the List, the changes persist due to the use of the @Binding.
Even with very generic prompts, you can create working code to get started with a new project. For example, imagine creating a to-do list app:
create a to do list app with swiftui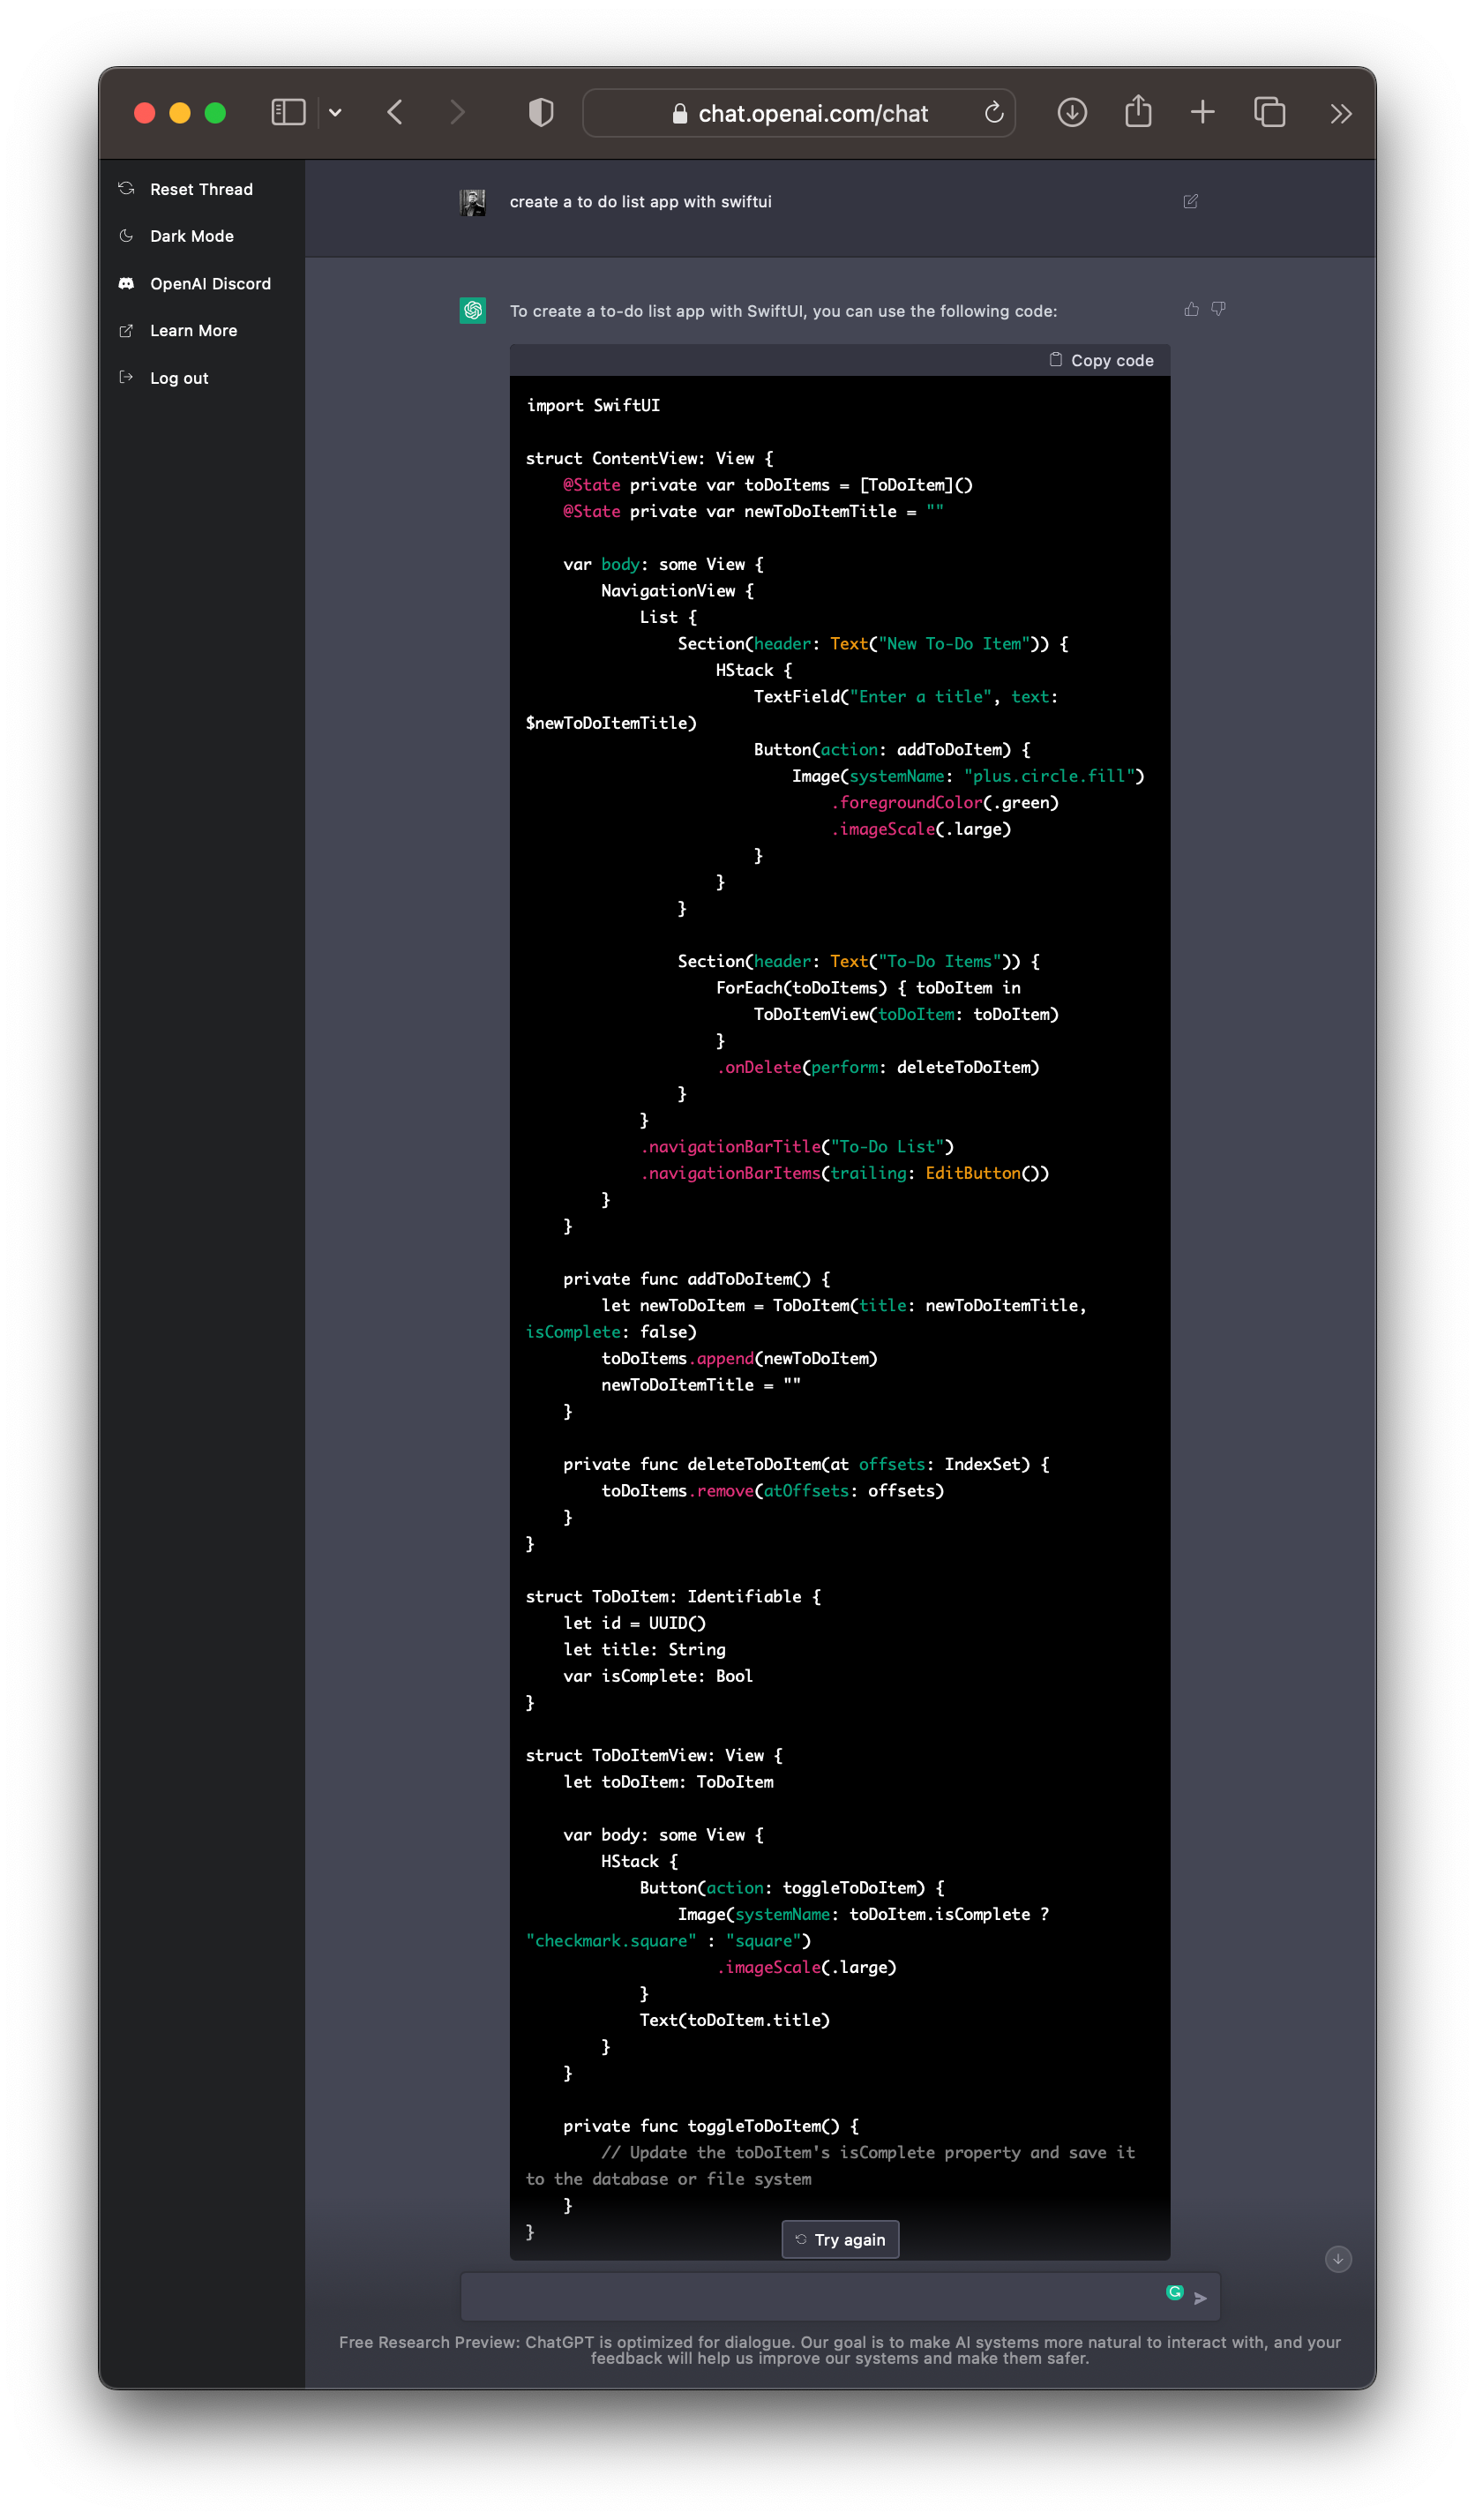
The result may not be the best interface for a to-do list app ever and also some of the features are not fully implemented (which is why I skip embedding the source code), but for sure it accelerates rapid prototyping. For any missing feature, you can also follow up with additional prompts to extend the functionality.
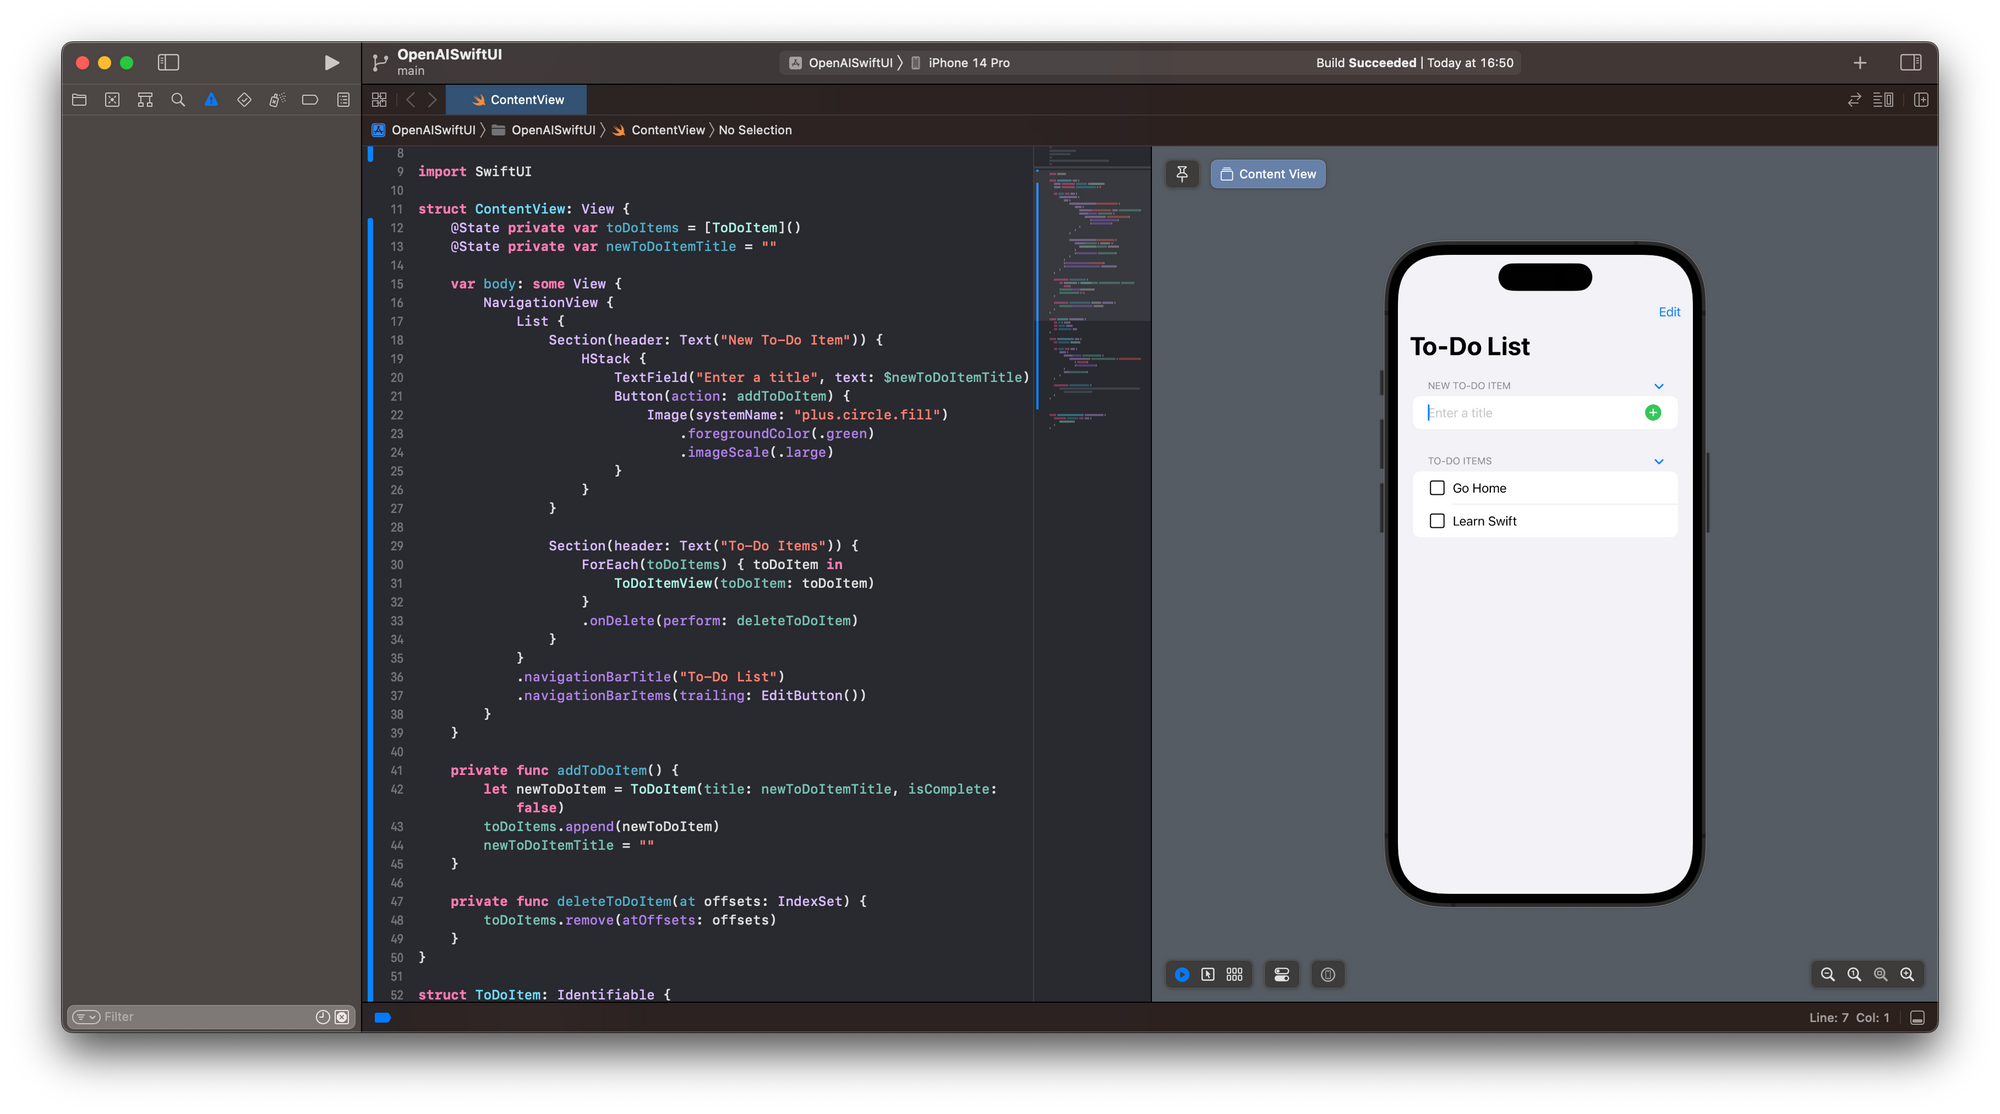
I think this is mindblowing and will support aspiring app developers nicely. It may still require pre-existing knowledge of the inner workings of SwiftUI to articulate prompts with the right keywords, but it is a great starting point. At least it can serve as a great tool to search for code implementation, fixing bugs or even to learn how to develop apps in general.
Also others have been trying this of course, for example by asking for an app that even downloads content from the internet using URLSession and decodes JSON data correctly 🤯
#ChatGPT just wrote me an iOS #SwiftUI app that shows the top posts on HackerNews. Sure I fixed a couple nits in the syntax, but I had a working app in about 60 seconds start to finish 🤯 pic.twitter.com/ktTuK3dgtY
— Aviel (@avielgr) December 3, 2022
In the near future tools like this will become an integral part of any workflow as a developer. OpenAI already empowers marketers, bloggers, and content creators to write copy, product descriptions, promotional material, newsletters, or even entire blog posts.
#ChatGPT is already starting to become part of my daily workflow. Marketing copy, suggestions for text to put in push notifications, new app ideas. Possibilities are endless
— Jordi Bruin (@jordibruin) December 3, 2022
So I also asked ChatGPT to write a summary of its capabilities for this blog post.
write a summary of ChatGPT's
capability to create usable
SwiftUI code for a blog post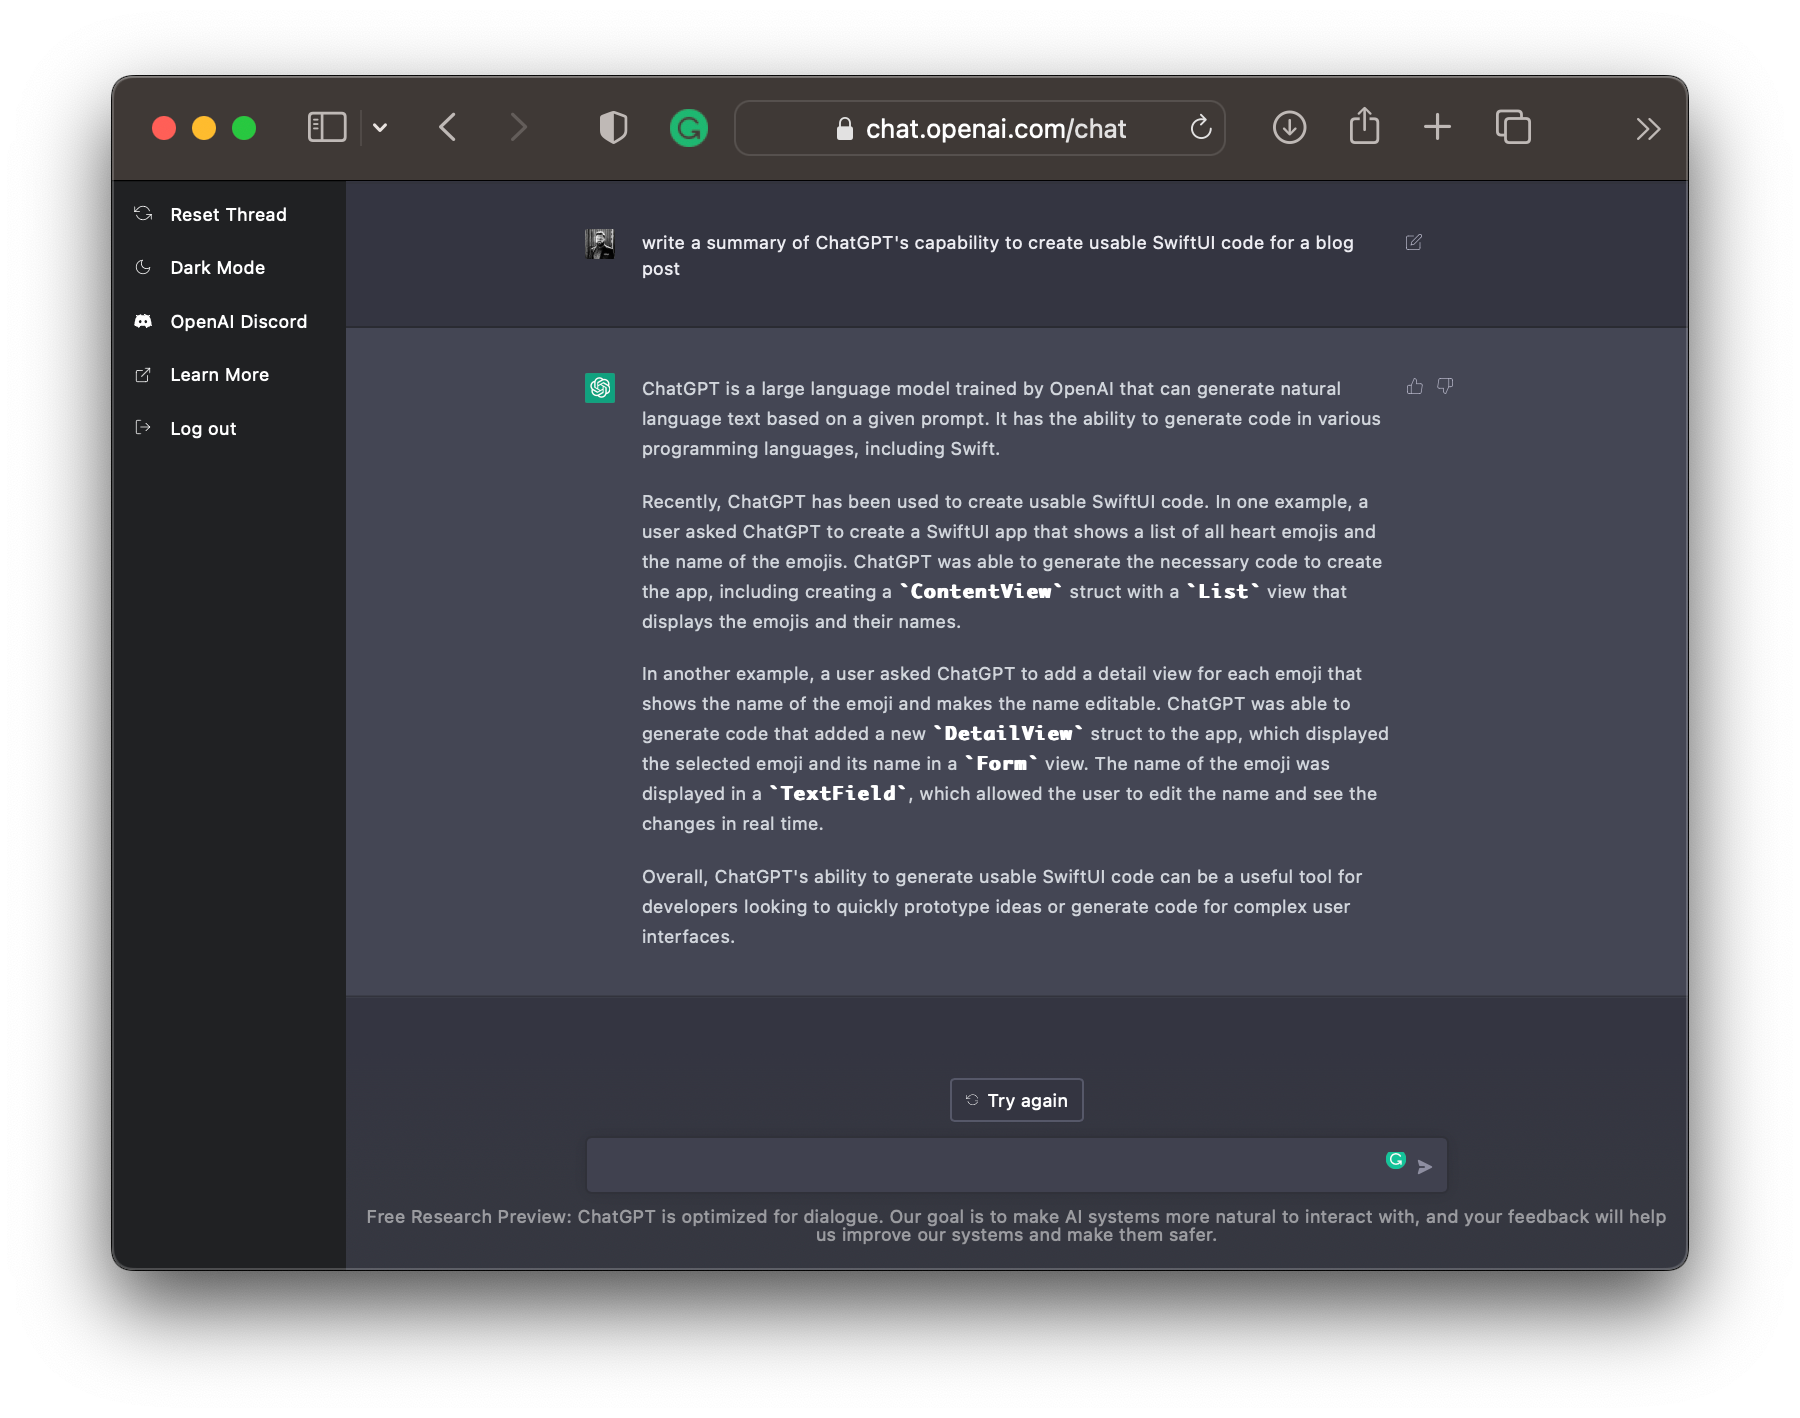
ChatGPT is a large language model trained by OpenAI that can generate natural language text based on a given prompt. It has the ability to generate code in various programming languages, including Swift.
Recently, ChatGPT has been used to create usable SwiftUI code. In one example, a user asked ChatGPT to create a SwiftUI app that shows a list of all heart emojis and the name of the emojis. ChatGPT was able to generate the necessary code to create the app, including creating aContentViewstruct with aListview that displays the emojis and their names.
In another example, a user asked ChatGPT to add a detail view for each emoji that shows the name of the emoji and makes the name editable. ChatGPT was able to generate code that added a newDetailViewstruct to the app, which displayed the selected emoji and its name in aFormview. The name of the emoji was displayed in aTextField, which allowed the user to edit the name and see the changes in real time.
Overall, ChatGPT's ability to generate usable SwiftUI code can be a useful tool for developers looking to quickly prototype ideas or generate code for complex user interfaces.
Now, you can have your pair programming assistant with you, allowing you to accelerate whatever you want to Create with Swift.

