Scheduling and Managing Alarms in SwiftUI with AlarmKit
Learn how to schedule and manage alarms within your application using AlarmKit

With iOS 26, Apple introduced AlarmKit, a new framework that allows developers to create alarms and countdown timers in their apps. In this article, we’ll explore how we can schedule a countdown timer in a SwiftUI app.
Before scheduling any alarms or timers, your app must request user permission. Add the NSAlarmKitUsageDescription key to your Info.plist with a short explanation for why your app needs alarm access. Additionally you need to define a method to prompt the user for the authorization:
import SwiftUI
import AlarmKit
struct ContentView: View {
var body: some View {
...
}
private func requestPermission() async -> Bool {
switch alarmManager.authorizationState {
case .notDetermined:
do {
return try await alarmManager.requestAuthorization() == .authorized
} catch {
return false
}
case .authorized:
return true
case .denied:
return true
@unknown default:
return false
}
}
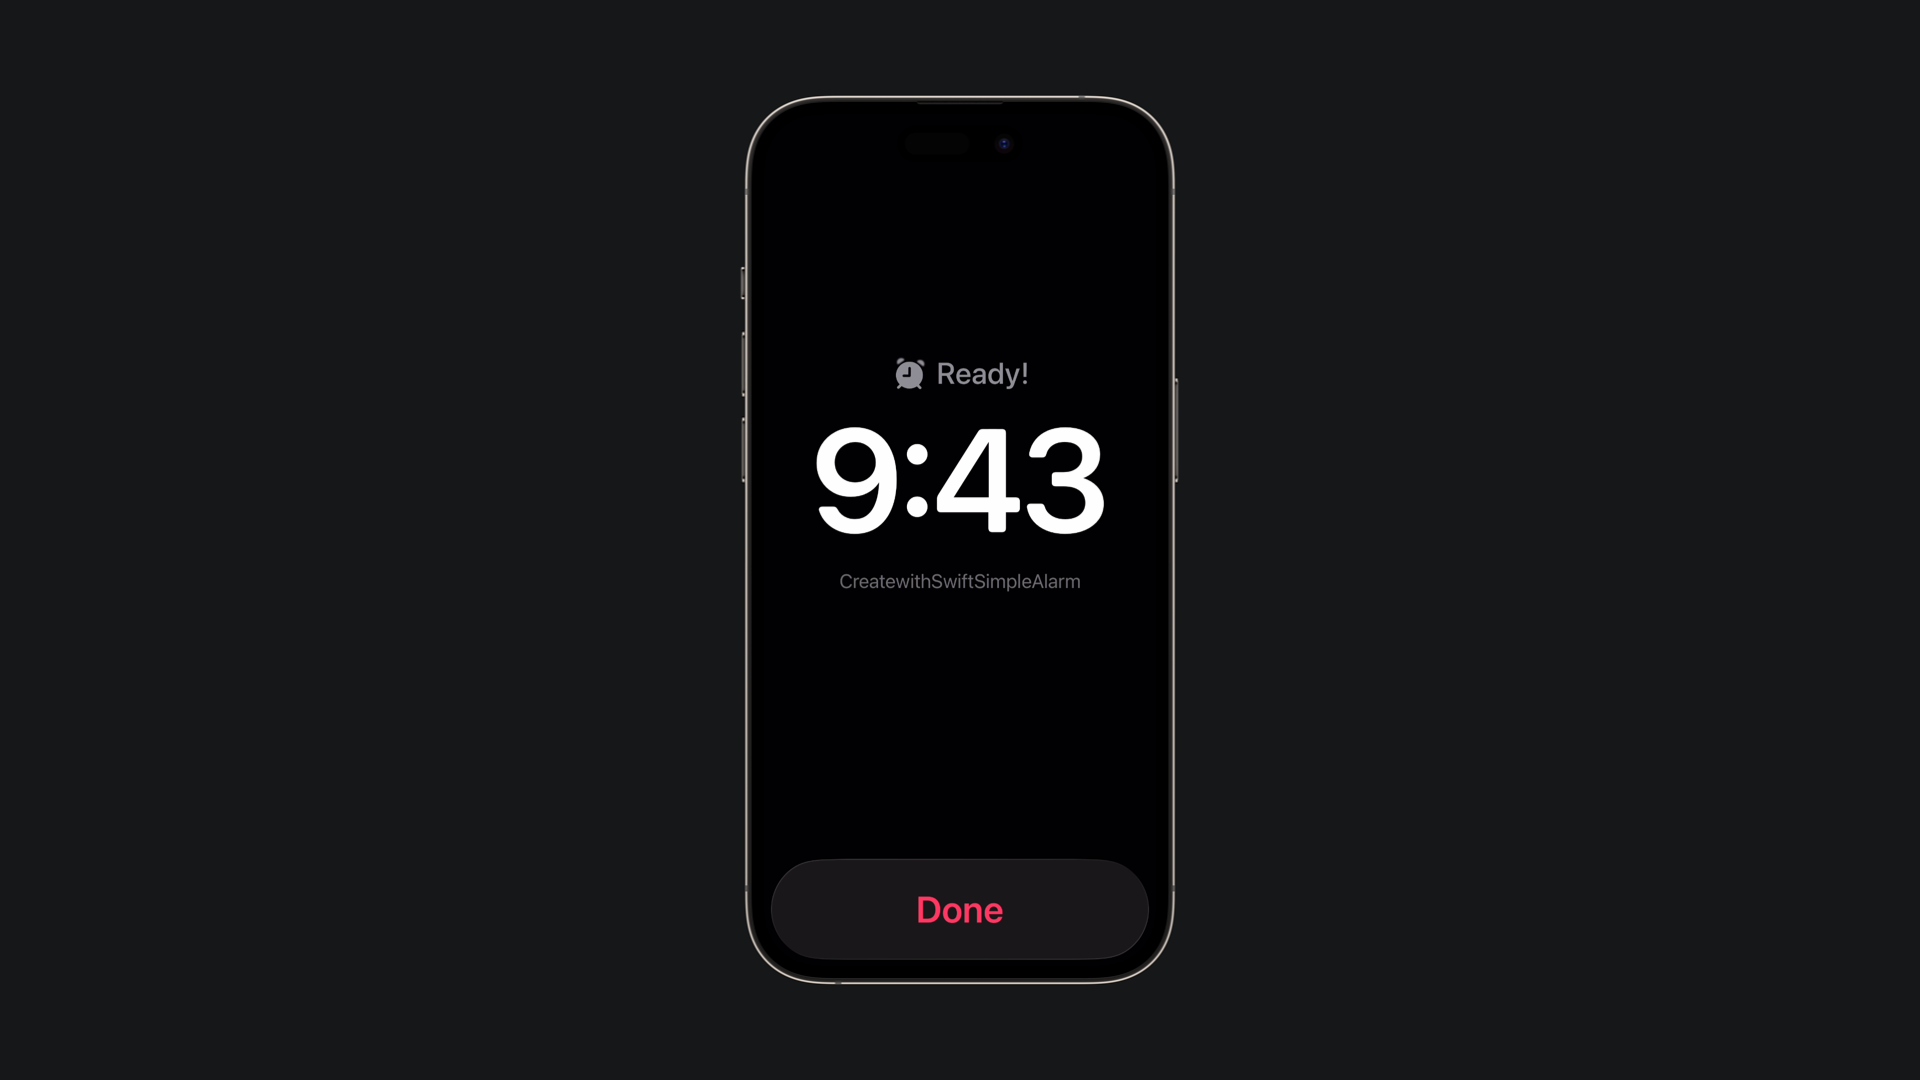
}Once authorized, we can schedule a timer that triggers a prominent alert when finished. AlarmKit requires us to define both the visual presentation and the timer’s attributes. We can define all in a method that will be responsible of presenting the alert:
import SwiftUI
import AlarmKit


struct ContentView: View {
    private let alarmManager = AlarmManager.shared

    var body: some View {
        ...
    }

    private func requestPermission() async -> Bool {
        ...
    }

    private func scheduleTimer() async {
        let alert = AlarmPresentation.Alert(
            title: "Ready!",
            stopButton: AlarmButton(
                text: "Done",
                textColor: .pink,
                systemImageName: "checkmark"
            )
        )

        let attributes = AlarmAttributes<EmptyMetadata>(
            presentation: AlarmPresentation(alert: alert),
            tintColor: .pink
        )

        do {
            let timerAlarm = try await alarmManager.schedule(
                id: UUID(),
                configuration: .timer(
                    duration: 60,
                    attributes: attributes
                )
            )
        } catch {
            print("Scheduling error: \(error)")
        }
    }
}

nonisolated
struct EmptyMetadata: AlarmMetadata{
    // Empty implementation
}
In the example above, we defined as property of the view an instance of the AlarmManager.shared. Then we start by initializing an AlarmPresentation.Alert object, providing all the necessary parameters to customize the appearance of the alert.
Next, we create an instance of the generic AlarmAttributes struct, using EmptyMetadata as the type argument. This instance is initialized with two properties: presentation, which is assigned a new AlarmPresentation object built with the alert we just created, and tintColor, which is set to .pink.
Finally, we schedule the alarm using the .schedule method of the AlarmManager.shared instance, specifying the desired time interval.
import SwiftUI
import AlarmKit


struct ContentView: View {
    private let alarmManager = AlarmManager.shared

    var body: some View {
        VStack{
            TimelineView(.periodic(from: .now, by: 1)) { context in
                Text(context.date, format: Date.FormatStyle(date: .omitted, time: .standard))
                    .font(.system(size: 48, weight: .bold, design: .monospaced))
                    .padding()
            }

            Button("Schedule 1-Minute Alarm") {
                Task {
                    await scheduleTimer()
                }
            }
        }
        .task {
            guard await requestPermission() else { return }
        }
    }

    private func requestPermission() async -> Bool {
        ...
    }

    private func scheduleTimer() async {
        ...
    }
}

nonisolated
struct EmptyMetadata: AlarmMetadata{
    // Empty implementation
}
Once we have everything set up, we can add a simple button and a View to display the current time. When the user presses the button, the alarm will be scheduled for 1 minute, and will be presented if your screen is off. To cancel it, simply press the volume down button on your device.