Testing your app's accessibility with UI Tests
Discover how to perform an automated accessibility audit in Xcode with UI Tests.


We have seen in Testing your app's accessibility with the Accessibility Inspector how to run audits to identify possible accessibility issues within an app.
In addition to performing accessibility audits with the Accessibility Inspector, developers can automate the tests in the UI Tests with the performAccessibilityAudit(for:_:), introduced in Xcode 15.
In this article, we will explore how to run an accessibility audit using the XCTest framework by analyzing a simple app with some accessibility issues.
Create an accessibility test
When starting a new project, check the "Include Tests" option to enable testing in Xcode.
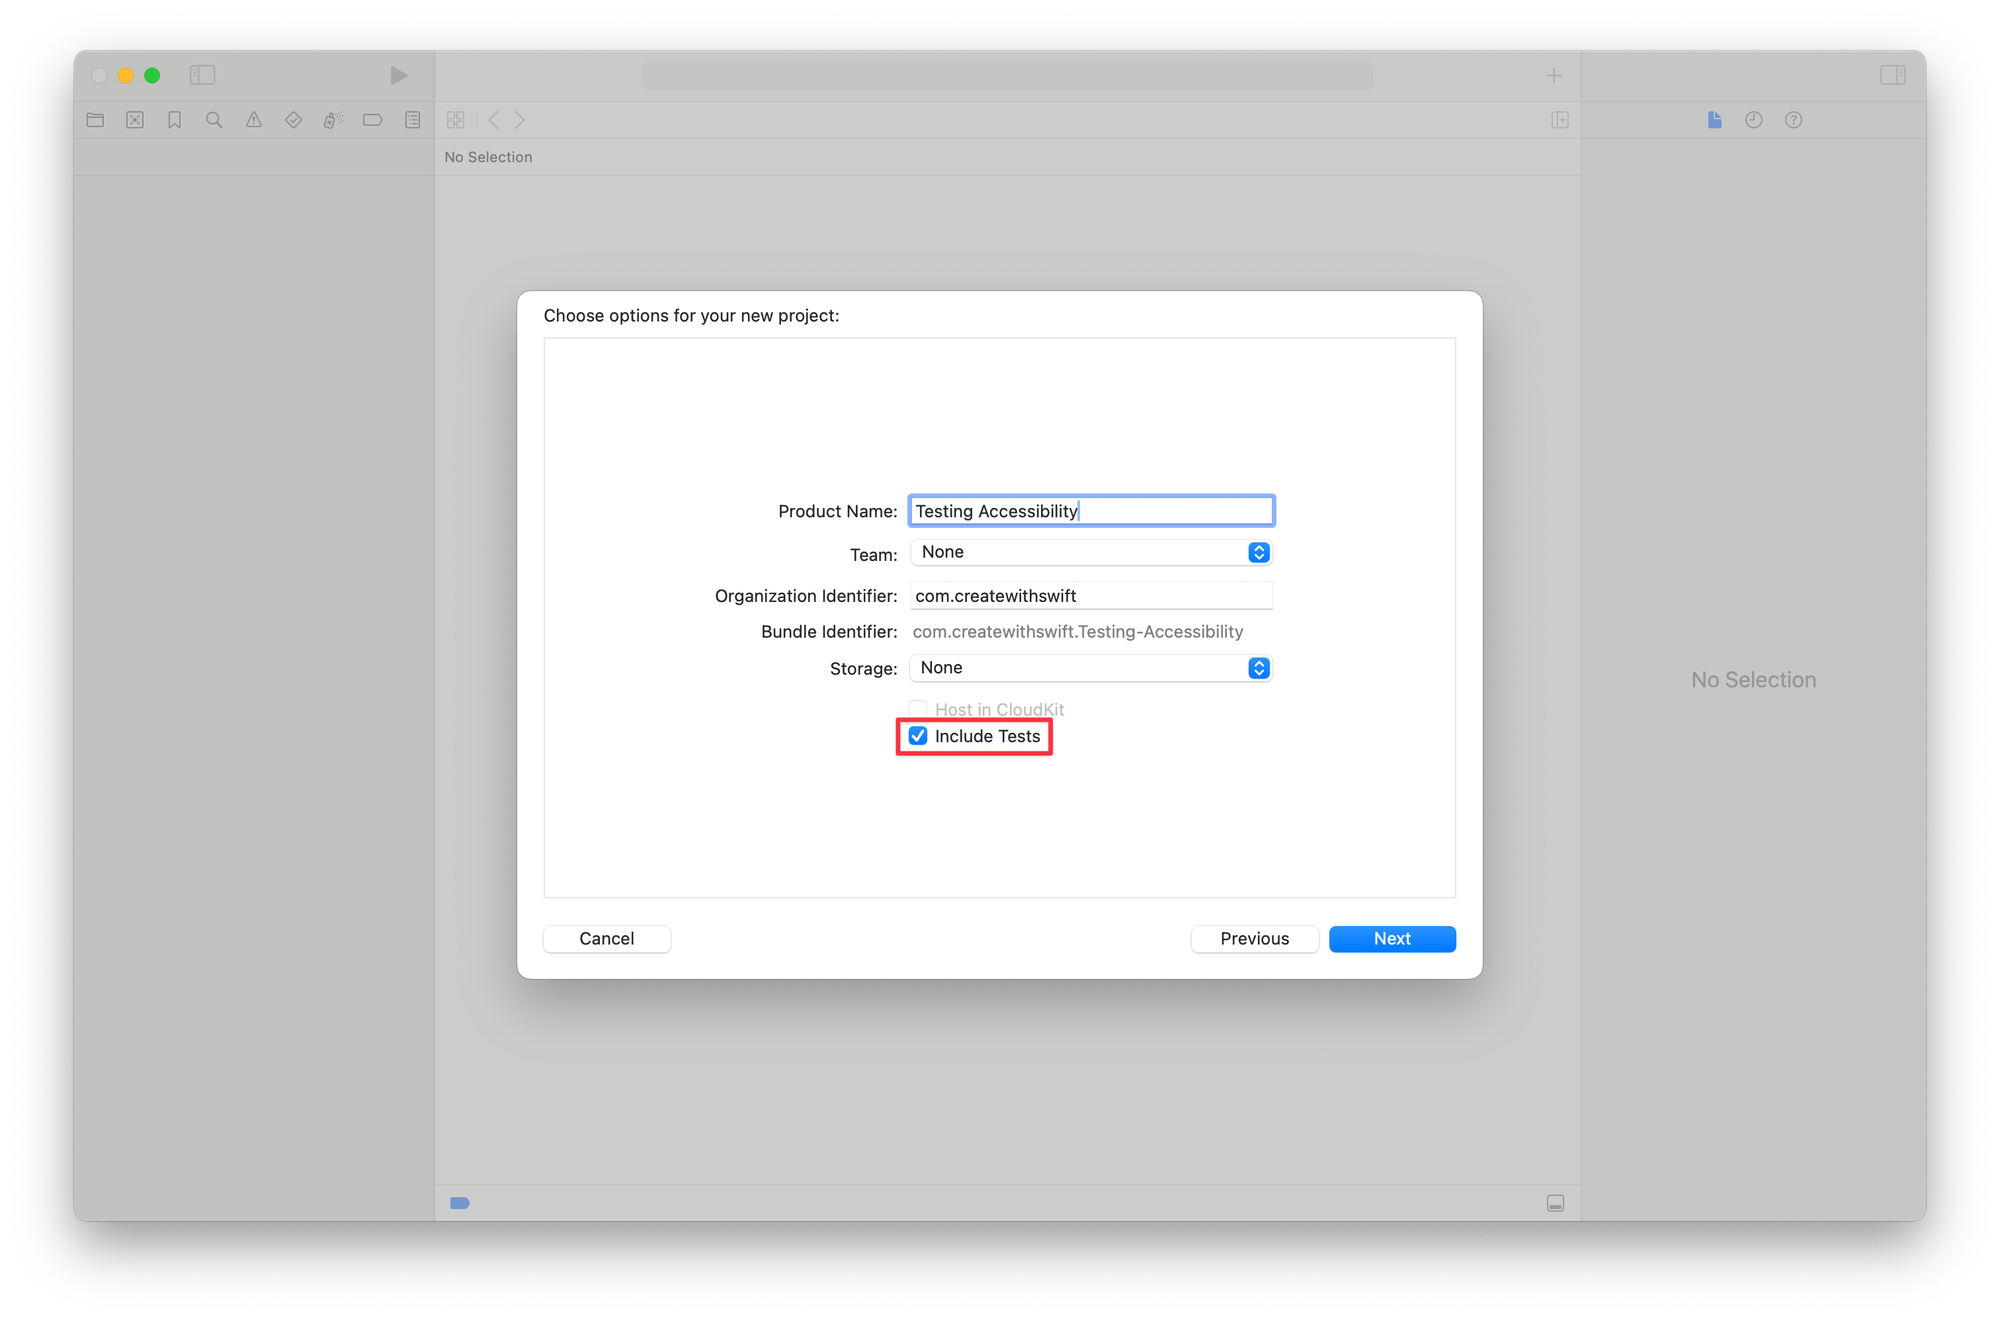
By doing this, Xcode will automatically generate some basic tests and add the testing target to your project.
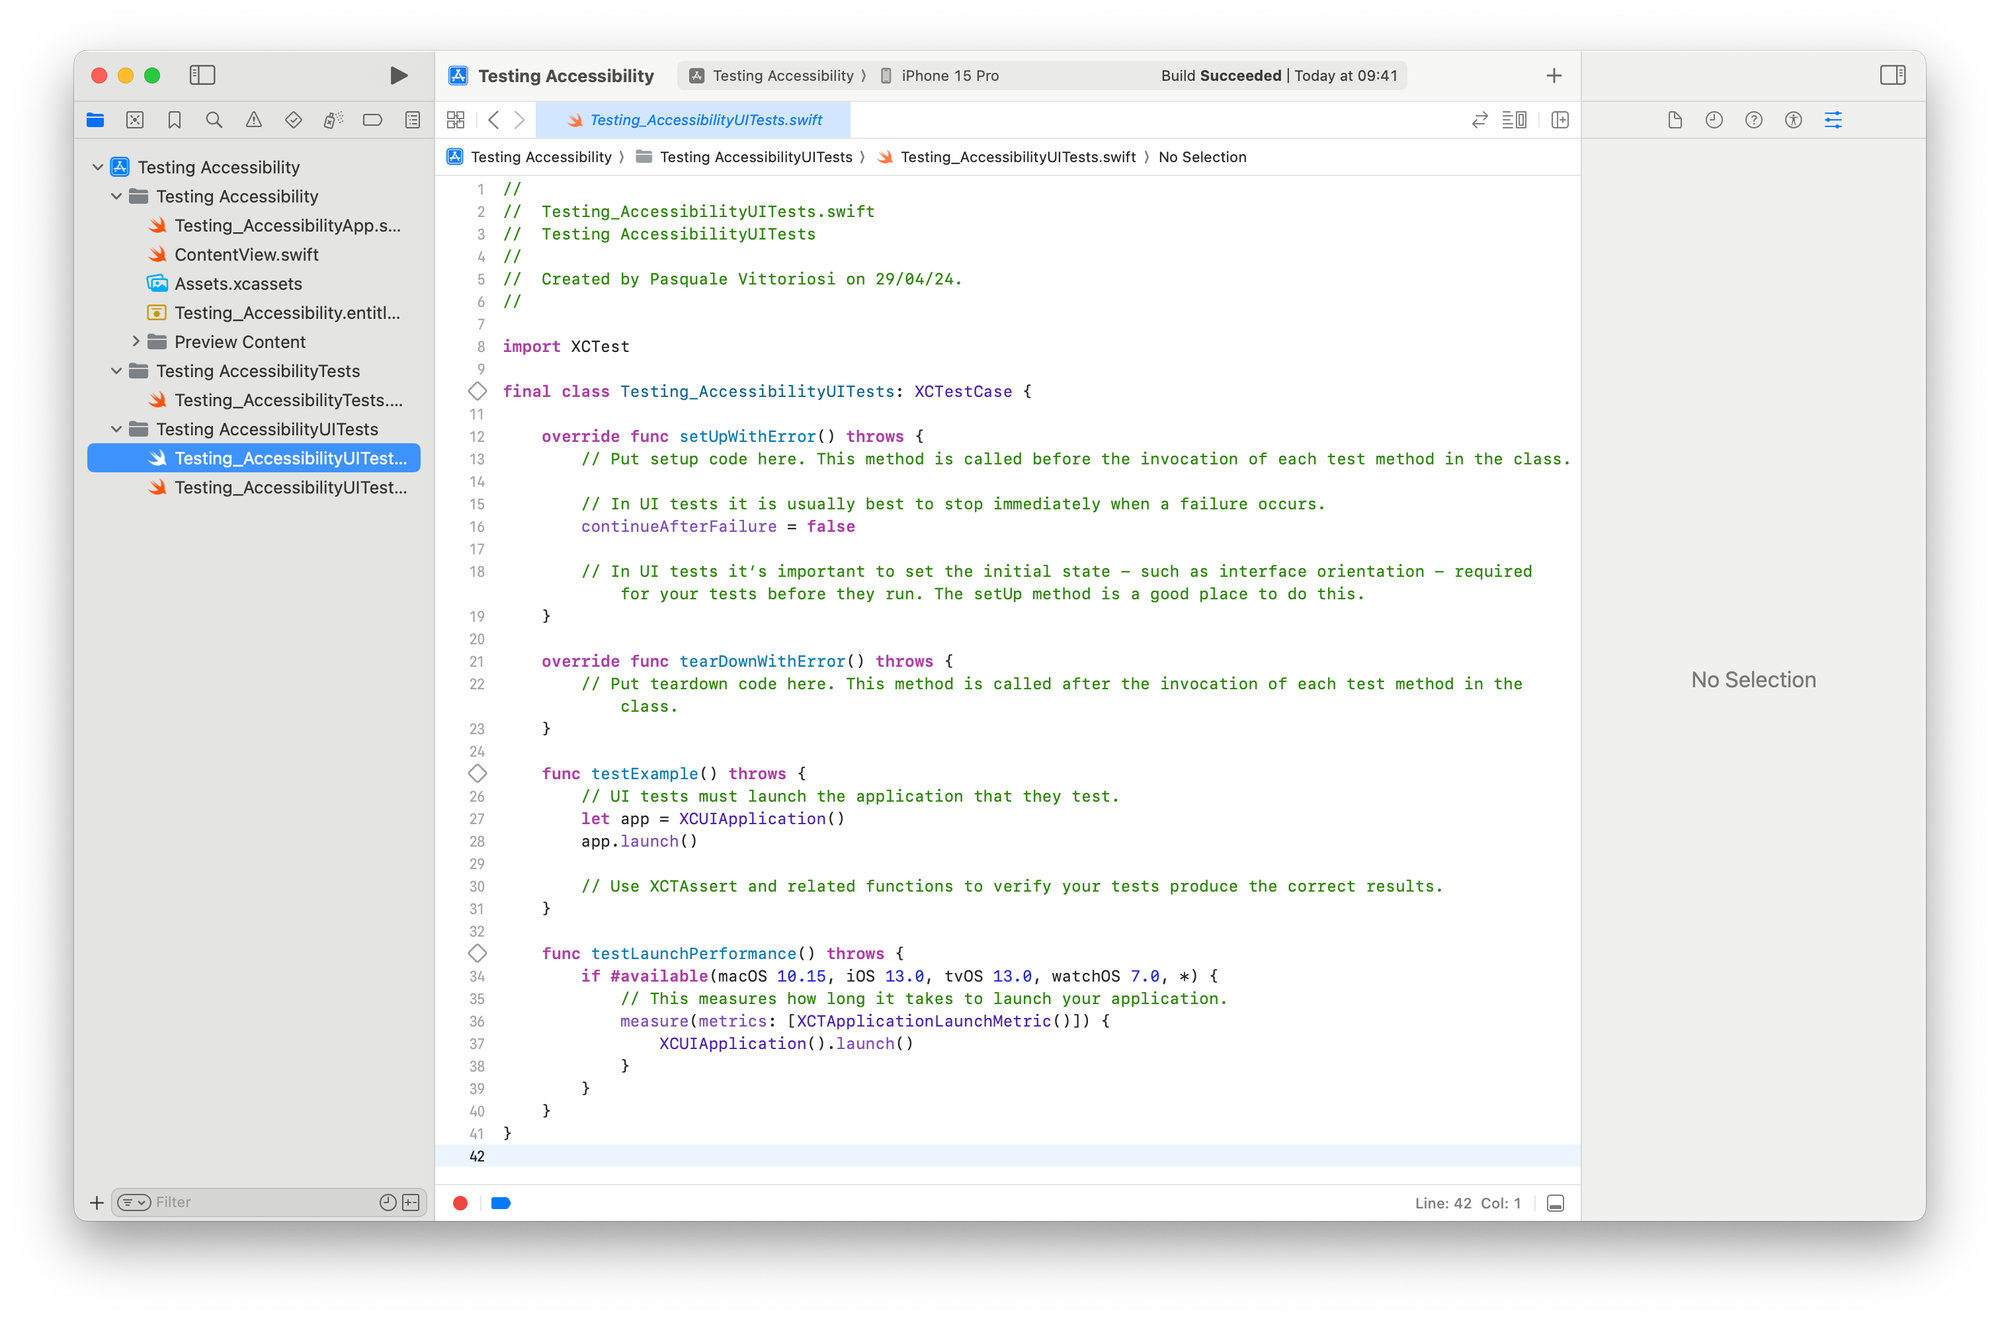
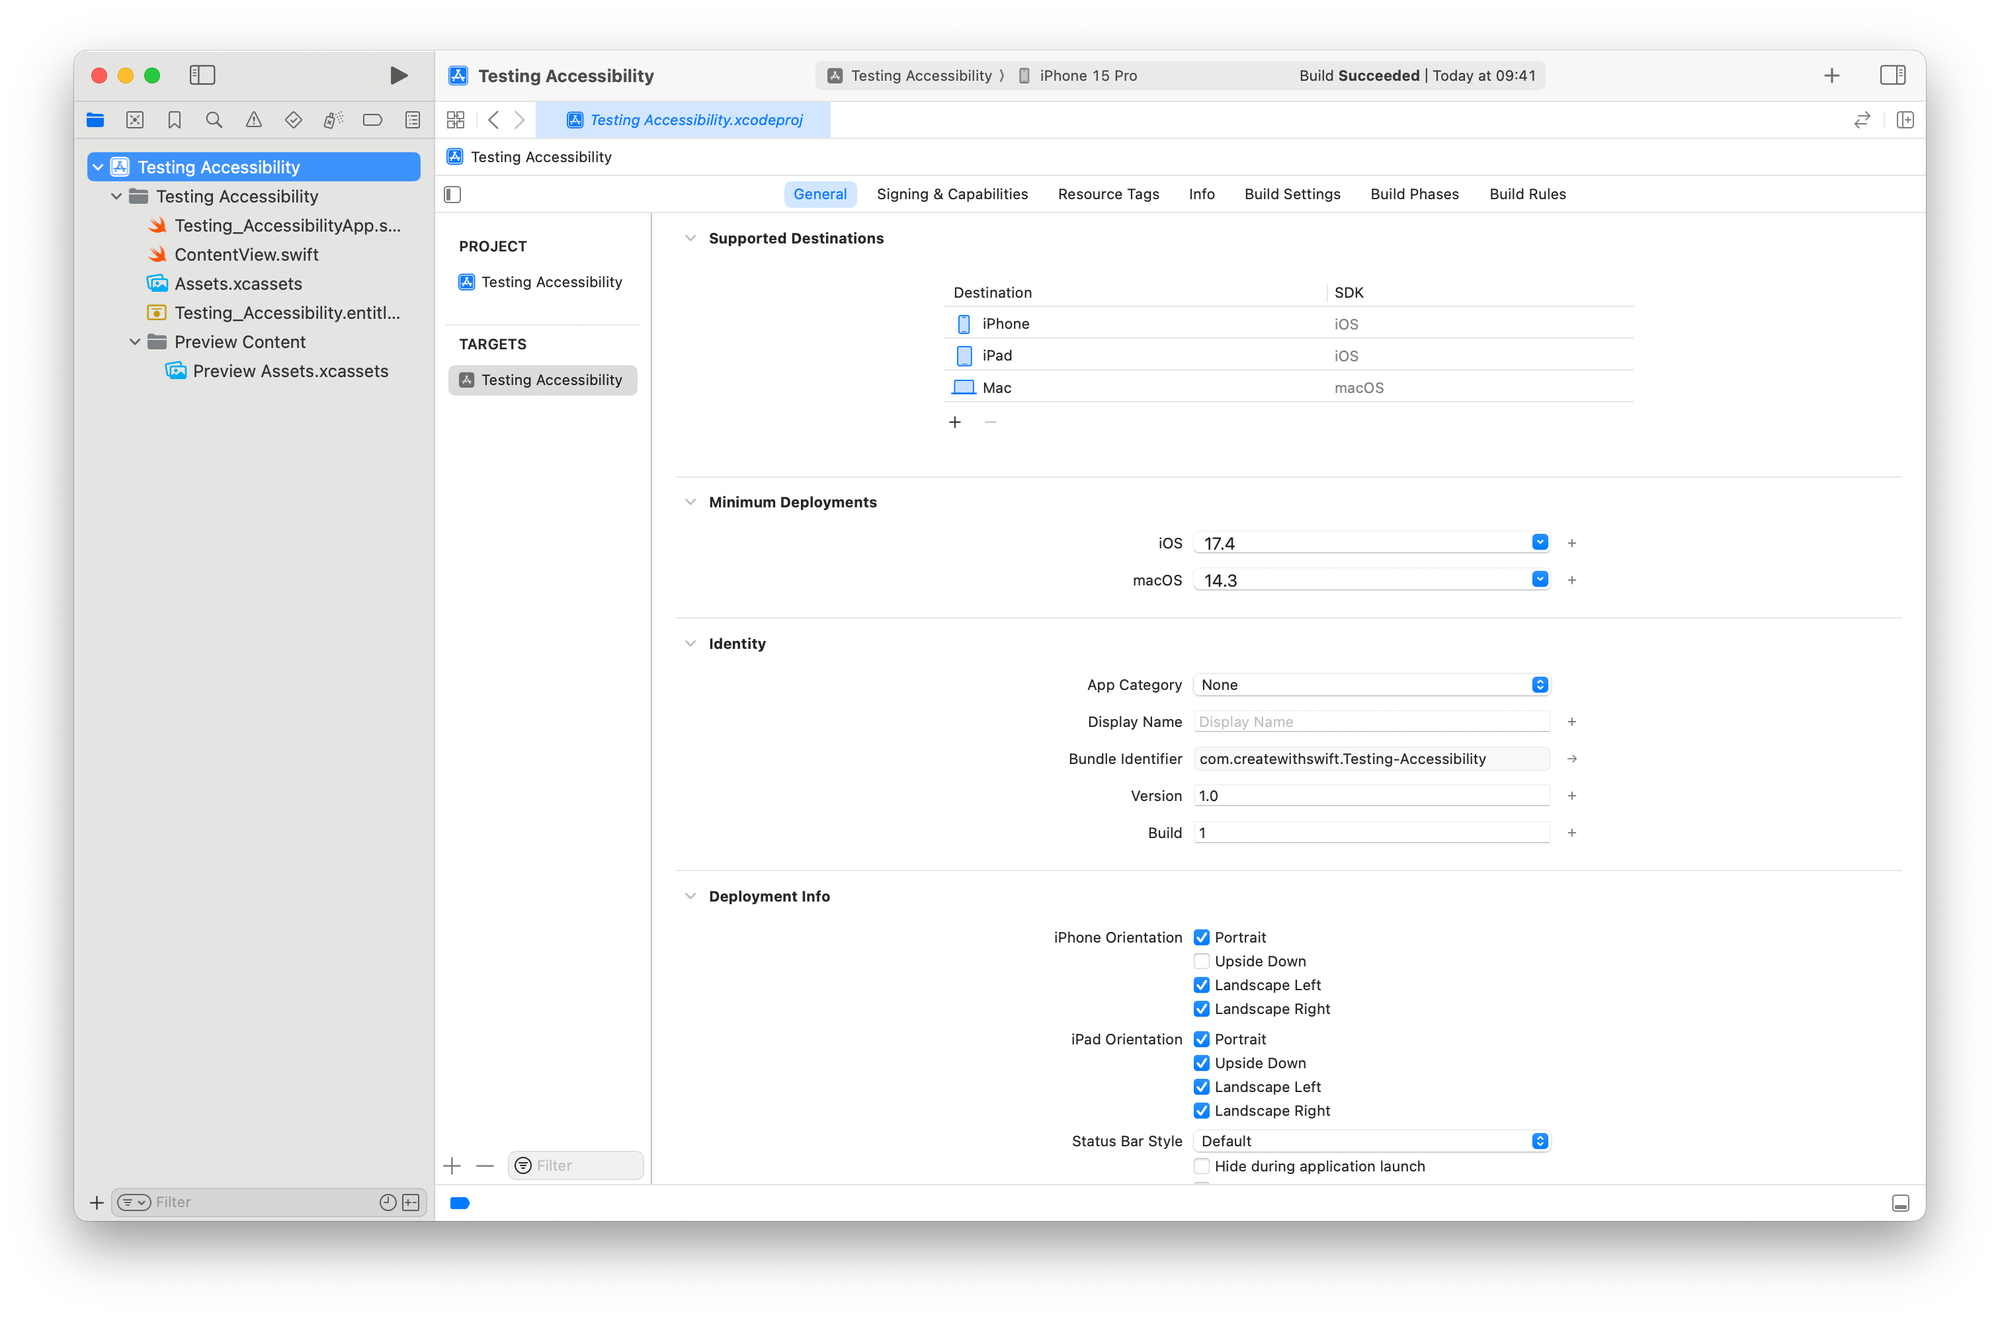
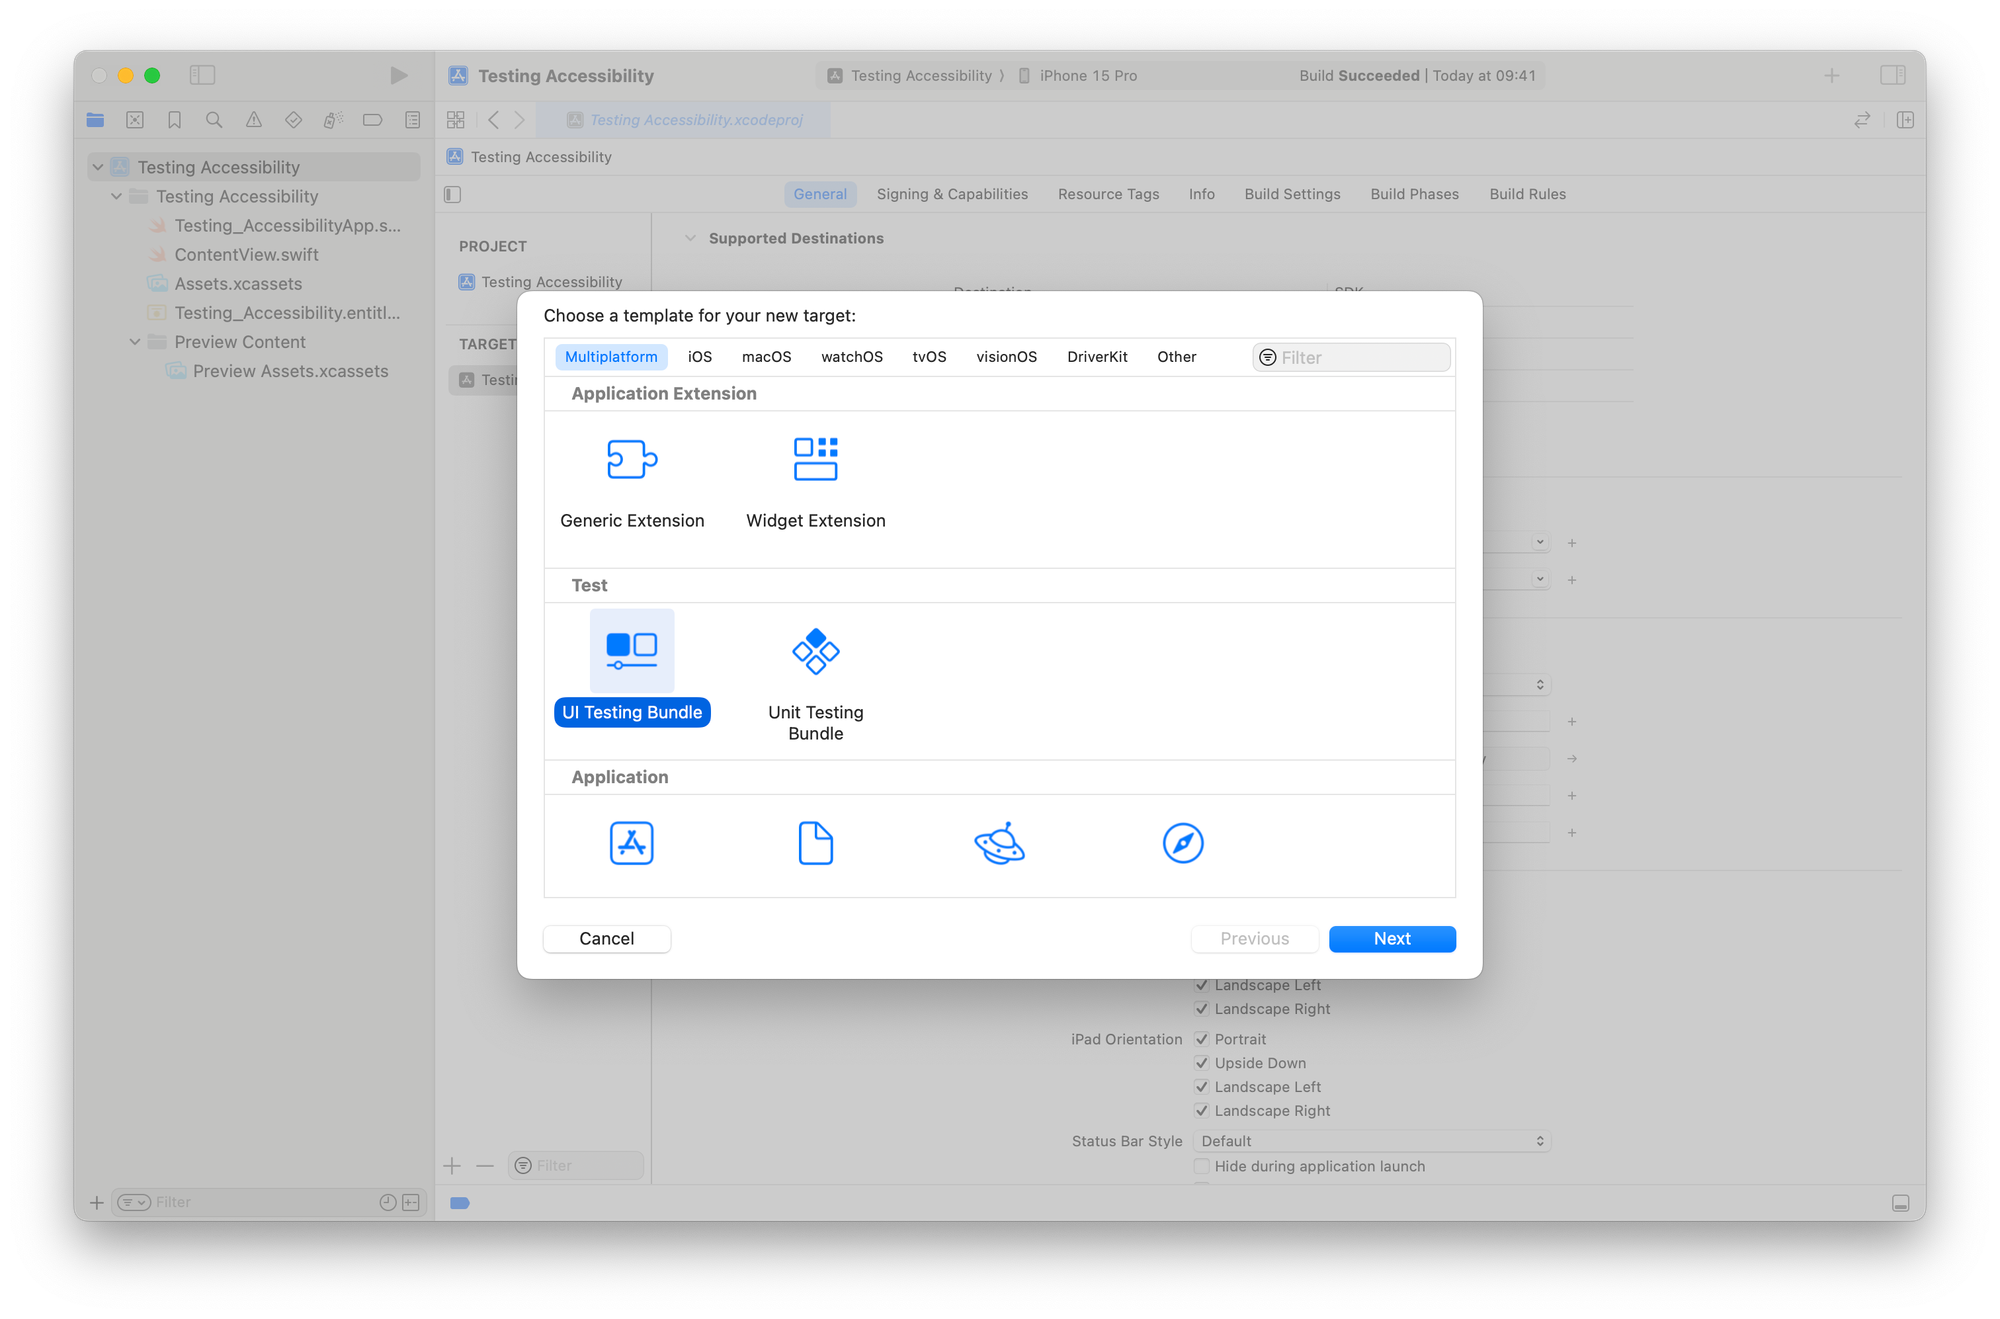
Alternatively, you can add UI Tests to an existing project by adding a new target to the project.
In our app, we have a simple view that showcases multiple accessibility errors.
import SwiftUI

struct ContentView: View {
    var body: some View {
        Text("Accessibility")
            .foregroundStyle(Color.white)
            .font(.system(size: 24))
            .background { Color.yellow }
    }
}
This view has the following issues:
- It doesn't support Dynamic Type since the text has fixed sizes
- The contrast between the text and its background is not sufficient
To analyze the view, define a new method testAccessibility() in the project's UITests file.
func testAccessibility() throws {
    let app = XCUIApplication()
    app.launch()
    try app.performAccessibilityAudit()
}
With this test we create an instance of the app then, after launching it, we start performing an accessibility audit.
performAccessibilityAudit() function will highlight similar issues to those found in an accessibility audit with the Accessibility Inspector App.You can run the test by either clicking on the button with the gray play icon located near the methods of the class, near the class itself or in the Xcode Test navigator, where you can have an overview of all the tests in your project and run specific tests individually. Additionally, you can use the ⌘+U shortcut to run all tests.
The test fails immediately, stopping showing the first cause of the failure however, in our example for sure there are two.
By default, UI tests stop their execution immediately when a failure occurs. You can ensure that the test doesn't stop after finding the first error by setting the continueAfterFailure property to true in the setUpWithError(). This will allow you to discover all the potential accessibility issues in the view.
override func setUpWithError() throws {
    // Put setup code here. This method is called before the invocation of each test method in the class.

    // In UI tests it is usually best to stop immediately when a failure occurs.
    continueAfterFailure = true

    // In UI tests it’s important to set the initial state - such as interface orientation - required for your tests before they run. The setUp method is a good place to do this.
}
As expected, the test failed with:
- Contrast nearly passed
- Dynamic Type font sizes are unsupported
Analyze errors
We can delve deeper into analyzing these errors by pinpointing the specific portion of the view responsible for each failure. In the Report navigator section, navigating to the test section and double-clicking on the error allows us to precisely identify the element causing the failure.
Test specific accessibility properties
By defaults the performAccessibilityAudit(for:_:) will test all the various accessibility properties. We can customize the audit test to focus on specific accessibility aspects that need to be checked by providing an XCUIAccessibilityAuditType the to the method.
func testDynamicType() throws {
    let app = XCUIApplication()
    app.launch()
    try app.performAccessibilityAudit(for: .dynamicType)
}
In this test, we pass a set of audit types as input, configuring what the audit will specifically test for. For a comprehensive list of audit types, you can check the documentation.
Alternatively, we can also exclude specific audit types.
func testAccessibilityExcludingElementDescription() throws {
    let app = XCUIApplication()
    app.launch()
    try app.performAccessibilityAudit(for: .all.subtracting(.sufficientElementDescription))
}
In certain cases, there might be issues that need to be ignored by the test. We can accomplish this by passing a closure that is called for each issue found by the audit, allowing us to choose which issues need to be ignored.
func testAccessibility() throws {
    // UI tests must launch the application that they test.
    let app = XCUIApplication()
    app.launch()

    try app.performAccessibilityAudit(for: [.dynamicType, .contrast, .sufficientElementDescription]) { issue in
        var shouldIgnore = false

        if let element = issue.element,
           issue.auditType == .contrast {
            shouldIgnore = true
        }
        return shouldIgnore
    }
}
Conclusion
UI tests streamline the process of making your app accessible for everyone, highlighting the issues that need to be corrected.
Anyway, it’s important to remember that audits are limited to the elements on the screen, and to really make sure your app is easy to use for everyone audits must be paired with user testing, testing how usable the app is with assistive technologies such as VoiceOver and applying accessibility features such as Larger Text Sizes, Increase contrast and others.