Setting up Xcode Cloud for Automated Builds, Tests and Distribution
This tutorial shows how to enable Xcode Cloud workflows to leverage the new cloud based toolchain to build, test and distribute apps.

Xcode Cloud is a new cloud-based toolchain introduced by Apple during WWDC 2021 that allows to automatically build, test, and distribute apps from within Xcode. It is available in beta currently, and you can join the waiting list here.
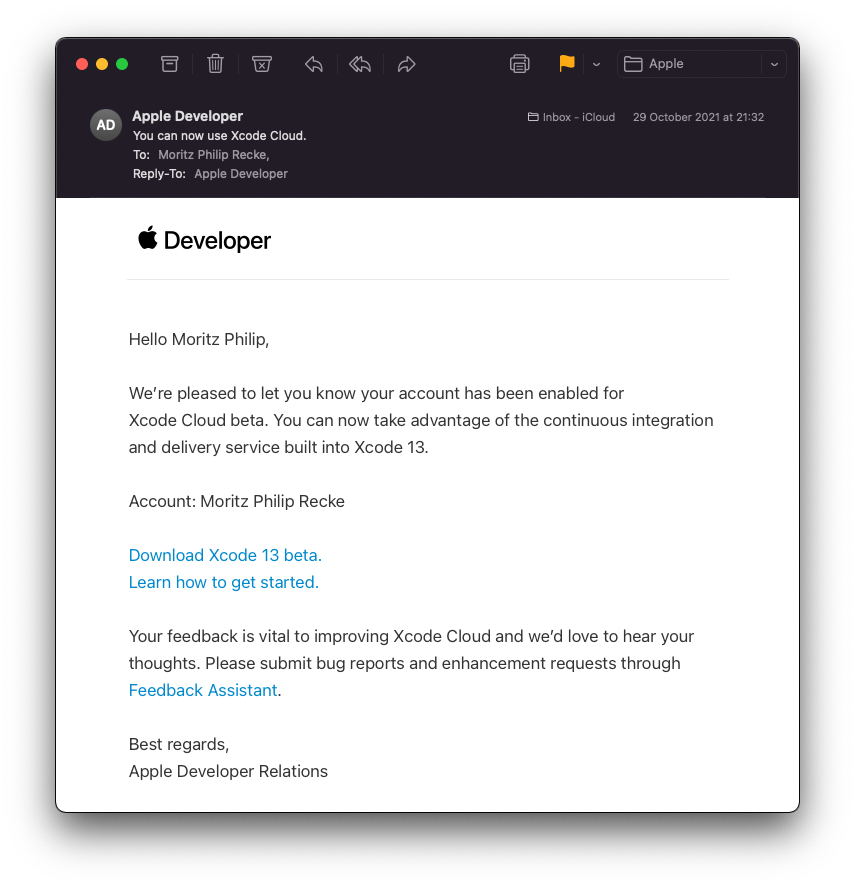
So far, more than 10,000 developer teams have been invited to the beta, so it is a good time to get up to speed on the new toolchain before it becomes publically available. If Xcode Cloud is made available for your developer account, you can start using it right within Xcode.
Let's have a look at how it works in detail.
The only prerequisite is using the developer account inside your project and managing the project with Git. Xcode clouds support all major platforms, such as Github, Gitlab, BitBucket, etc. Inside Xcode, select the Product menu from the menu bar and select Create Workflow.
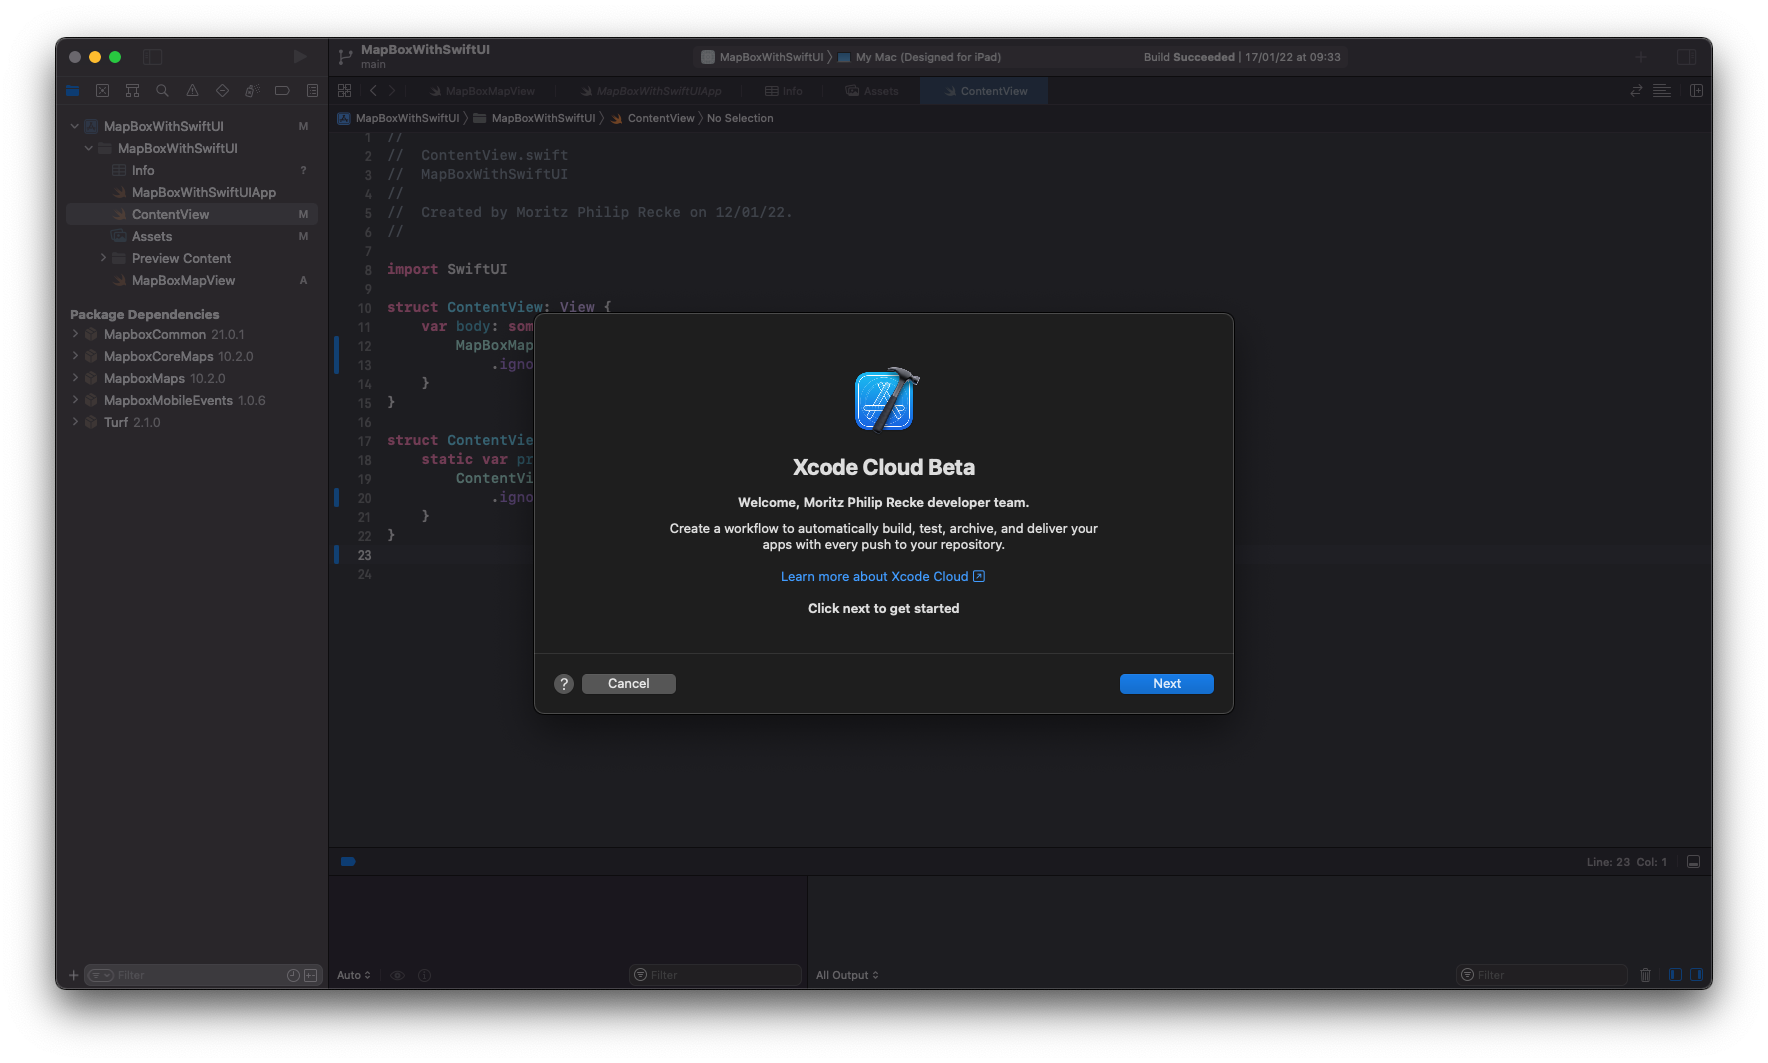
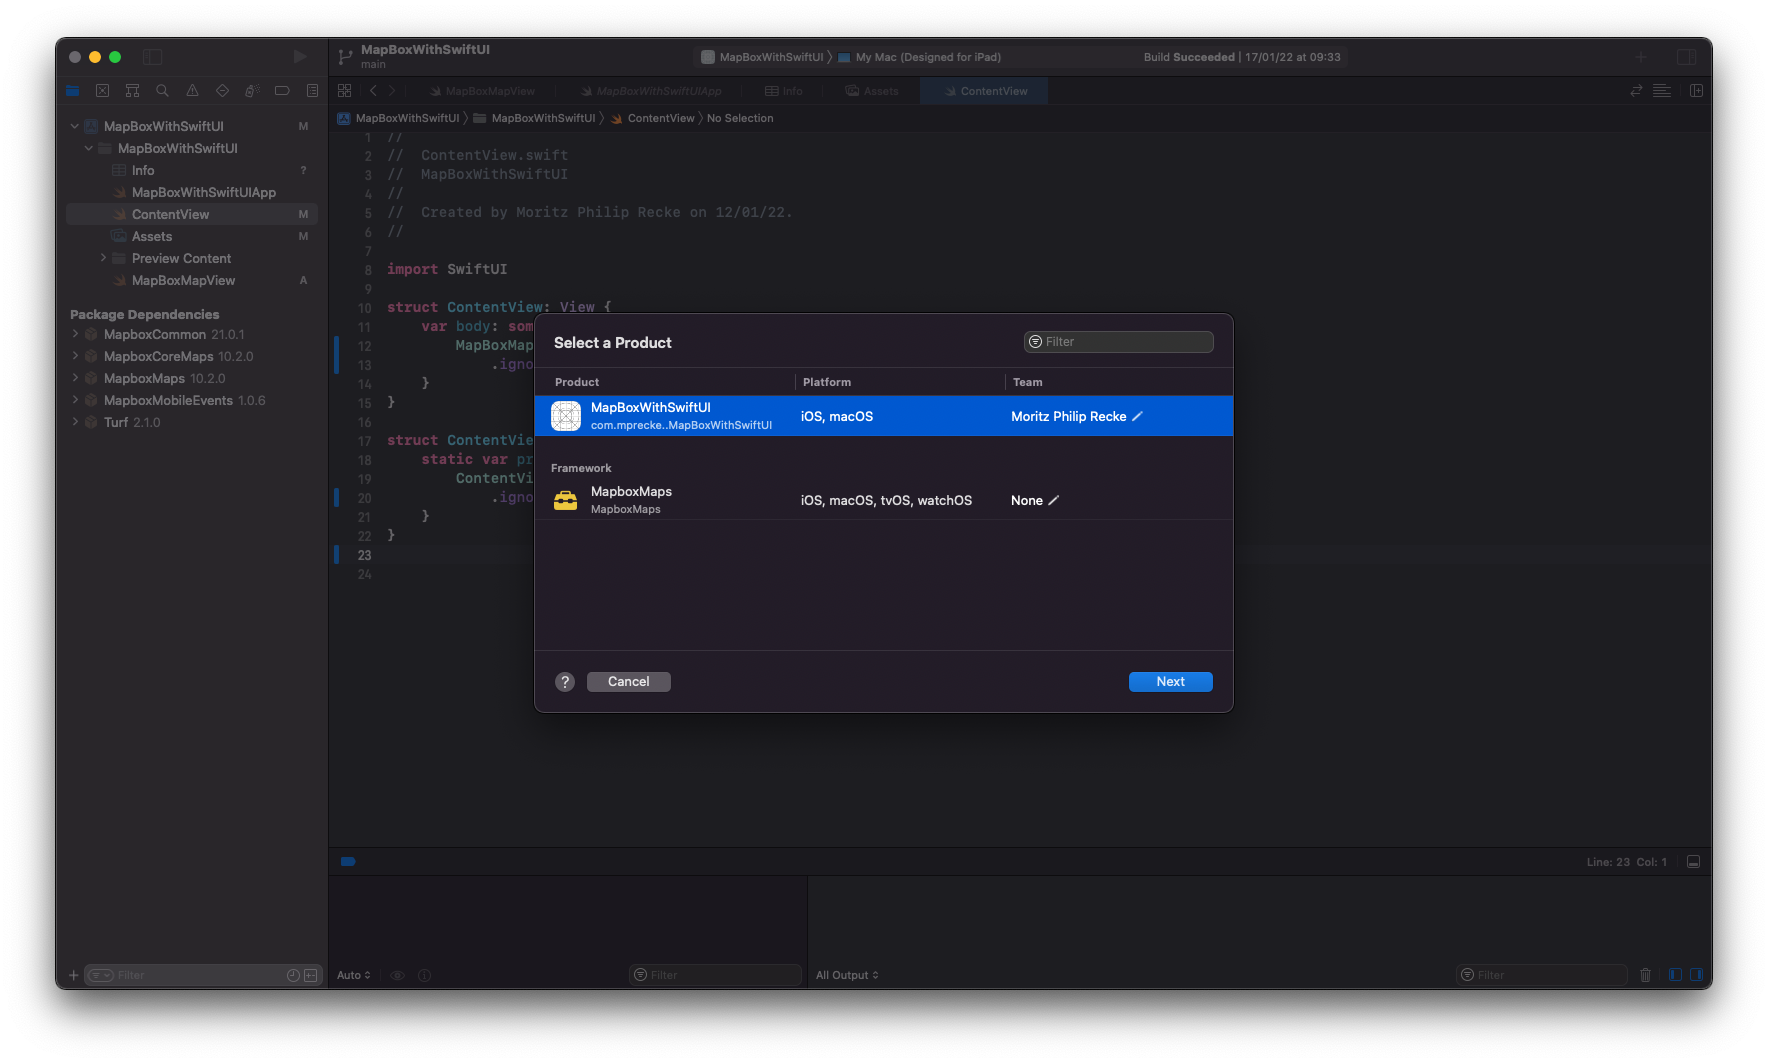
The first time a workflow is created for that project, you will be guided by an assistant who will set up the first workflow based on the base configuration of your project and the git repository. First, you have to select the product for which you want to create the workflow.
Note here, that the assistant also detects the frameworks used inside the project, for example, the Mapbox SDK for iOS in this example. You will need to have reading access to the git repositories for such frameworks. If you use Swift Package Manager, all of this is built-in for you. For frameworks embedded with other tools like CocoaPods, more steps are needed. For private frameworks, the access has to be managed through the git repositories and read access to all repositories for all dependencies is required.
More information on how to make dependencies available to Xcode Cloud are available in the Apple Developer Documentation.
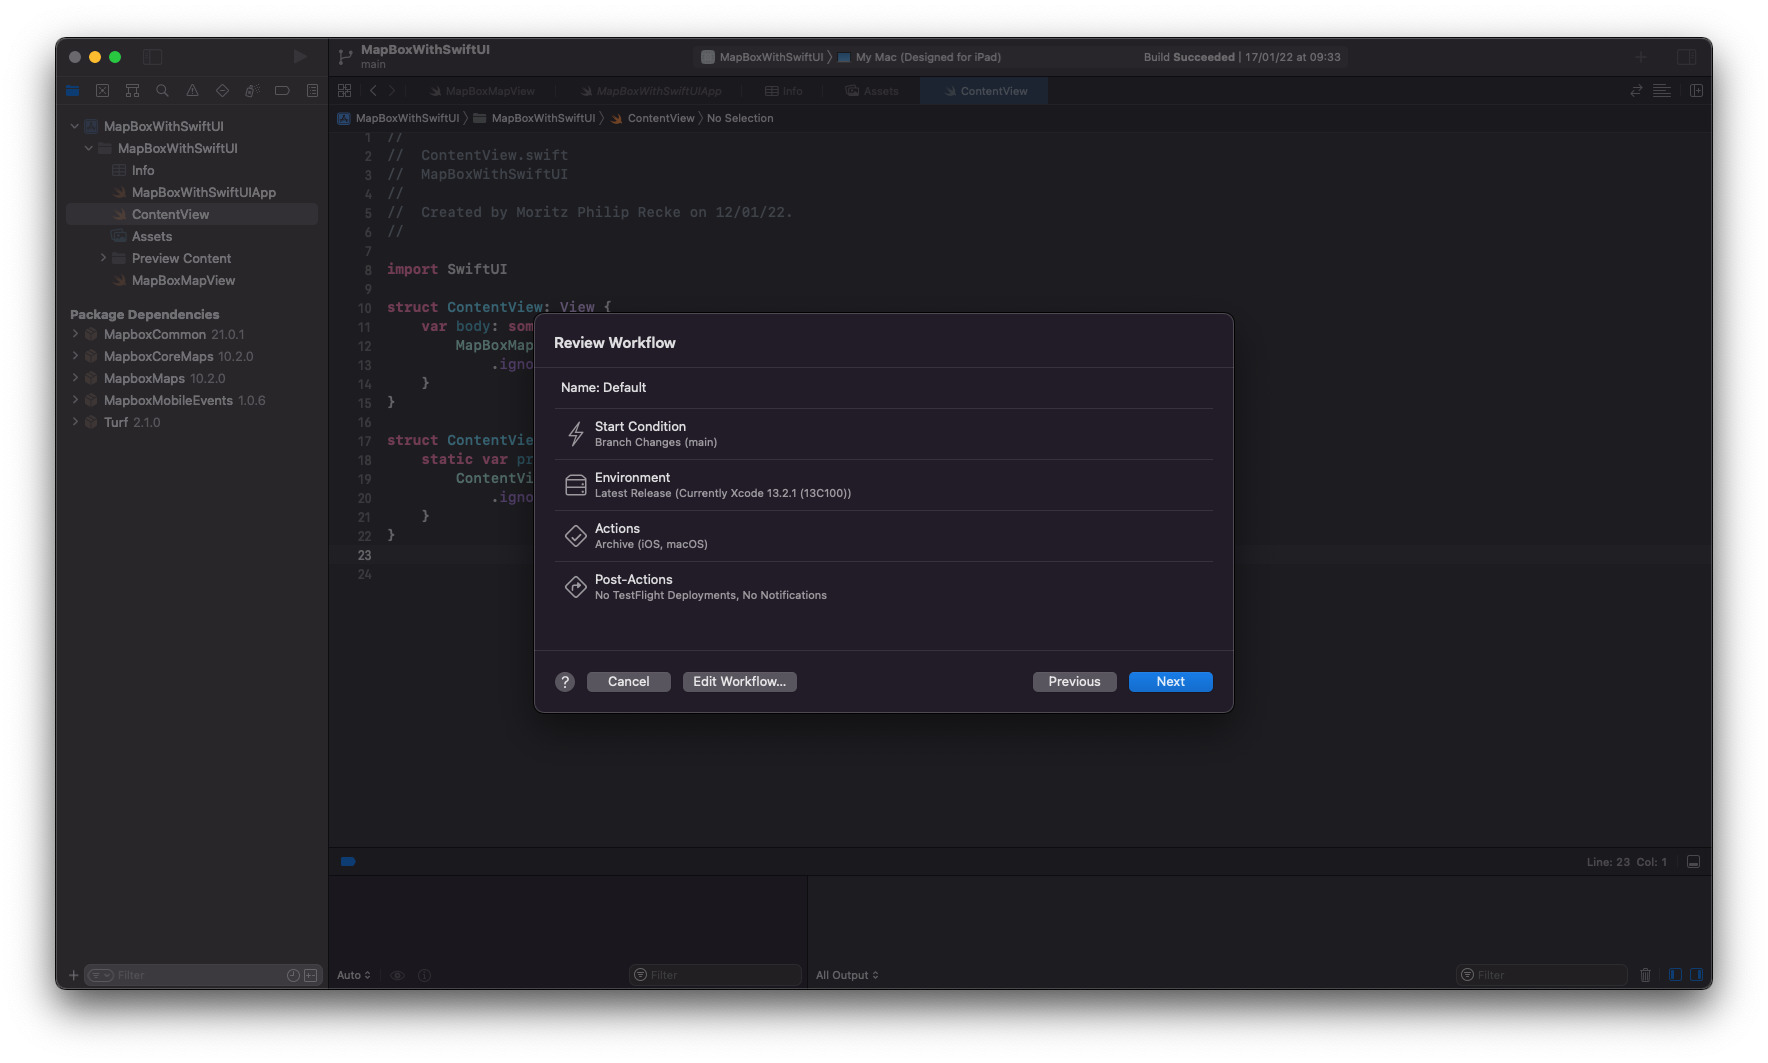
In the next step, the assistant analyzes the configuration of your Xcode project and the git repository to then suggest a default workflow to get started. In principle, all workflows start with a Start Condition, where you can define when the workflow is executed. For example, the workflow can be triggered when changes are detected on a specific git branch, main in this case. You can also use any branch or several specific branches or even customize specific conditions for those changes, e.g. limiting the start condition to specific files that were edited, etc.
You can also specify the Environment, with as default is set to the latest Xcode and macOS versions. Beyond changing this to specific versions you want to target, you can also set up Environment Variables that might be needed in your project. For this example, we will stick with the default.
The workflow allows you to specify Actions and Post-Actions. Actions are are steps such as building, archiving, testing, or analyzing the product. This is basically where most of the magic happens. The default workflow will only use one step, which is creating an archive of the project for both iOS and macOS in this example.
Post-Actions specify what can be done after the Actions have been performed. Here you for example deploy the app to TestFlight or send notifications about the completed workflow, for example with a convenient Slack integration. The default workflow starts usually with no Post-Actions.
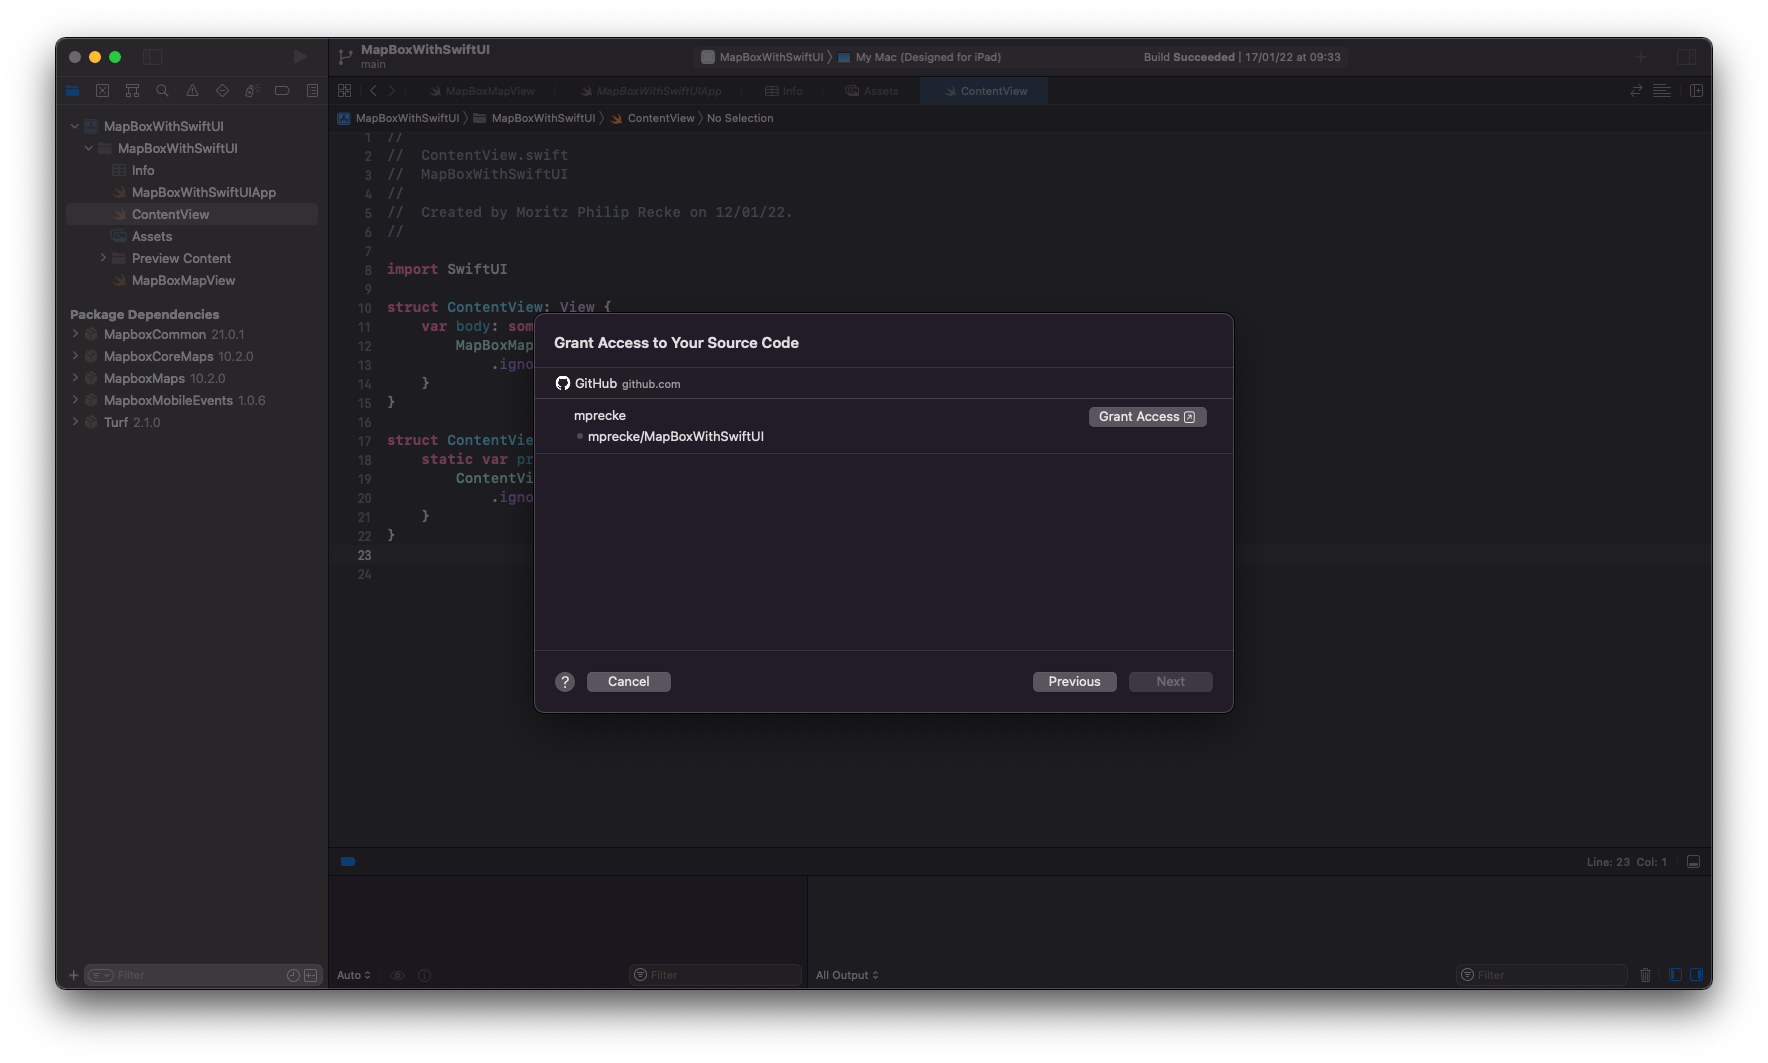
In the next step, you will be prompted to grant access to your source code for Xcode Cloud. In this example, the repository is hosted on Github, so Xcode is asking for access to the repository inside the Github account.
Note, that access to the Mapbox SDK for iOS is not requested as it is managed through the Swift Packager Manager automatically. This is very convenient and works quite well for the majority of Swift Packages. Yet, some Dependencies require more configuration, for example, to authenticate with API access tokens, etc. Mapbox is such an example and we will explore the details of this in another post.
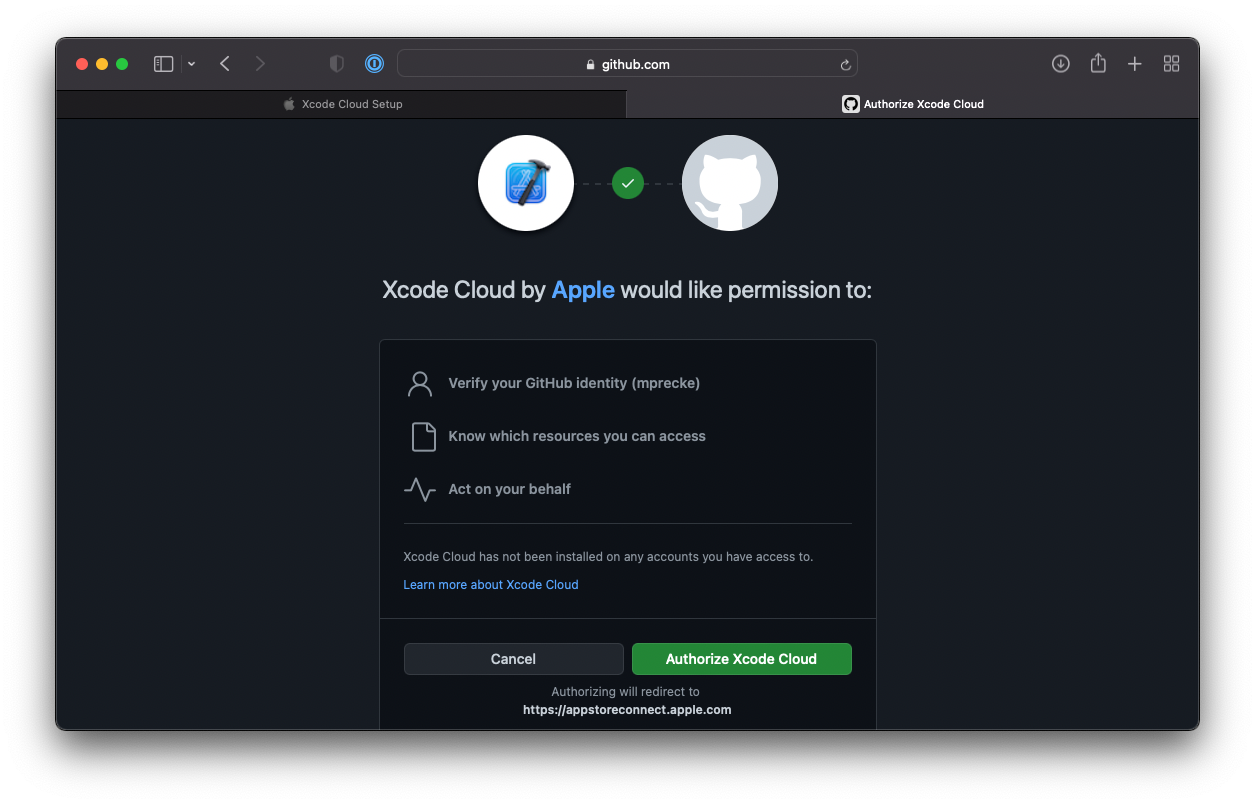
By clicking on Grant Access, you will be directed to App Store Connect and have to log in with your developer account credentials. Then, the setup assistant will guide you to connect Xcode Cloud with Github. The assistant needs access to the specified repositories to work properly.
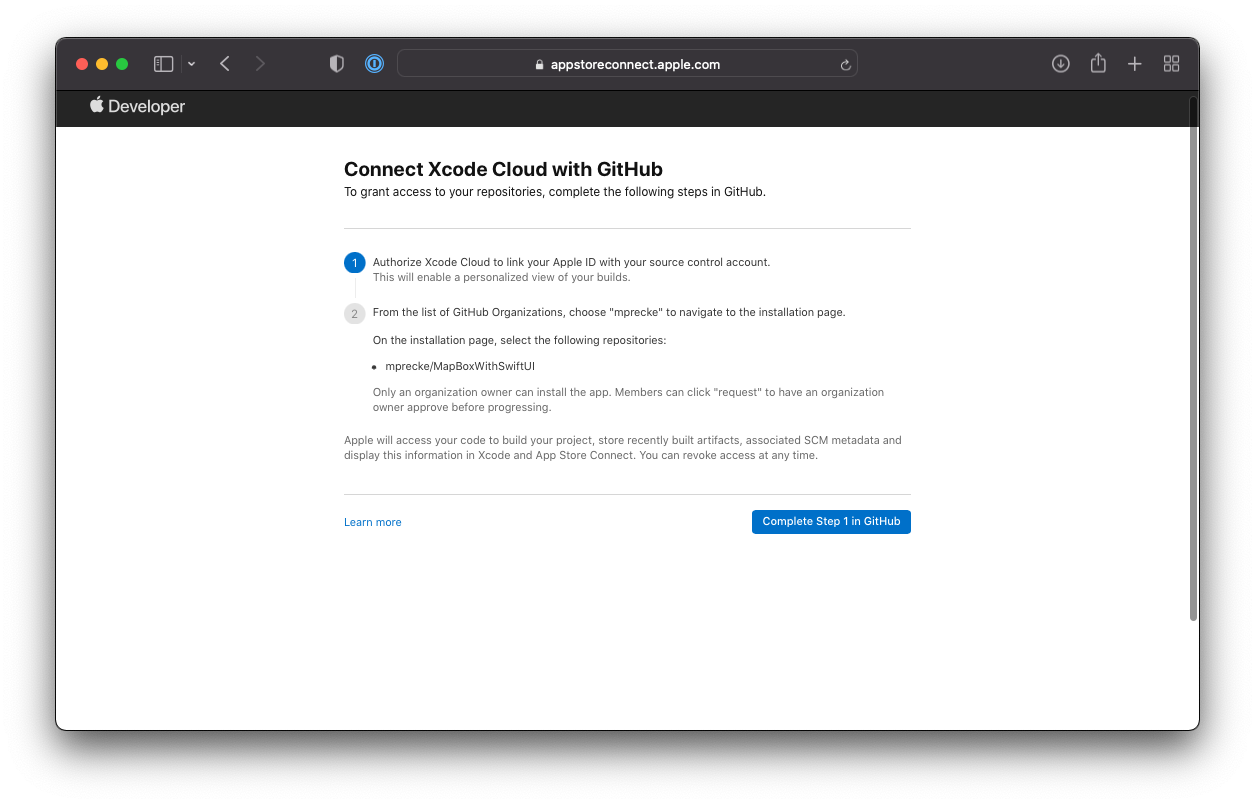
The process is completed on Github and is very straightforward. The assistant also asks whether you want to grant Xcode Cloud access to all your repositories on GitHub. Even though it may be very convenient, be aware of these consequences.
In most cases, it might be more reasonable to grant access with a case-by-case approach, even though you lose the convenience of skipping this step when connecting new repositories to Xcode Cloud.
The example here is using Github, but the system supports all major platforms. For more information, the official documentation covers how to manage the source code for Xcode Cloud for BitBucket, GitBucker, and GitLab.
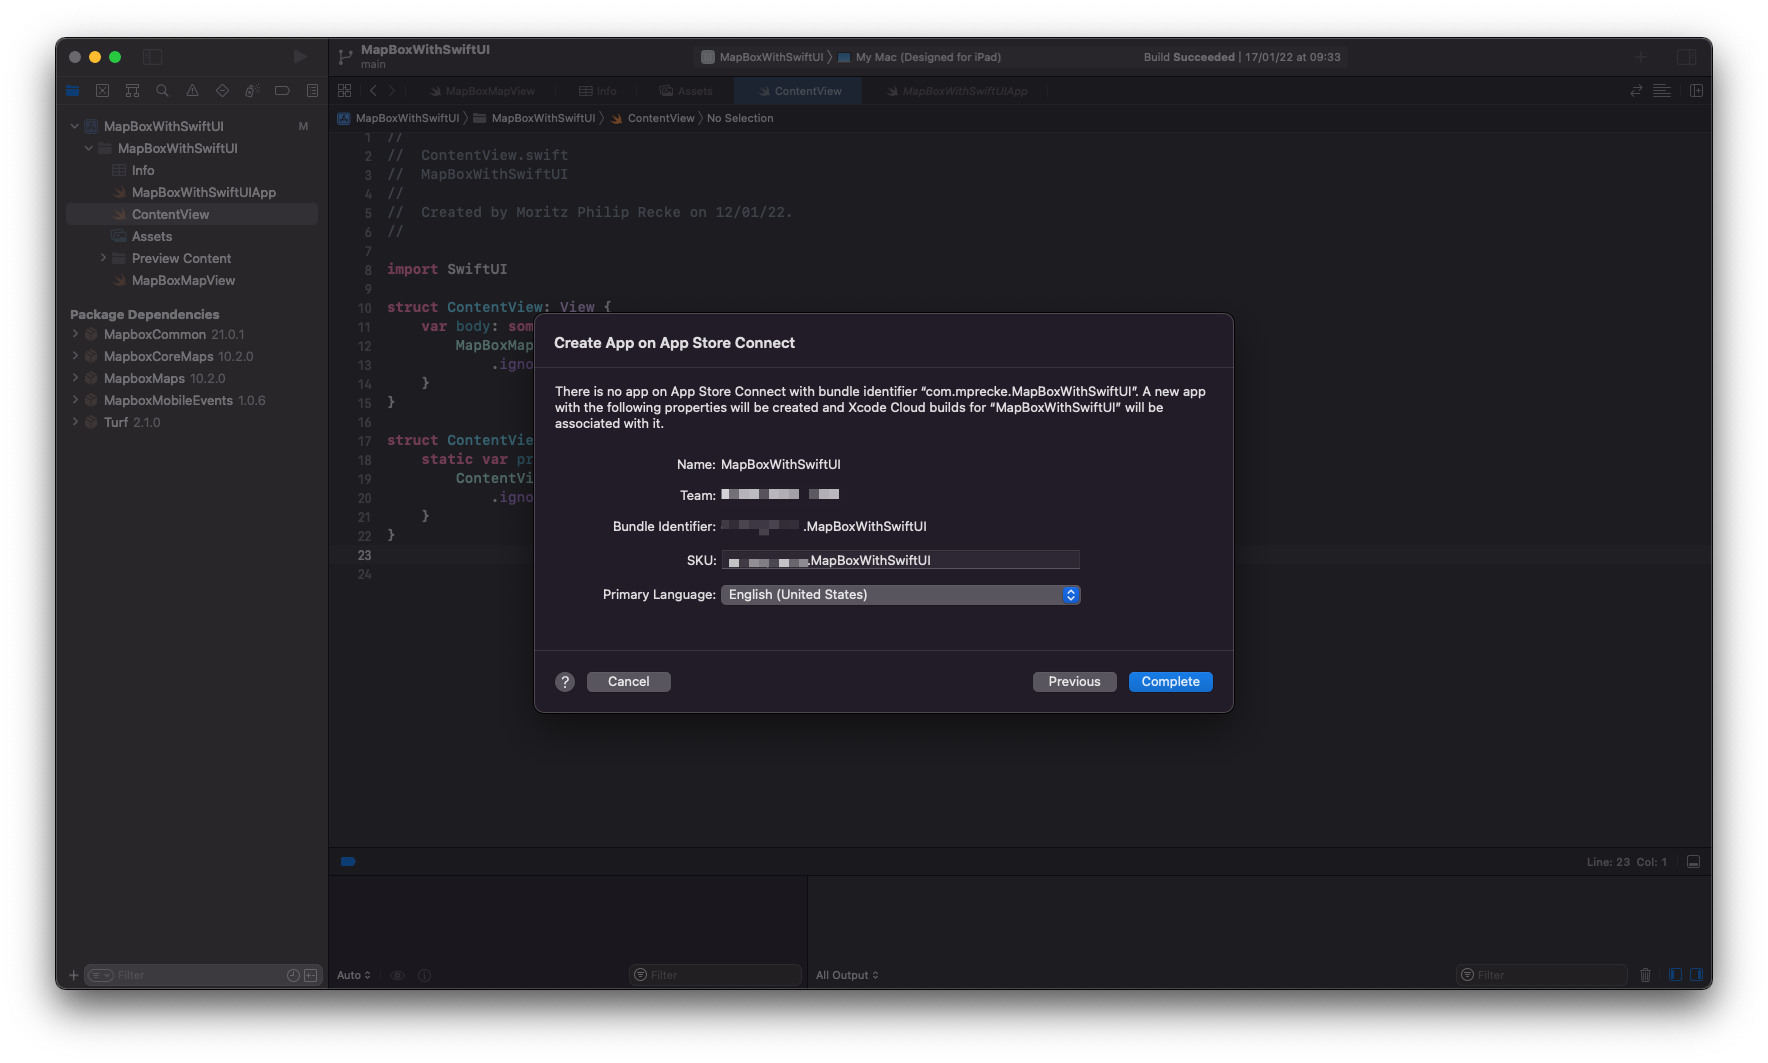
Once the authorization for Xcode Cloud is granted, the assistant will return to Xcode, where the configuration of the workflow can be completed. As the last step, the assistant also checks, whether the app project already exists inside App Store Connect.
If it doesn't, it will create the app on the App Store Connect platform, using the Bundle Identifier set in the Xcode project, and will ask you to provide an SKU for the product.
Finally, the workflow configuration is completed and the assistants allow you to choose a branch of the git repository to start the first build with Xcode Cloud. It is that simple. Even though many things can be configured inside the workflow, such as your suite of tests and analysis, the first steps toward an automated approach for building, testing, and deploying your app are done.

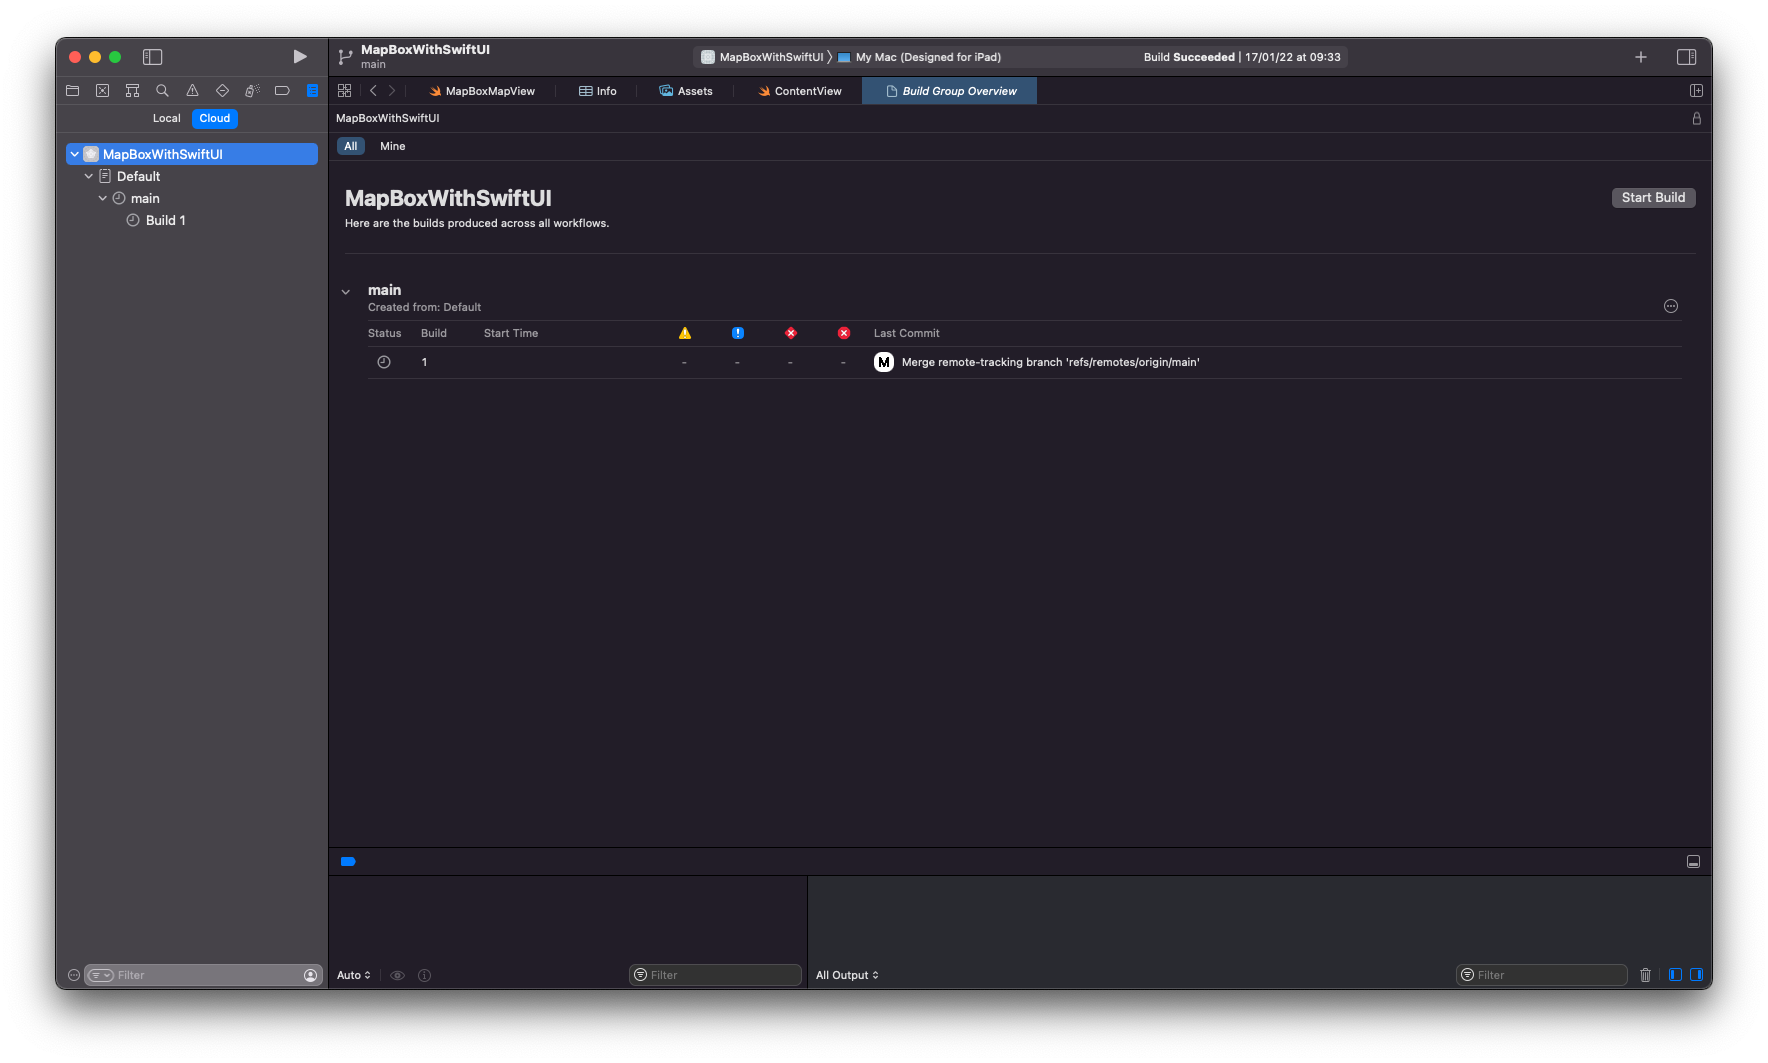
To see how results of your Xcode Cloud workflow, head over to the Report Navigator in the Xcode Navigator. All your workflows are displayed here, ordered by branch and build. You can follow the progress of your cloud workflows, see warnings, errors, etc. and navigate logs to dig deeper into how to fix any issues for your project.
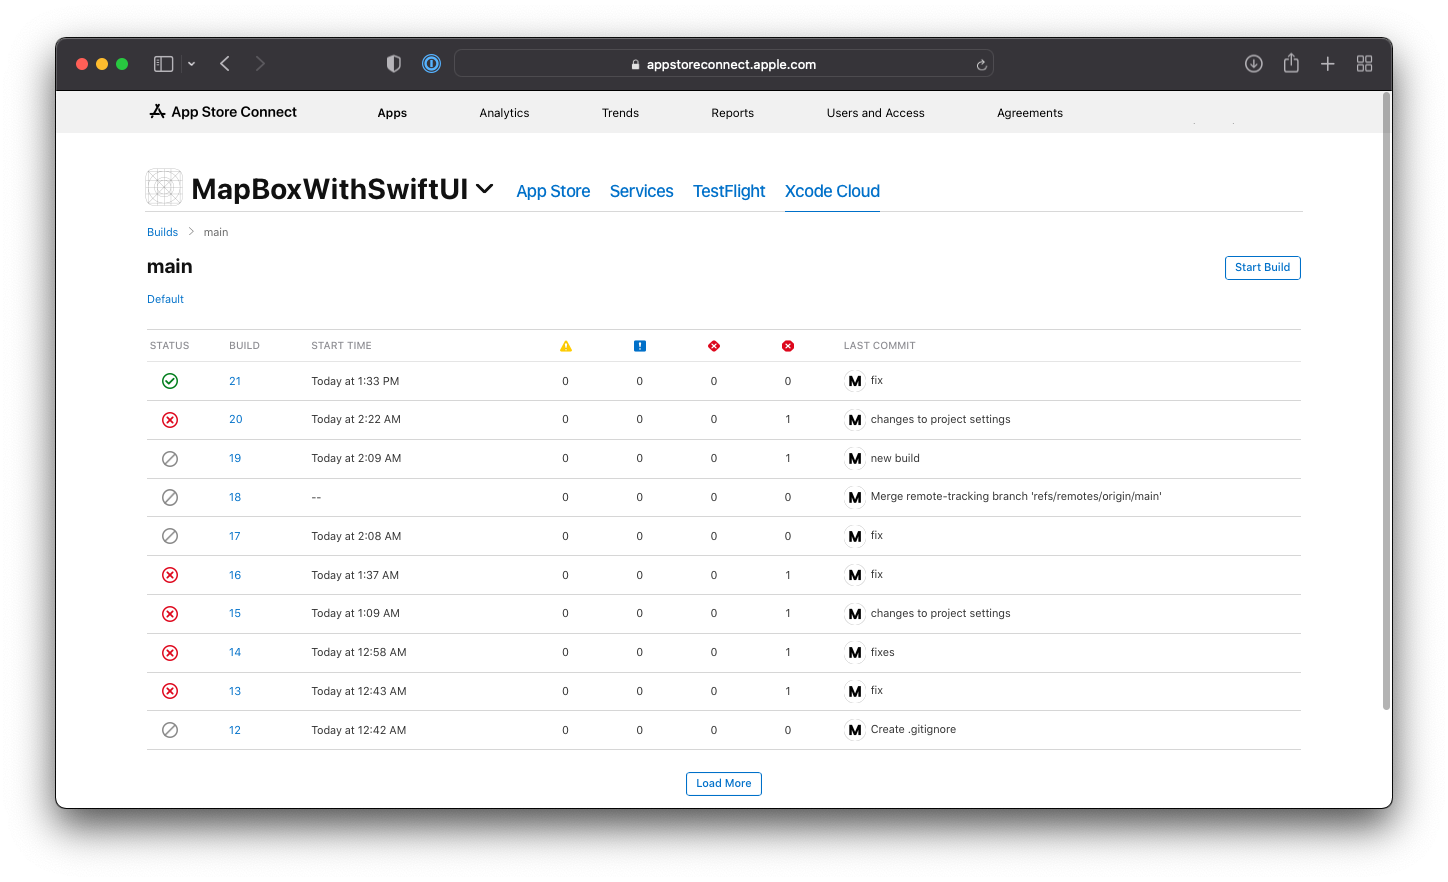
All report details as well as the entire configuration of your Xcode Cloud workflows is also available on App Store Connect. Similar to within Xcode, you can configure the details of your Xcode Cloud workflows inside the web platform, create and manage new builds, tests, analysis, archives, TestFlight deployments, etc. Also, all build reports and their warning and errors etc. can be found here.
Inside the platform, all Xcode Cloud related settings and reports are found next to the TestFlight tab. All developer team members with appropriate access rights will also be able to see this information.
A more detailed article about how to use the Xcode Cloud reports and logs will follow in the next weeks. For a head start, the Apple Developer Documentation provides some good examples of where to go next.
For example, a good idea could be to configure Xcode Cloud for your development team to collaborate with other developers. Also, a nice Post-Action to configure would be Connecting Xcode Cloud to Slack.
Even without detailed knowledge about how to configure tests, you can already leverage Xcode Cloud to automatize the creation of new builds that can be used for internal or external TestFlight, which will save you enough time to dig deeper into automated testing with Xcode Cloud in the future.
Stay tuned for more content on Xcode Cloud, how to automatize tests and analysis for your project as well as how to create custom scripts for your builds. To not miss out, join our free mailing list to be notified whenever new content is out.