
Using MapKit with SwiftUI
Learn how to use Maps in your SwiftUI app and how to add annotations to the MapView as markers, pins or custom annotations.

Even though Maps are not yet as powerful in SwiftUI in comparison to their UIKit counterparts, basic map functionality is easy to implement in SwiftUI. In a series of articles, we want to share the most common use cases for maps and how they can be implemented with the latest and greatest additions to SwiftUI.
Use a Map to display a map
Starting with an empty Xcode project for a SwiftUI app, you can edit the ContentView.swift file with just a few lines of code to add an interactive map. In our example, however, we created a MapView.swift file, but it works all the same. To display a map with the region of your choosing, follow these steps:
import MapKit- Add a @State property to define a variable named
regionas aMKCoordinateRegionthat specifies the center coordinate and zoom level for the map. - Add a Map element to the body of the MapView and use the
regionas a parameter.
The parameter has to be provided as a $region binding, so the map would update if the region variable changes. With a .edgesIgnoringSafeArea(.all) modifier, the Map can be adjusted to expand over the safe area and fill the entire screen.
import SwiftUI
// 1.
import MapKit

struct MapView: View {
    // 2.
    @State private var region = MKCoordinateRegion(
				center: CLLocationCoordinate2D(
					latitude: 40.83834587046632,
					longitude: 14.254053016537693),
				span: MKCoordinateSpan(
                	latitudeDelta: 0.03,
                    longitudeDelta: 0.03)
				)

    var body: some View {
		// 3.
		Map(coordinateRegion: $region)
			.edgesIgnoringSafeArea(.all)
    }
}
Let's now see, how we can add annotations to the map.
Adding annotations to the map
To work with annotations, it makes sense to define a simple model for these annotations. To make this example as easy as possible, we will do the following:
- Create a simple model for the annotations as Points of Interest
- Adding multiple Points of Interest as a property to the MapView
- Displaying the Points of Interest on the Map as Markers, Pins, or custom annotations
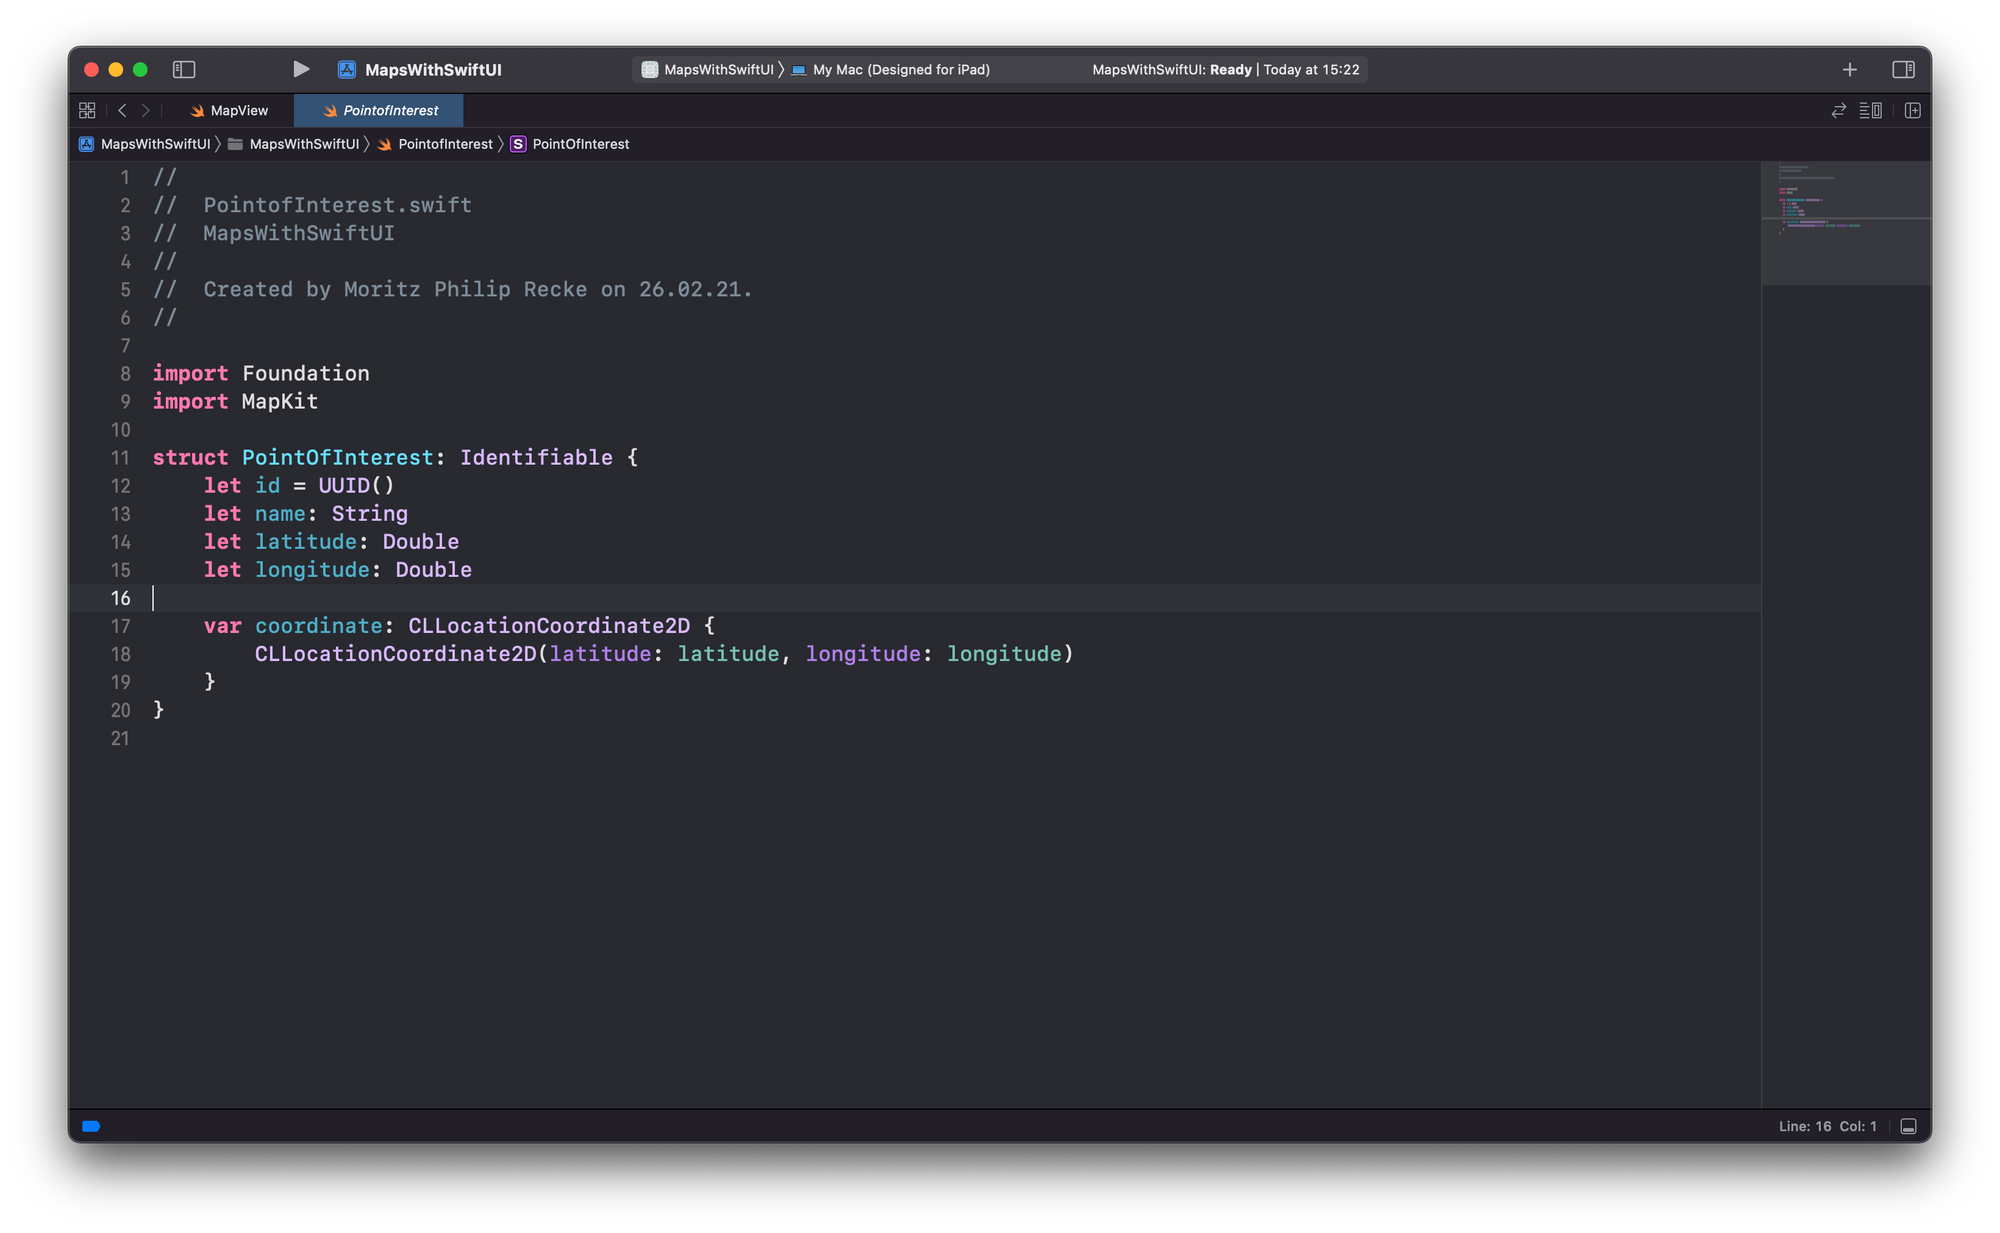
A Model for Points of Interests
In order to add some annotations to the map, let's define a model for these annotations in a new Swift file. As a name, you can use PointOfInterest.Swift and make sure the target is selected before you click "Create" to create the new Swift file. You will be redirected to the source editor with an empty Swift file.
Now create a simple model that can be used for annotations:
- Create a
structnamedPointOfInterestand import MapKit. - As properties of the struct add
nameof type String,latitudeandlongitudeof type Double, and anidas of type UUID. - Add a computed property named
coordinatethat uses latitude and longitude to create a CLLocationCoordinate2D, which is commonly used in any context related to locations or maps. - To make full use of the
idproperty, e.g. to comfortably iterate through an array of annotations, make the struct conforms to theIdentifiableprotocol.
The Identifiable protocol provides a stable notion of identity to a class or value type. You can use the id property to identify a particular PointOfInterest instance even if other data fields change. The id can also be used as incrementing integers. For more information, check out the Apple Developer Documentation.
import Foundation
import MapKit

// 1. & 4.
struct PointOfInterest: Identifiable {
	// 2.
    let id = UUID()
    let name: String
    let latitude: Double
    let longitude: Double

	// 3.
    var coordinate: CLLocationCoordinate2D {
        CLLocationCoordinate2D(latitude: latitude, longitude: longitude)
    }
}
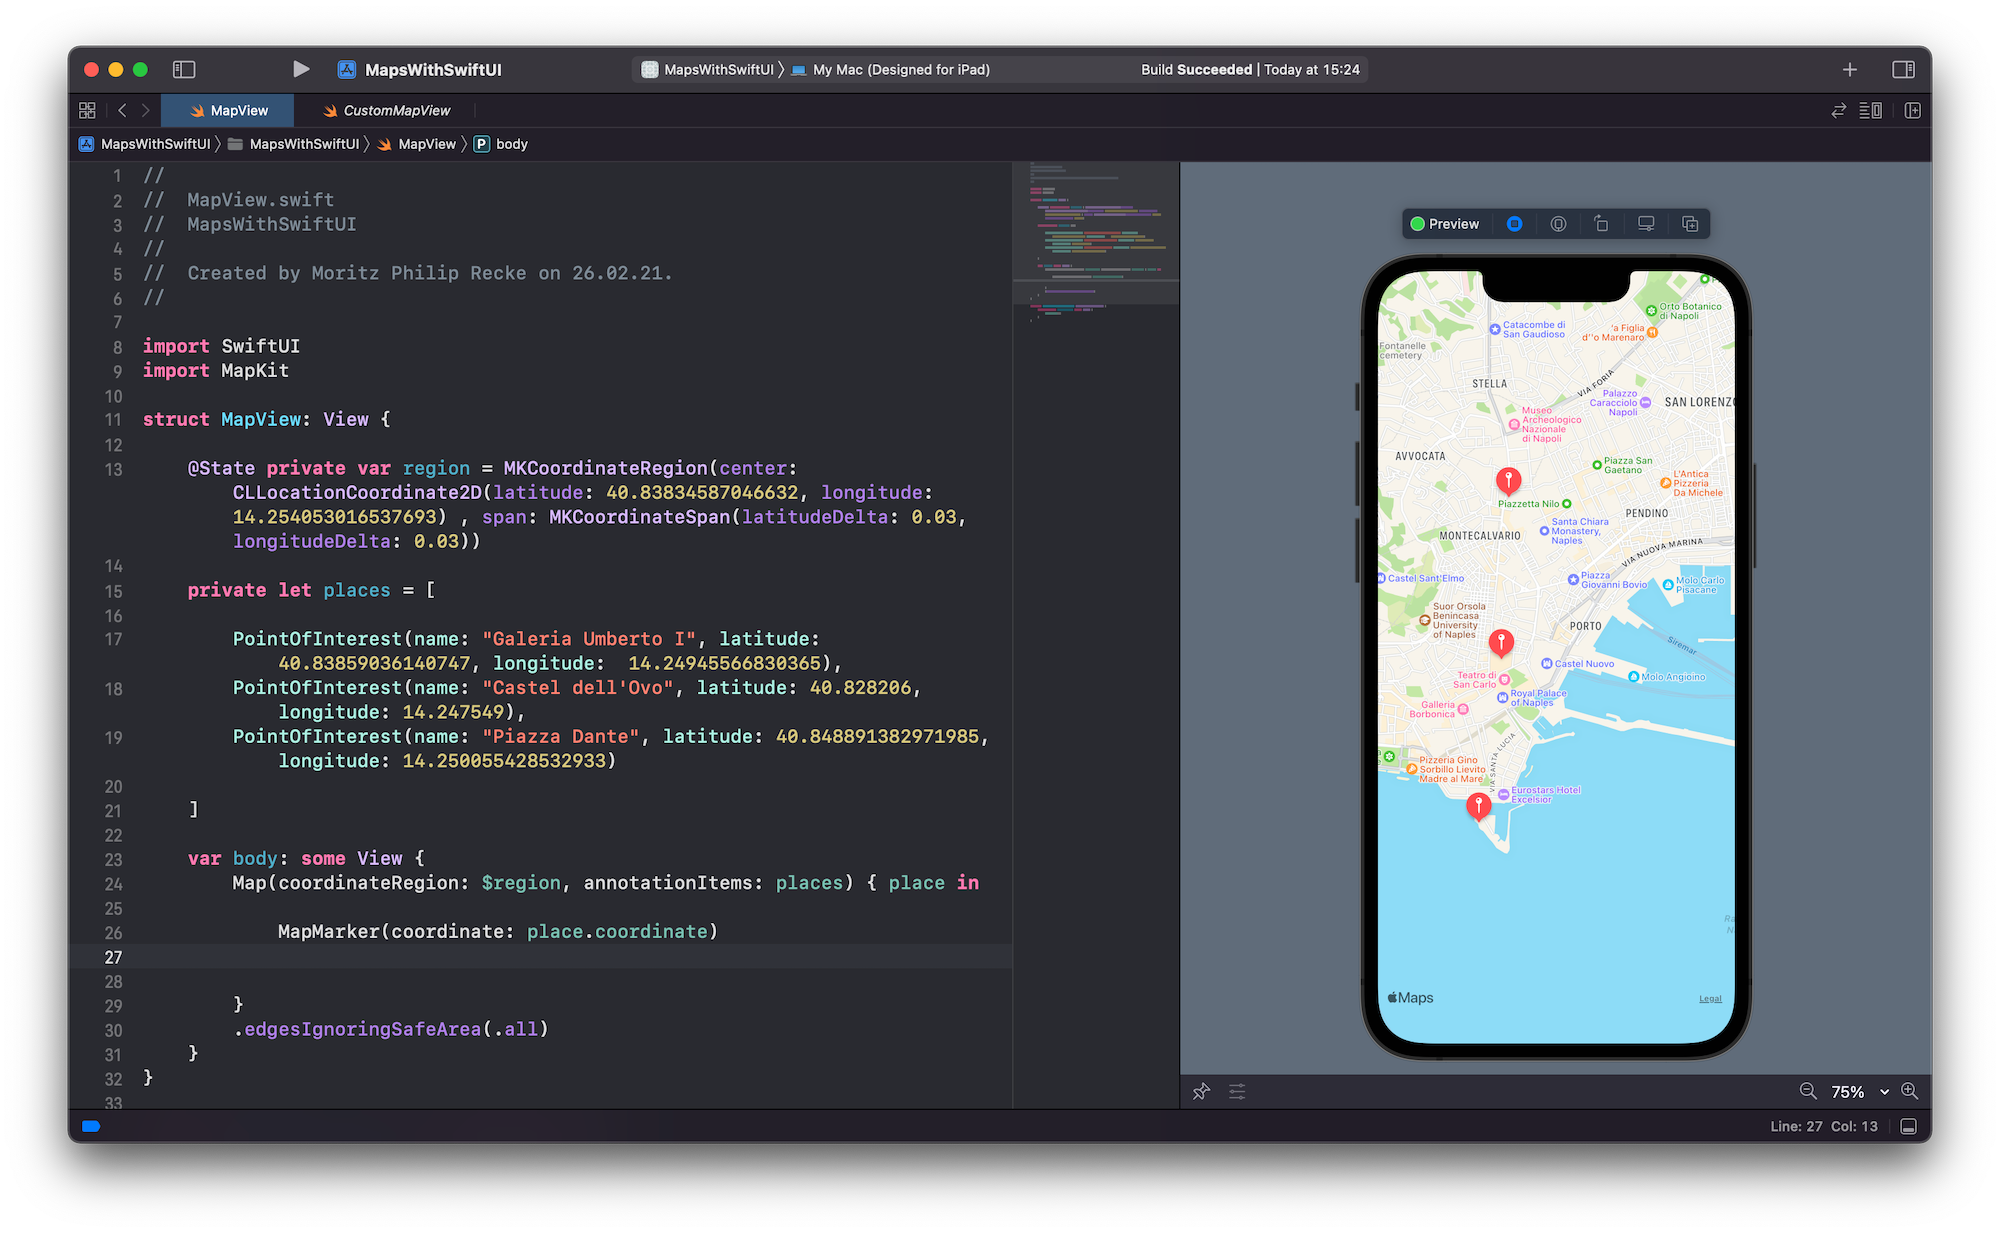
Adding multiple Points of Interest to the MapView
Back in the MapView.swift file:
- Add a new
placesproperty using the newPointOfInterestmodel to have an array of places; - Add a few points of interest to an array, so they can be displayed on the map. Conveniently, they may be placed in the region, so they are immediately visible on the map once we update the view.
import SwiftUI
import MapKit

struct MapView: View {

	@State private var region = MKCoordinateRegion(
    	center: CLLocationCoordinate2D(latitude: 40.83834587046632, longitude: 14.254053016537693),
    	span: MKCoordinateSpan(latitudeDelta: 0.03, longitudeDelta: 0.03)
    )

	// 1.
	private let places = [
		//2.
		PointOfInterest(name: "Galeria Umberto I", latitude: 40.83859036140747, longitude:  14.24945566830365),
        PointOfInterest(name: "Castel dell'Ovo", latitude: 40.828206, longitude: 14.247549),
        PointOfInterest(name: "Piazza Dante", latitude: 40.848891382971985, longitude: 14.250055428532933)
    ]

    var body: some View {
        Map(coordinateRegion: $region)
			.edgesIgnoringSafeArea(.all)
    }
}
Displaying annotations as markers on the map
Inside the body of the MapView, update the Map to use the places array as the source of information for the annotations in the map, assigning it to the annotationItems parameter.
Since the structure PointOfInterest conforms to the Identifiable protocol, you can iterate over all the array elements in the closure. For more information on Identifiable items in SwiftUI, check out Working with Identifiable items in SwiftUI.
For each place create a MapMarker view, initializing it using the place coordinates. The resulting map will show all places in the places array as a marker on the map, as you can see on the preview panel.
import SwiftUI
import MapKit

struct MapView: View {

    [...]

    var body: some View {
        Map(coordinateRegion: $region, annotationItems: places) { place in
            MapMarker(coordinate: place.coordinate)
        }
        .edgesIgnoringSafeArea(.all)
    }
}
Displaying annotations as pins on the map
MapKit supports alternative annotation styles. If you would prefer a pin rather than a marker, replace the MapMarker element with a MapPin element in the Map closure. As you can see on the preview panel, the resulting map will use the classical pins to display all places in the places array.
import SwiftUI
import MapKit

struct MapView: View {

    [...]

    var body: some View {
        Map(coordinateRegion: $region, annotationItems: places) { place in
            MapPin(coordinate: place.coordinate)
        }
        .edgesIgnoringSafeArea(.all)
    }
}
Displaying annotations as custom Annotations
You can also use a custom annotation style to create an annotation more to your liking.
For this, replace the MapPin element with a MapAnnotation element. The MapAnnotation closure may incorporate any view and style modifiers. In this example, we are using the "mappin.circle.fill" from SF Symbols to have a slightly different marker with some modifiers applied to adjust size and color.
import SwiftUI
import MapKit

struct MapView: View {

    [...]

    var body: some View {
        Map(coordinateRegion: $region, annotationItems: places) { place in
            MapAnnotation(coordinate: place.coordinate) {
                Image(systemName: "mappin.circle.fill")
                    .font(.title)
                    .foregroundColor(.blue)
            }
        }
        .edgesIgnoringSafeArea(.all)
    }
}
Feel free to experiment with custom annotations to create the look that you desire and stay tuned for some more articles about MapKit and SwiftUI. Beyond exploring the latest additions from WWDC 2021, we will also provide some easy to adopt examples to implement POI search using the Maps API.