Adapting your user interface for Assistive Access
Learn how to adapt the user interface of your app when assistive access is enabled

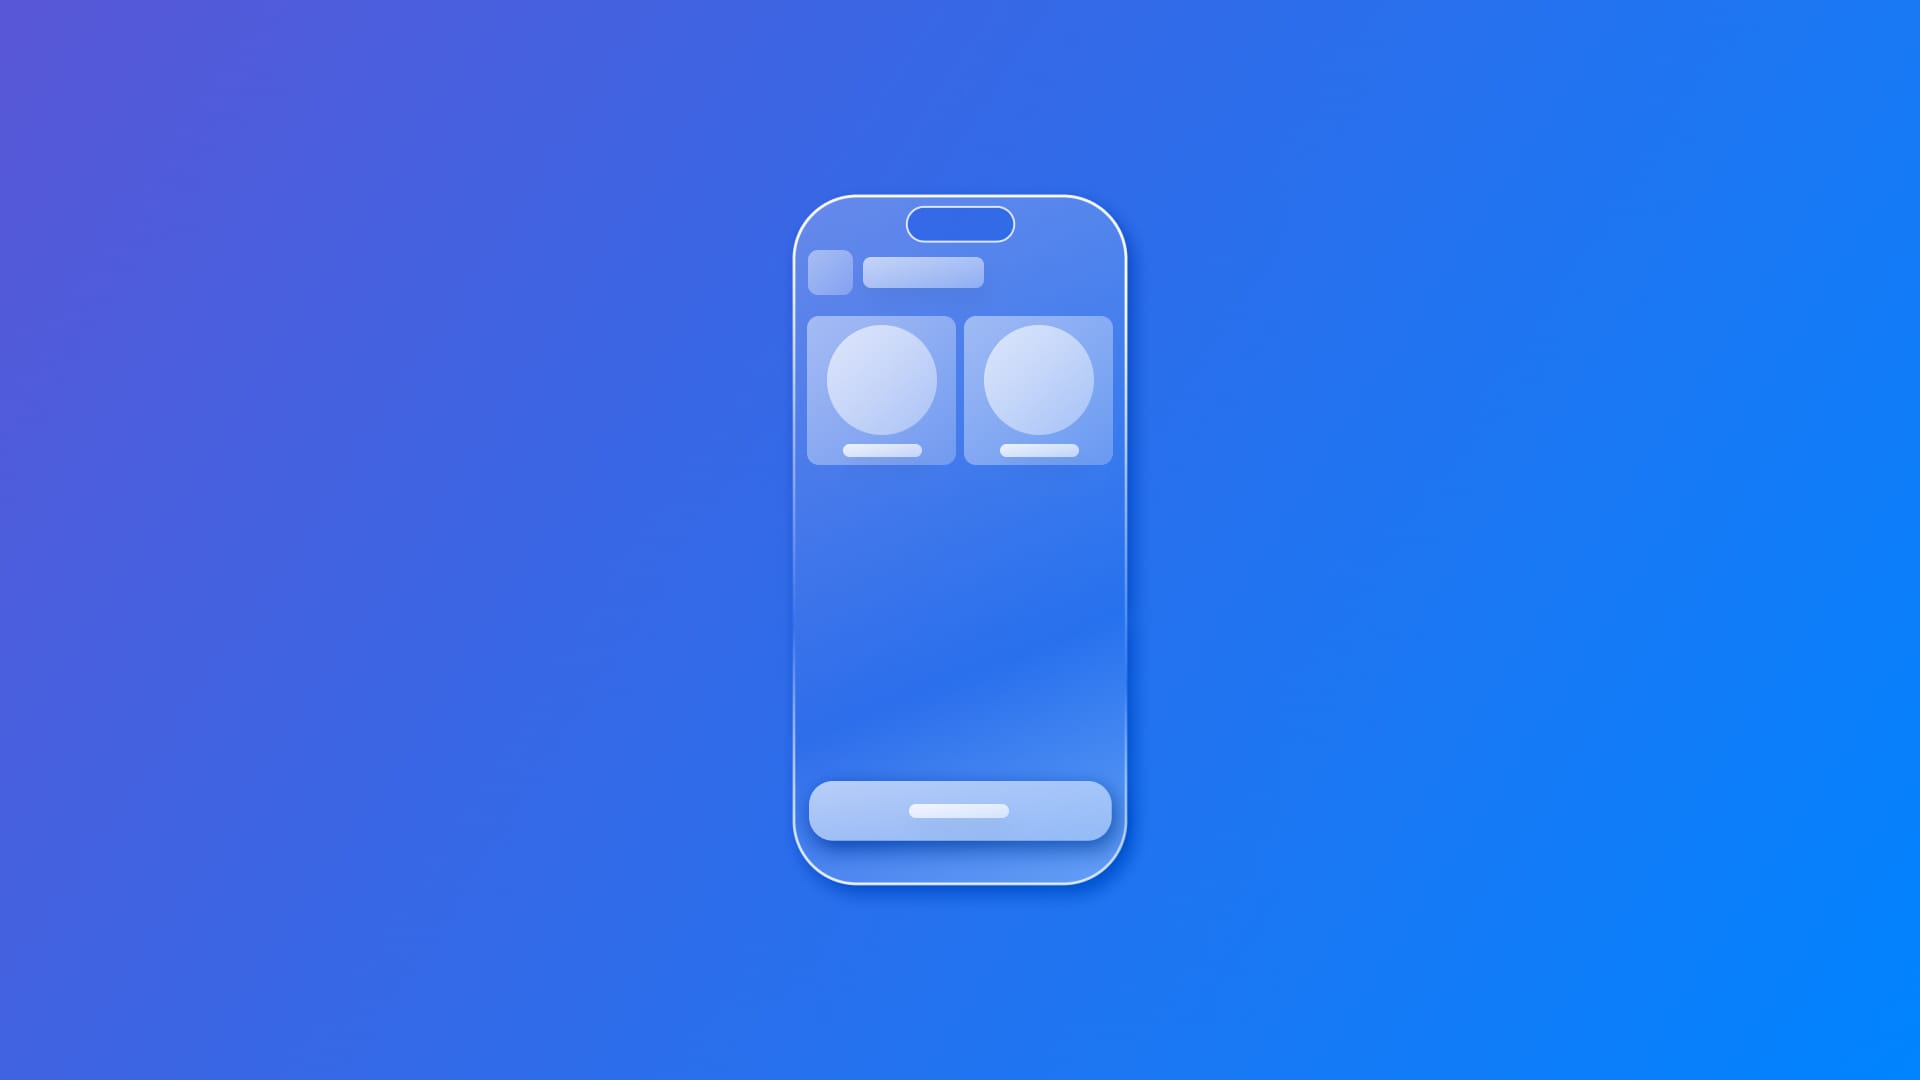
Assistive Access is an accessibility feature introduced by Apple to simplify the iOS interface for users with cognitive disabilities by offering a full-screen experience with large touch targets and reduced complexity. By enabling this feature, the user will have access to a limited number of apps, each with a completely different UI where the main action has an entirely different UI where the main action has priority over the visual appearance.

In this article, we will see how developers can adapt interfaces and behaviors to align with this simplified mode by detecting when Assistive Access is enabled and adjusting their SwiftUI app accordingly.
To determine if Assistive Access is active, you can use the accessibilityAssistiveAccessEnabled property from the @Environment values. This boolean value indicates whether the app is running in Assistive Access mode.
Here's how to access this property in a SwiftUI view:
import SwiftUI

struct ContentView: View {
    @Environment(\.accessibilityAssistiveAccessEnabled) private var isAssistiveAccessEnabled

    var body: some View {
        if isAssistiveAccessEnabled {
            // Adjust UI for Assistive Access
        } else {
            // Regular UI
        }
    }
}
By checking isAssistiveAccessEnabled, you can modify your UI according to the Assistive Access mode.
Creating an Assistive Access-Compatible Interface
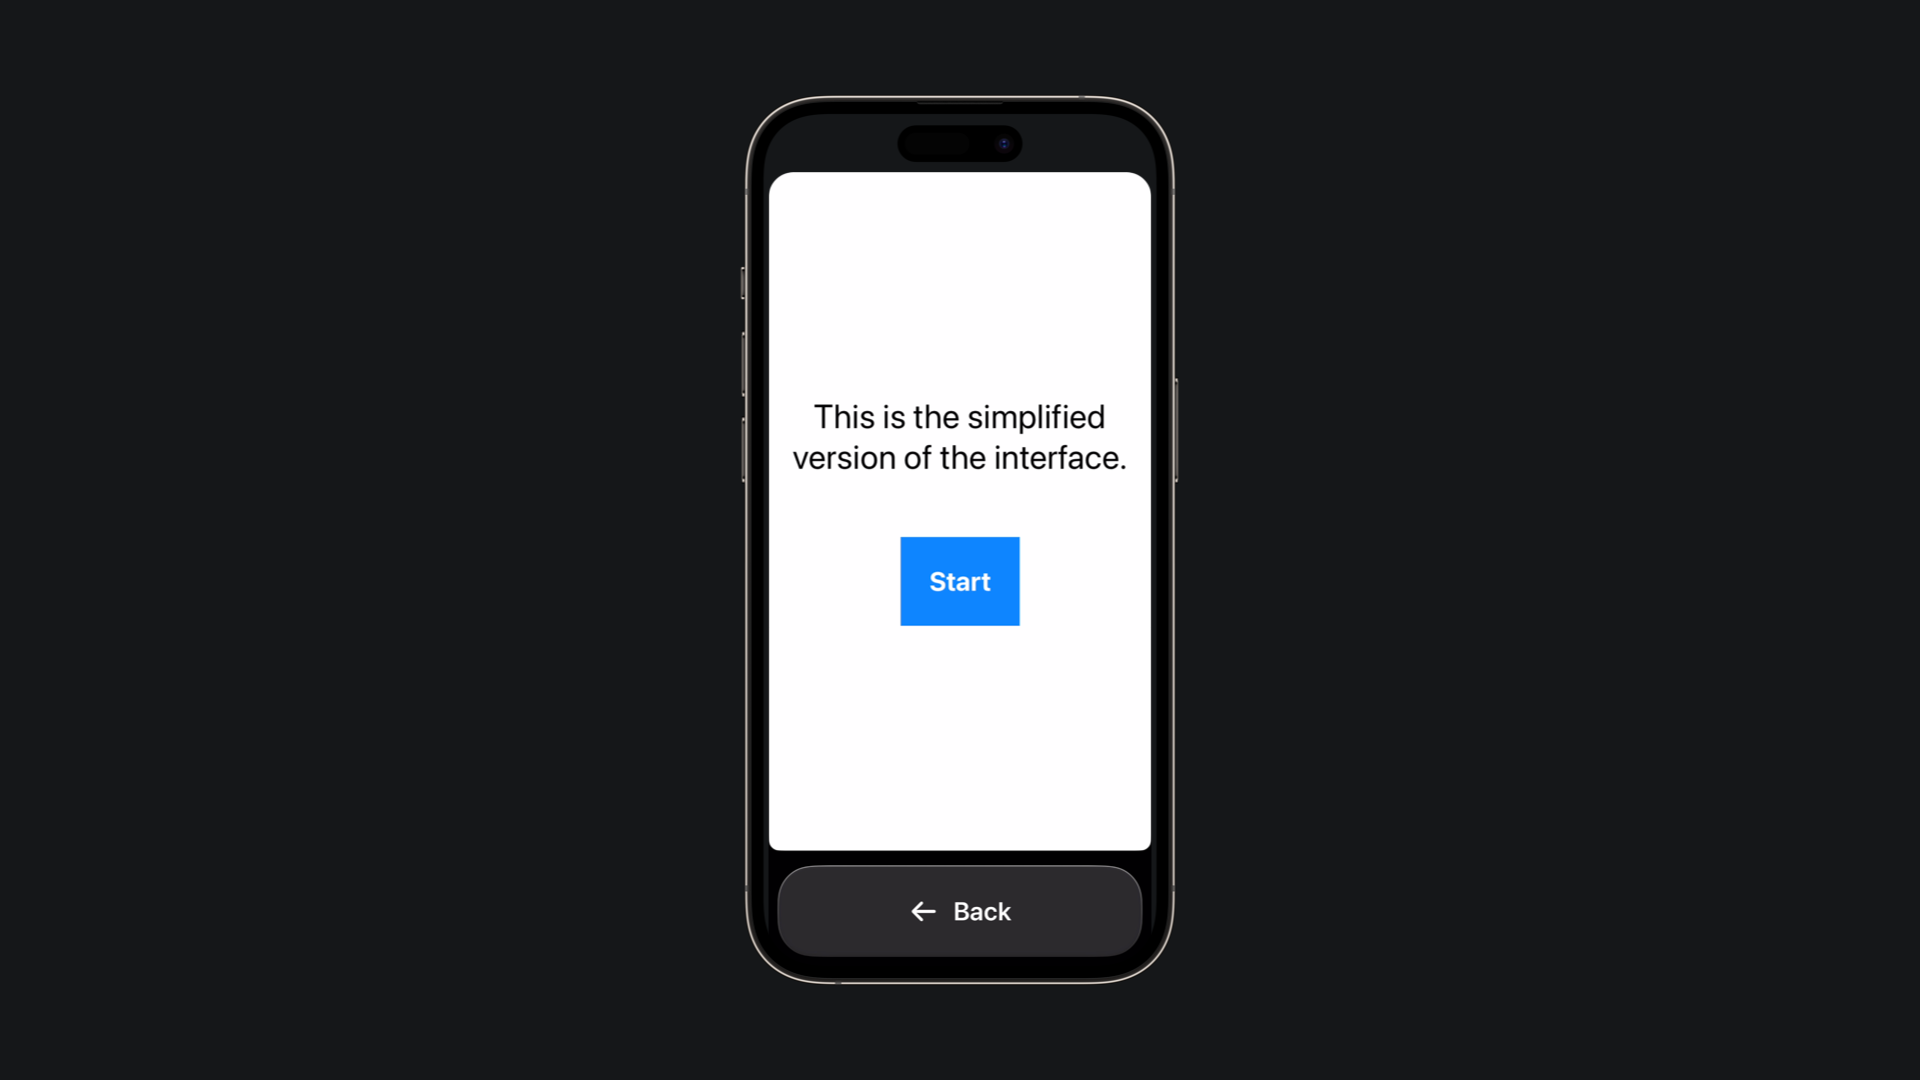
When Assistive Access is enabled, you should create a user interface made of large buttons and clear labels, minimizing complex interactions. Below is an example of a SwiftUI view that adapts its layout based on the Assistive Access setting:
import SwiftUI

struct ContentView: View {
    @Environment(\.accessibilityAssistiveAccessEnabled) private var isAssistiveAccessEnabled

    var body: some View {
        ZStack {
            Color.white.ignoresSafeArea()
            if isAssistiveAccessEnabled {
                AssistiveAccessView()
            } else {
                RegularView()
            }
        }
    }
}

struct AssistiveAccessView: View {

    var body: some View {
        VStack {
            Text("This is the simplified version of the interface.")
                .multilineTextAlignment(.center)
                .font(.title)
                .foregroundStyle(.black)

            Button(action: {
                // Perform action
            }) {
                Text("Start")
                    .font(.title2)
                    .foregroundStyle(.white)
                    .padding(24)
                    .cornerRadius(25)
                    .background(Color.blue)
                    .bold()
            }
        }
    }

}

struct RegularView: View {

    var body: some View {
        VStack(spacing: 16) {
            Text("Welcome to the App")
                .font(.title)
            Text("This is the full version of the interface.")
            HStack {
                Button("Option 1") {
                    // Action 1
                }
                Button("Option 2") {
                    // Action 2
                }
            }
        }
    }

}
In this example, when Assistive Access is active, the interface presents a single, prominent "Start" button with increased font size and touch area. In regular mode, it displays a horizontal stack of buttons for "Option 1" and "Option 2," catering to users who can navigate more complex interfaces.
You can add a new key in the Info.plist file of your project to allow your app to be displayed in full screen. Its name is UISupportsFullScreenInAssistiveAccess and you just need to set its value to true. In this way, if you use a standard SwiftUI container, such as VStack and HStack, your app will take advantage of all the space available.

Conclusion
Supporting Assistive Access in your SwiftUI app enhances accessibility for users with cognitive disabilities by providing a simplified and focused user experience. Adjusting your UI accordingly can make your app more inclusive and user-friendly.
Remember to test your app in Assistive Access mode to ensure that all interactive elements are accessible and that the interface remains intuitive for all users.