Applying sentiment analysis using the Natural Language framework
Use the Natural Language framework from Apple to apply sentiment analysis to text.

In app development, Natural Language Processing (NLP) refers to the use of computational techniques to understand and analyze human language. These algorithms empower developers to extract valuable insights from textual data and create more intuitive and personalized app experiences.
Due to the contributions these tasks offer, developers can enhance user engagement and interactions. Implementing features such as language translation and sentiment analysis can make a significant difference in a product's user experience.
In particular, several online platforms and apps utilize user-generated content and sentiment analysis for reviews and recommendations across various domains such as dining spots, retail destinations, evening attractions, food, entertainment, and more.
Furthermore, content created by users can effectively nourish a virtual community built on word of mouth and trust. For small businesses, harnessing the potential of these services as marketing tools is crucial.
Sentiment analysis, therefore, stands out as one of the most promising approaches to enhance the functionality and user satisfaction of iOS applications. That's why it's essential to understand how to seamlessly integrate it into our projects.
In this short tutorial, we delve into the usage of Apple's Natural Language framework, powered by Core ML, for making sentiment analysis possible in iOS app development.
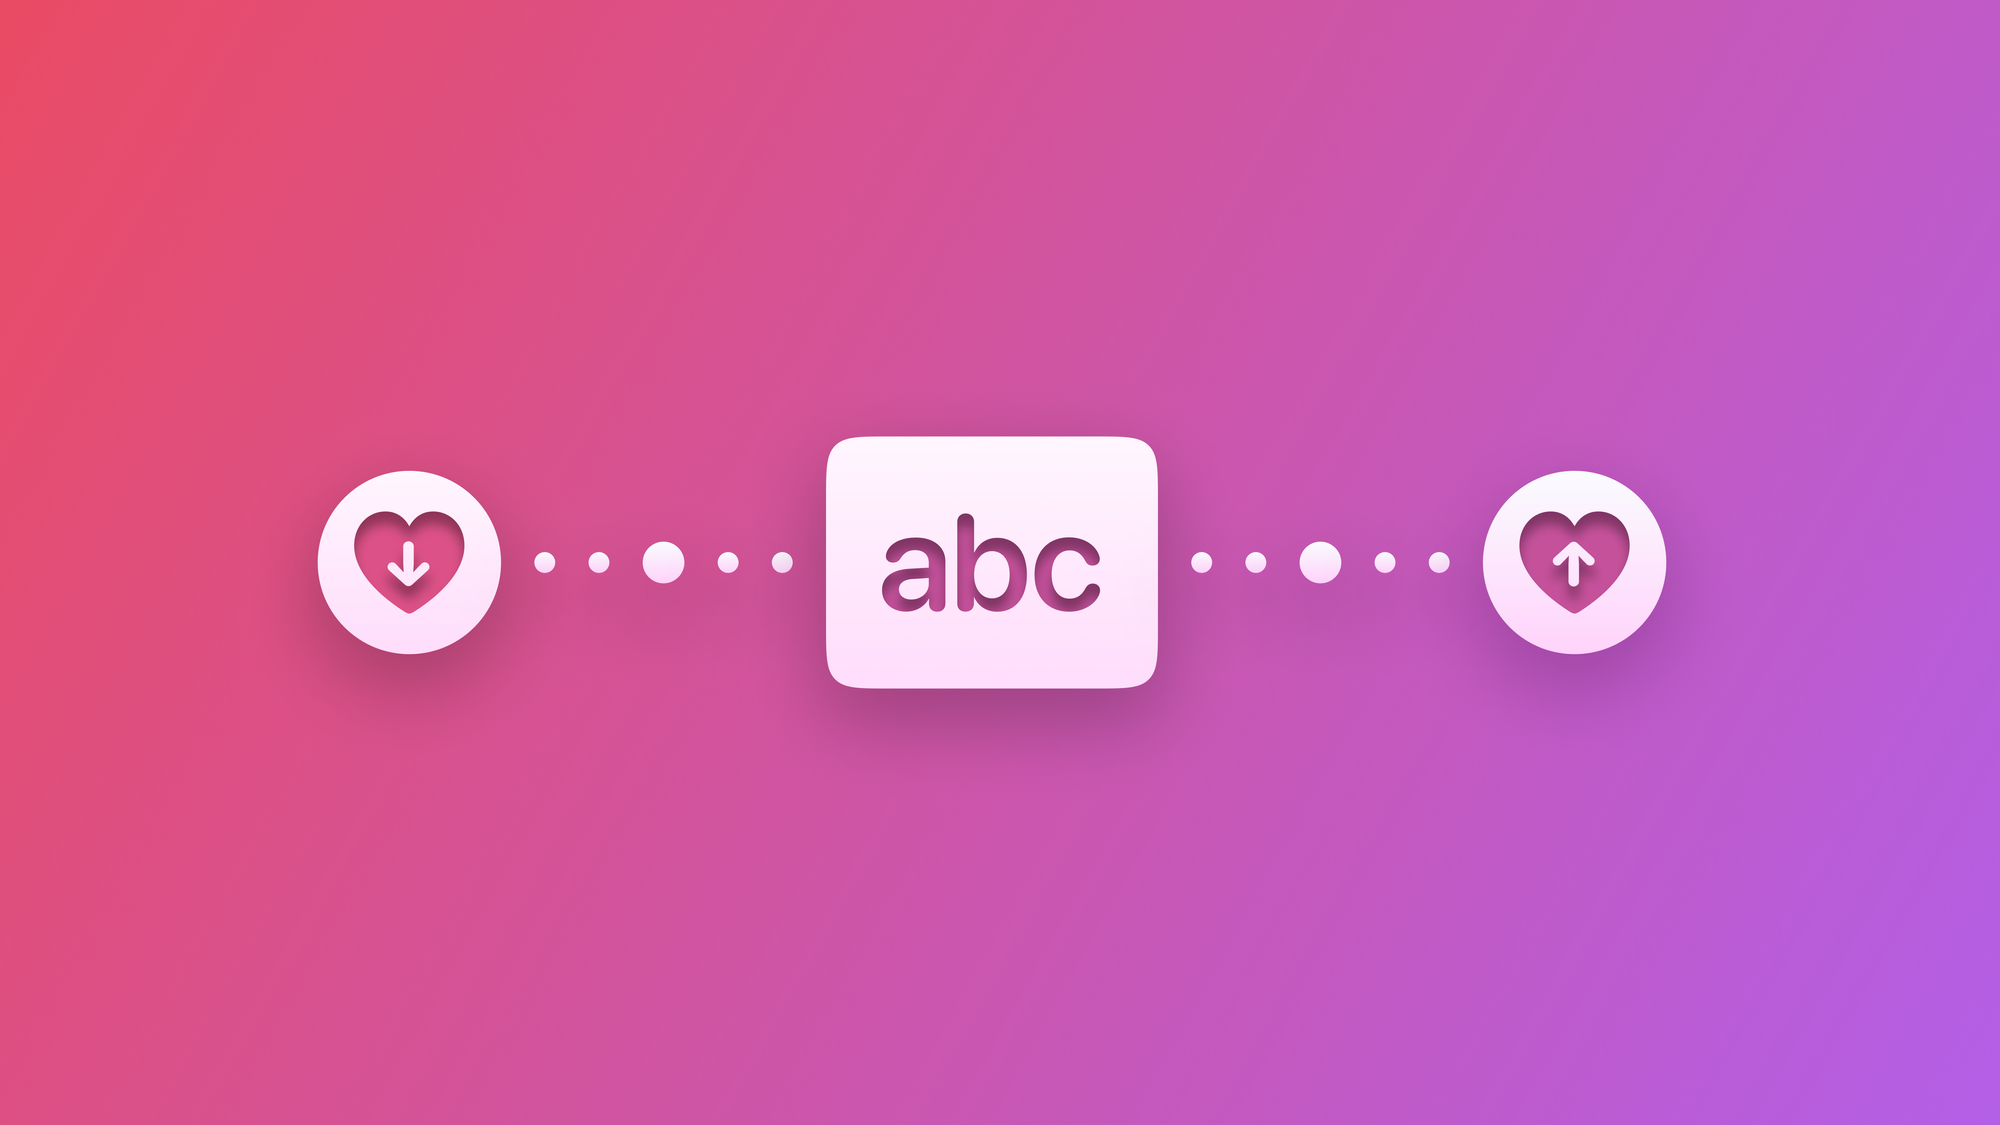
Sentiment Analysis
Sentiment analysis is a powerful technique that enables apps to understand the emotional tone of textual data by categorizing it as positive, negative, or neutral based on its emotional tone. This capability is crucial for various applications, from social media monitoring to customer feedback analysis.
Apple’s Natural Language framework (whose capabilities and potential can be explored in detail using the official documentation) has been carefully designed to provide on-device APIs optimized for a variety of natural language processing tasks across all Apple platforms. What's great about it is that it is easy to use and delivers results in milliseconds!
Let’s take a look at how to use it to detect sentiments.
Step 1 - Detecting the sentiment score using the Natural Language tagger
On Xcode, create a Playground (File → New → Playground).
Import the Natural Language framework and organize emojis by sentiment, from the most negative to the most positive, in the sentimentEmojis array.
import NaturalLanguage

// Emojis representing sentiments from the most negative to the most positive
let sentimentEmojis = [
    "🤬", "😡", "😠", "😤", "😫", "😣", "😔", "🙁", "😕", "😑",
    "😶", "😌", "🙂", "😊", "😋", "😄", "😆", "😏", "😎", "🤩", "😍"
]
According to the official documentation, the sentiment score ranges from -1.0 to 1.0, with -1.0 representing the most negative score, 0.0 representing neutrality, and 1.0 representing the most positive score.
Create a function called sentimentString(for sentimentScore:) which converts a sentiment score into a corresponding emoji. The sentiment score is used to find the appropriate emoji index in the array, and the function returns the emoji along with the sentiment score in parentheses. This will only help us better visualize the sentiment analysis results later on.
import NaturalLanguage

let sentimentEmojis = [
    "🤬", "😡", "😠", "😤", "😫", "😣", "😔", "🙁", "😕", "😑",
    "😶", "😌", "🙂", "😊", "😋", "😄", "😆", "😏", "😎", "🤩", "😍"
]

// Function to get an emoji based on sentiment score
func sentimentString(for sentimentScore: String) -> String {
    let emojiIndex = Int((sentimentScore as NSString).floatValue * 10) + 10
    return "\(sentimentEmojis[emojiIndex]) (\(sentimentScore))"
}
Then, let’s create a function to perform sentiment analysis. We define a function getSentimentScore(from text: String) -> String? that takes a text string as input and returns an optional string representing the sentiment score of the text.
// Function to get the sentiment score from a text
func getSentimentScore(from text: String) -> String? {

    // 1.
    let tagger = NLTagger(tagSchemes: [.tokenType, .sentimentScore])
    tagger.string = text
    var detectedSentiment: String?

    // 2.
    tagger.enumerateTags(in: text.startIndex ..< text.endIndex,
                         unit: .paragraph,
                         scheme: .sentimentScore, options: []) { sentiment, _ in

        if let sentimentScore = sentiment {
            detectedSentiment = sentimentScore.rawValue
        }

        return true
    }

    return detectedSentiment
}- It initializes an
NLTaggerobject with tag schemes for token type and sentiment score. Set the input text to be analyzed by the tagger. Declare a variabledetectedSentimentto store the detected sentiment score. - It enumerates the text by paragraphs using the
enumerateTagsmethod of the tagger. For each paragraph, it checks for a sentiment score tag. If a sentiment score is found, it assigns its raw value to thedetectedSentimentvariable.
Finally, the function returns the detected sentiment score as an optional string. If no sentiment score is detected, it returns nil.
Now let’s call the function to perform the sentiment analysis: Call the getSentimentScore(from: ) function with the text you want to analyze:
let text = "I love Create with Swift! I improve every time I read a new article."

// Get the sentiment score for the text
if let sentimentScore = getSentimentScore(from: text) {
    // Print the overall sentiment score
    print("OVERALL SENTIMENT SCORE:")
    print("\(text) -> \(sentimentString(for: sentimentScore))")
}
This Swift code first initializes a text string containing a sentence. Then, it calls the getSentimentScore(from:) function to analyze the sentiment of the provided text. If a sentiment score is obtained, it prints out a message indicating the general sentiment score of the text along with the corresponding emoji, achieved using the sentimentString(for:) function.
The overall sentiment score of the used text is perceived as the most positive.
What happens if we tokenize the text and analyze the sentiment for each sentence?
Step 2 - Detecting the sentiment score using a different NLTokenUnit
Tokenizing text can help have more accurate sentiment predictions based on the token unit you choose, but not all that glitters is gold. Here is an example:
Let’s define a function getTokenizedSentimentScore(from text: String) -> [(String, String)]? that tokenizes the input text into sentences and returns a list of tuples, where each tuple contains a sentence along with its corresponding sentiment score.
// Function to get a tokenized sentiment score by sentence
func getTokenizedSentimentScore(from text: String) -> [(String, String)]? {

    // 1.
    let tokenizer = NLTokenizer(unit: .sentence)
    tokenizer.setLanguage(.english)
    tokenizer.string = text
    var detectedTokenizedSentiments = [(String, String)]()

    // 2.
    tokenizer.enumerateTokens(in: text.startIndex ..< text.endIndex) { tokenRange, _ in
        if let sentimentScore = getSentimentScore(from: String(text[tokenRange])) {
            detectedTokenizedSentiments.append((String(text[tokenRange]), sentimentScore))
        }
        return true
    }

    return detectedTokenizedSentiments.isEmpty ? nil : detectedTokenizedSentiments
}
- It sets up an
NLTokenizerto break down the text into sentences using the appropriateNLTokenUnit. However, we can also consider tokenizing by word or document. The tokenized sentences and their sentiment scores are stored in an array nameddetectedTokenizedSentiments. - It loops through the text by sentence tokens using the tokenizer's
enumerateTokens(in:using:)method. For each tokenized sentence, it retrieves the sentiment score usinggetSentimentScore(from:), then adds both the sentence and its sentiment score to thedetectedTokenizedSentimentsarray. This process repeats until all sentence tokens are processed.
In the end, the function returns the array detectedTokenizedSentiments if it's not empty, or nil if no tokenized sentiments are detected.
Now let’s try this function out:
// Get the sentiment score for the tokenized text
if let tokenizedSentimentScores = getTokenizedSentimentScore(from: text) {
    // Print the tokenized sentiment score
    print("TOKENIZED SENTIMENT SCORE:")
    tokenizedSentimentScores.forEach { (textToken, sentimentScore) in
        print("\(textToken) -> \(sentimentString(for: sentimentScore))")
    }
}

// print:
// TOKENIZED SENTIMENT SCORE:
// I love Create with Swift!  -> 😍 (1.0)
// I improve every time I read a new article. -> 😔 (-0.4)
This time around, the second sentence is analyzed on its own and is perceived in a less positive way than it was before. This means that we have to adopt this mechanism using the most suitable strategy for our use case.
Final result
To sum up, by integrating sentiment analysis into your iOS apps, you can gain valuable insights from textual data, driving informed decision-making and enhancing user engagement.
Detecting the most likely sentiment of a piece of text is just one of the things the Natural Language framework can do. Among the array of functionalities this framework offers, language detection also stands out.

It's also possible to use the Natural Language framework alongside Create ML for training and deploying personalized natural language models. To learn more, refer to the following Apple’s official resources: