Creating Shapes from SVG in a SwiftUI app
Learn how to create SwiftUI shapes out of SVG images.

SVG files, short for Scalable Vector Graphics files, are a digital format developed by the W3C that describes images using vector graphics. While JPEG or PNG files represent images as a grid of pixels, SVGs use XML-based text formats to specify how the image should be drawn using lines, shapes, and colors. This text-based format makes SVG files inherently scalable and resolution-independent, which means they can be zoomed in on or resized without losing quality.
Although it is possible to add SVG files directly to the Asset folder and use them as images, converting SVGs to a SwiftUI Shape object allows you to work with it with much more flexibility.
It allows you to dynamically modify properties such as color, stroke, fill, use gradients, and more, directly in your code. You will have more flexible and dynamic UI design themes without the need to separate assets, making it possible to create interesting animations.
This article will guide you through the process of converting an SVG to a SwiftUI shape.
Step 1 - Create a New SwiftUI Shape
SwiftUI provides predefined shapes like a Rectangle and RoundedRectangle, Circle, Ellipse, and Capsule but it is possible to create custom paths to define your shapes.
First, we need to define a structure that conforms to the Shape protocol. The only required method to implement is path(in rect: CGRect) -> Path, where you will describe the shape as a path within a rectangular frame of reference.
struct CWSLogo: Shape {
    func path(in rect: CGRect) -> Path {
        ...
    }
}
Step 2 - Translate SVG Data
Now let's translate the information found in an SVG file to the information we need to replicate it as a path of a shape object in a SwiftUI view. We will use the following file as an example:
You can open an SVG file with the text editor and see the data.

<svg width="552" height="498" viewBox="0 0 552 498" fill="none" xmlns="http://www.w3.org/2000/svg">

<path d="M314 356.5L46 67.5L274 243L115.5 49L384.5 266.5L407 166L349 1L465.5 105L511.5 230.5L502 347.5L551.5 414.5V496L511.5 457L449.5 437L296 496L100.5 437L2 322.5L208.5 389.5L314 356.5Z" stroke="black"/>

</svg>
Now we need to find a way to translate the SVG's path data into SwiftUI path commands within the path(in:) method.
This involves converting SVG commands like M (moveTo), L (lineTo), C (curveTo), etc., into their SwiftUI equivalents. Apps, tools and libraries can assist in this conversion, though manual translation is often necessary for complex SVGs.
The tool used to convert the example SVG into commands is the online tool SVG to SwiftUI converter, which is also available on GitHub.
By copying the SVG data from the file on the tool and clicking on the convert button you will get the SwiftUI version of that shape.
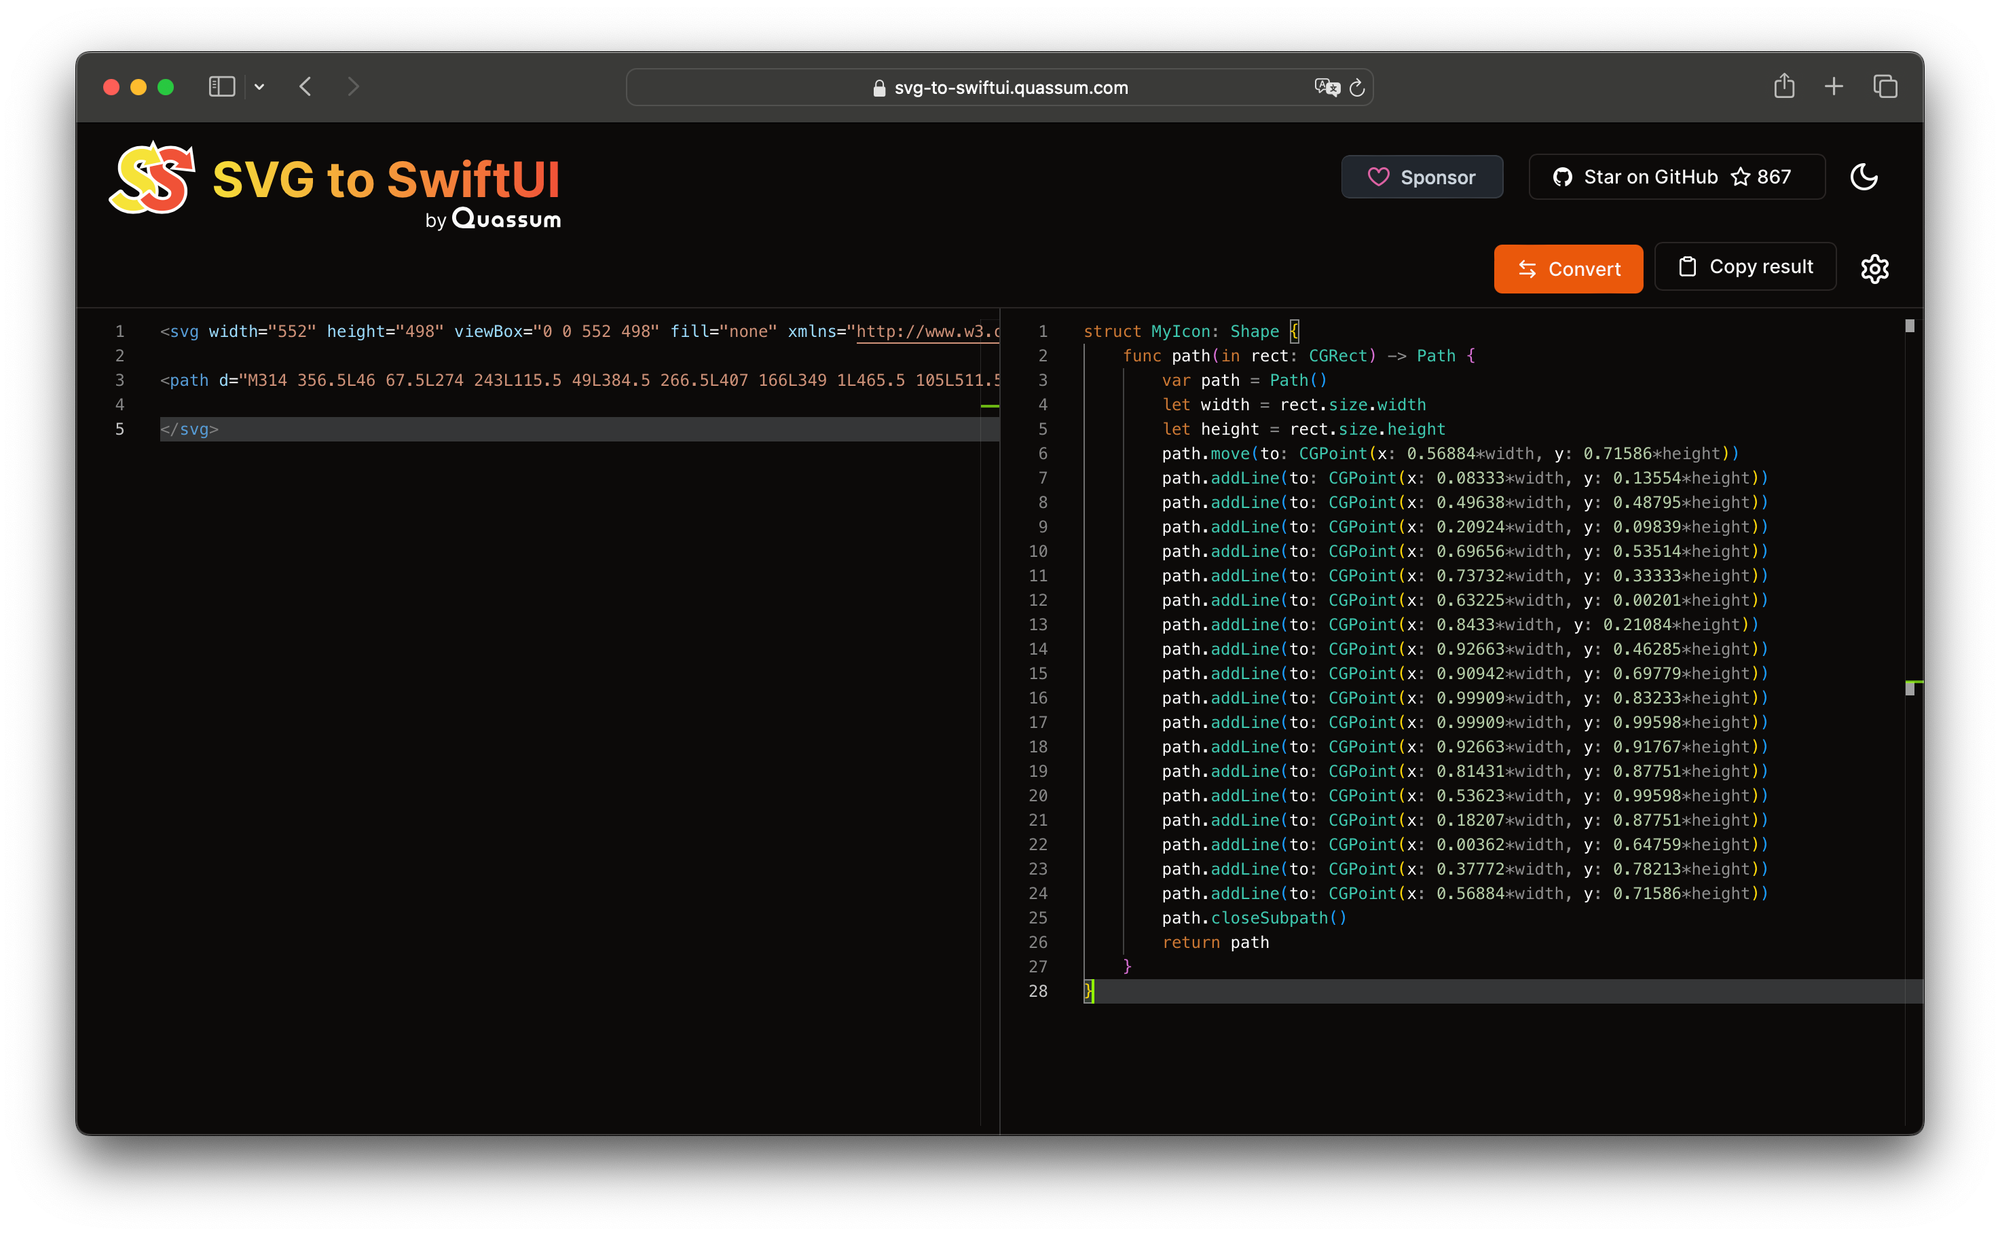
Now you can copy the content of the path(in:) method in your shape structure:
struct CWSLogo: Shape {
    func path(in rect: CGRect) -> Path {
        var path = Path()
        let width = rect.size.width
        let height = rect.size.height
        path.move(to: CGPoint(x: 0.56884*width, y: 0.71586*height))
        path.addLine(to: CGPoint(x: 0.08333*width, y: 0.13554*height))
        path.addLine(to: CGPoint(x: 0.49638*width, y: 0.48795*height))
        path.addLine(to: CGPoint(x: 0.20924*width, y: 0.09839*height))
        path.addLine(to: CGPoint(x: 0.69656*width, y: 0.53514*height))
        path.addLine(to: CGPoint(x: 0.73732*width, y: 0.33333*height))
        path.addLine(to: CGPoint(x: 0.63225*width, y: 0.00201*height))
        path.addLine(to: CGPoint(x: 0.8433*width, y: 0.21084*height))
        path.addLine(to: CGPoint(x: 0.92663*width, y: 0.46285*height))
        path.addLine(to: CGPoint(x: 0.90942*width, y: 0.69779*height))
        path.addLine(to: CGPoint(x: 0.99909*width, y: 0.83233*height))
        path.addLine(to: CGPoint(x: 0.99909*width, y: 0.99598*height))
        path.addLine(to: CGPoint(x: 0.92663*width, y: 0.91767*height))
        path.addLine(to: CGPoint(x: 0.81431*width, y: 0.87751*height))
        path.addLine(to: CGPoint(x: 0.53623*width, y: 0.99598*height))
        path.addLine(to: CGPoint(x: 0.18207*width, y: 0.87751*height))
        path.addLine(to: CGPoint(x: 0.00362*width, y: 0.64759*height))
        path.addLine(to: CGPoint(x: 0.37772*width, y: 0.78213*height))
        path.addLine(to: CGPoint(x: 0.56884*width, y: 0.71586*height))
        path.closeSubpath()
        return path
    }
}
Step 3 - Use the Shape in a View
Now that your shape is defined, you can use it like any SwiftUI view on your application:
struct ContentView: View {
    var body: some View {
        CWSLogo()
            .scaledToFit()
            .padding()
    }
}
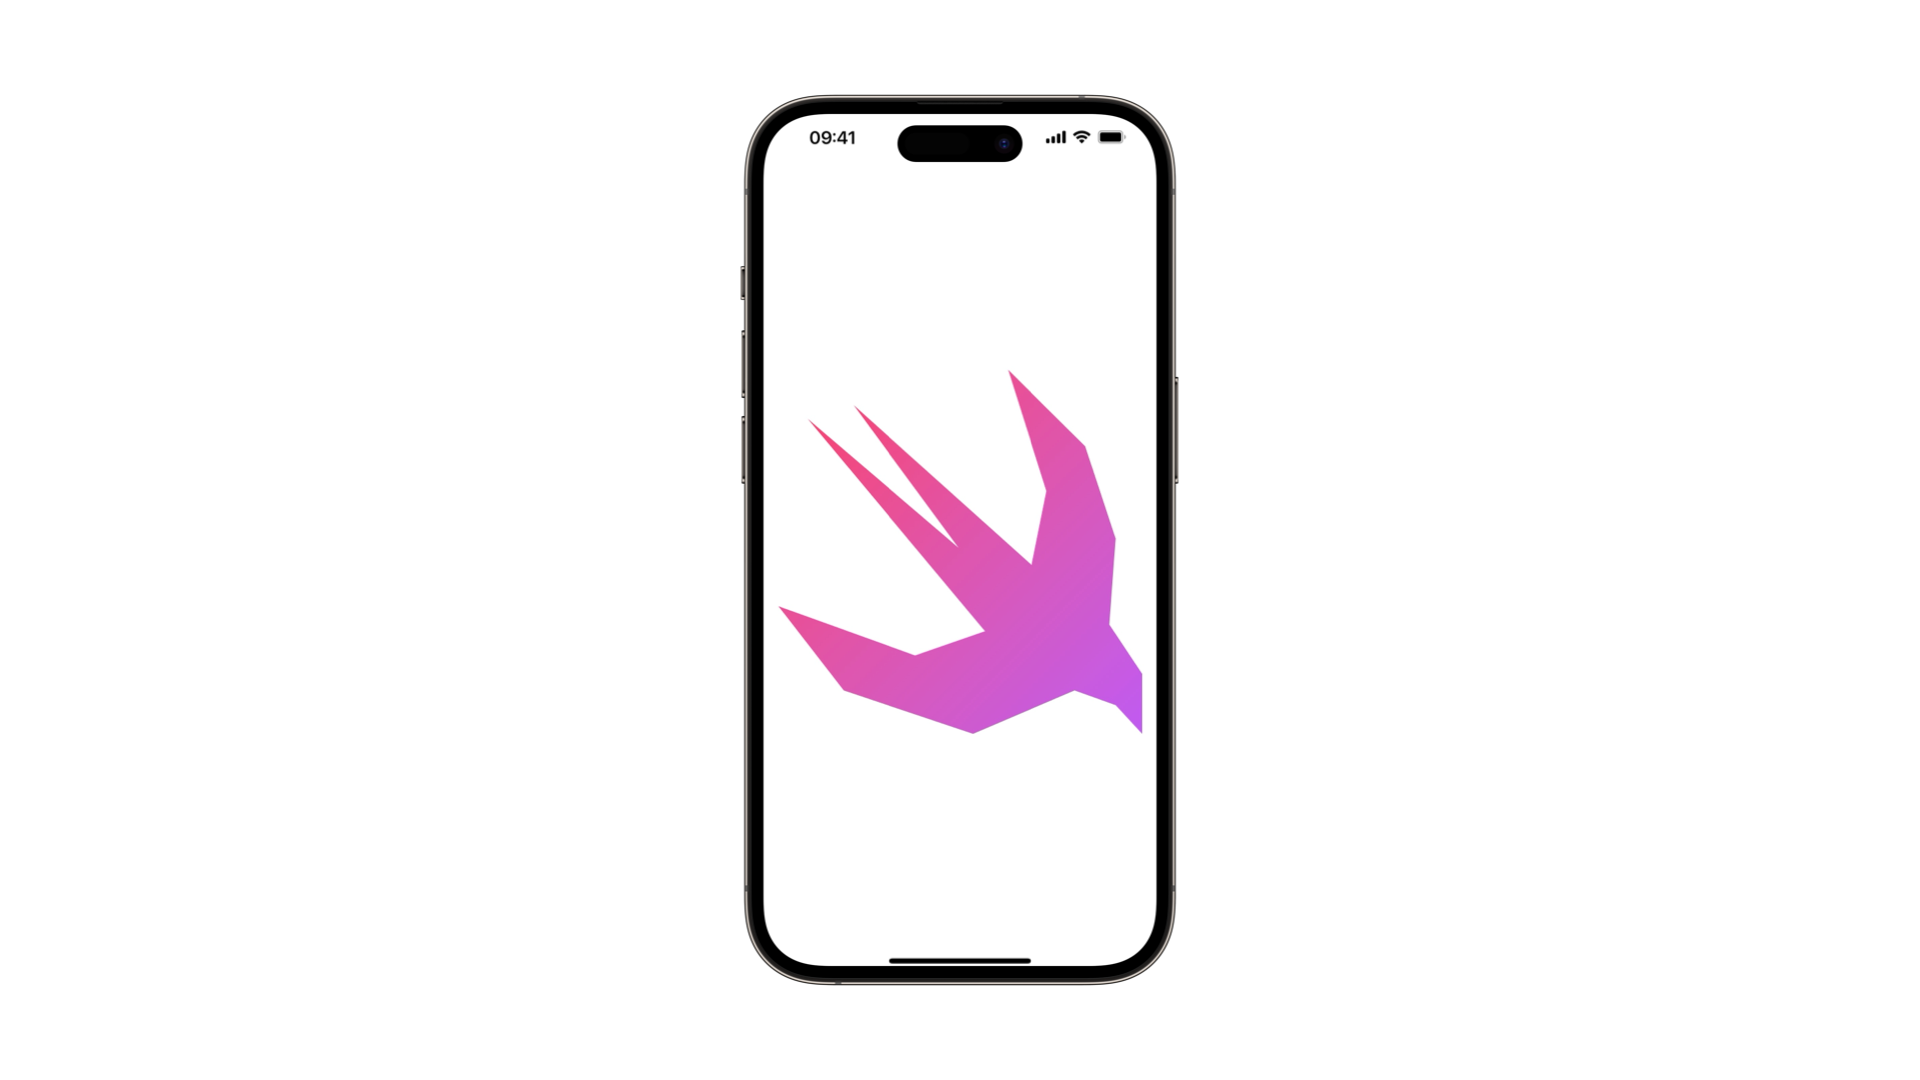
Since it conforms with the Shape protocol, you can use modifiers to dynamically change their appearance. Modifier such as fill(_:style: ) can be used to change the color of the shape, even applying a LinerGradient.
struct ContentView: View {
    var body: some View {
        CWSLogo()
            .fill(LinearGradient(colors: [Color.tutorialColor1, Color.tutorialColor2], startPoint: .topLeading, endPoint: .bottomTrailing))
            .scaledToFit()
            .padding()
    }
}
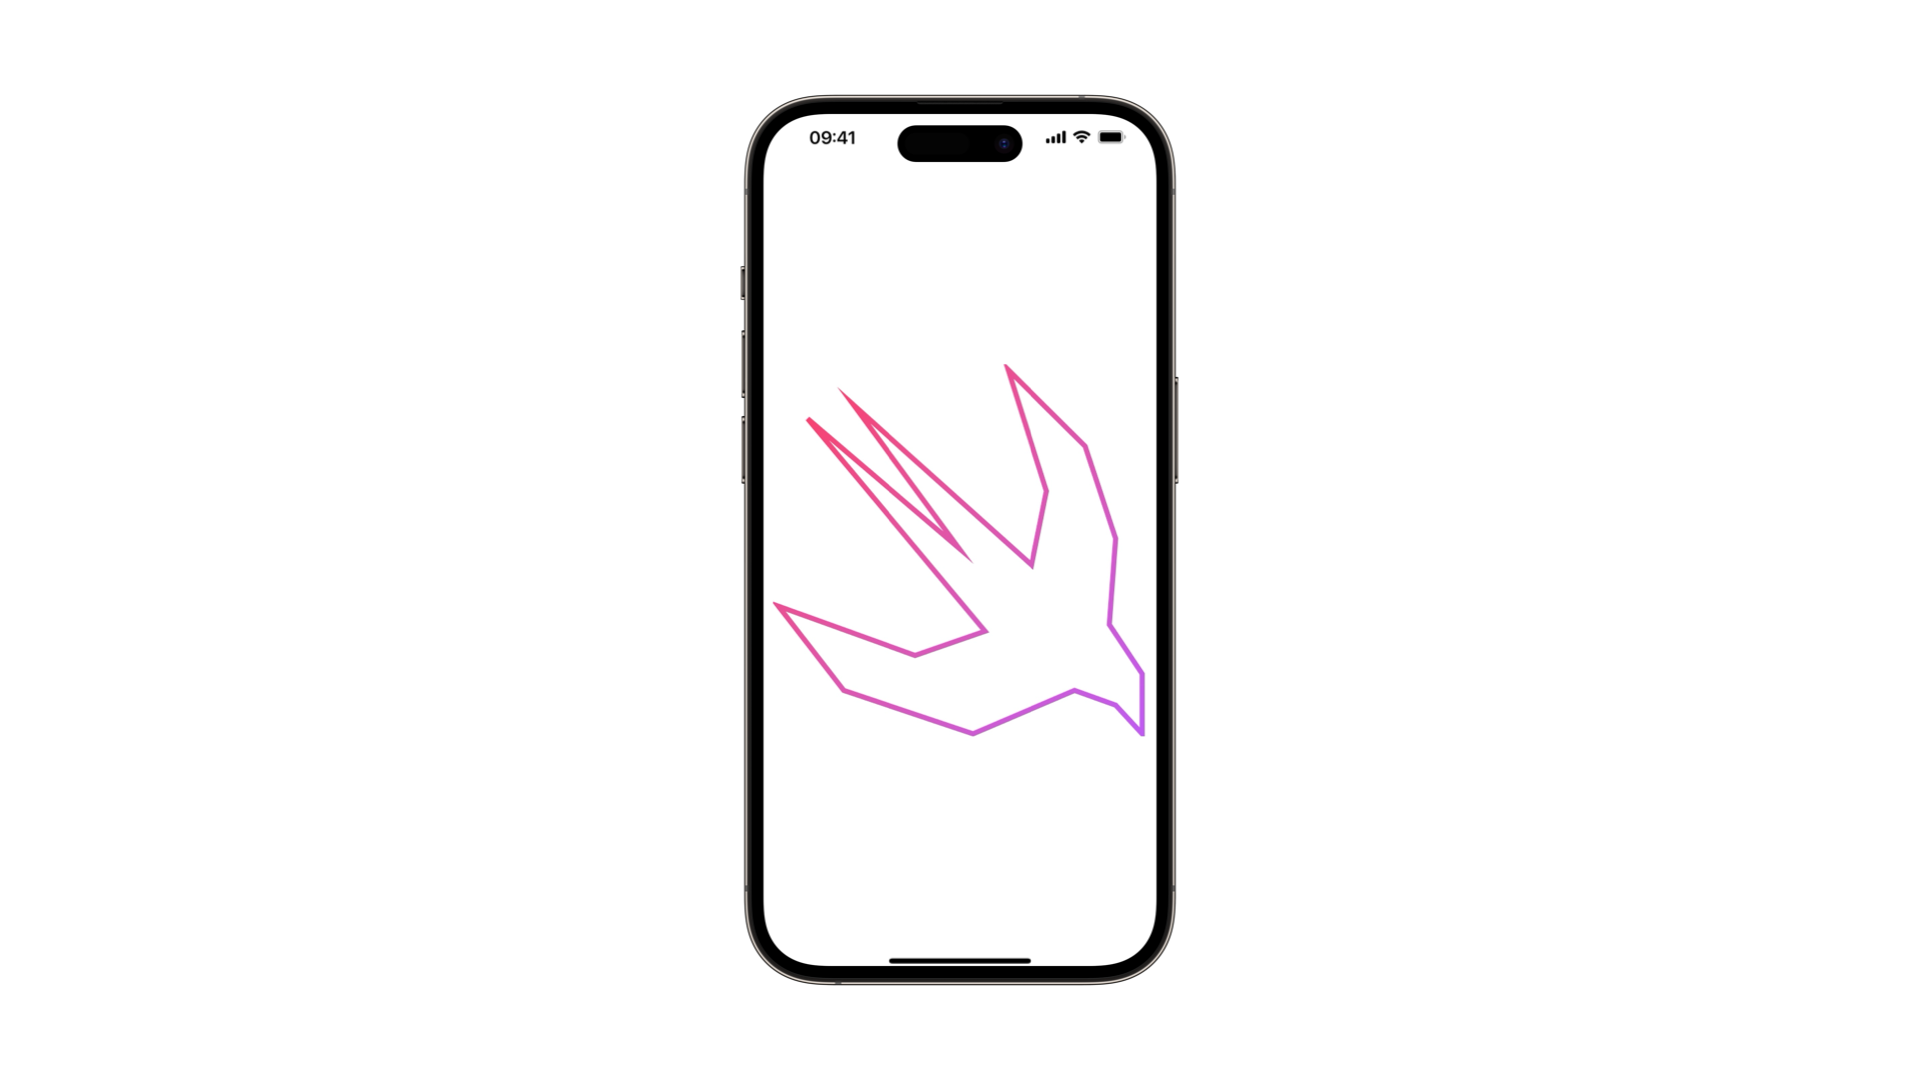
You can also draw the shape as a stroke by using the stroke(lineWidth:) modifier.
struct ContentView: View {
    var body: some View {
        CWSLogo()
            .stroke(lineWidth: 5)
            .fill(LinearGradient(colors: [Color.tutorialColor1, Color.tutorialColor2], startPoint: .topLeading, endPoint: .bottomTrailing))
            .scaledToFit()
            .padding()
    }
}
For an overview of all the available modifiers for shapes on SwiftUI check the official documentation page of the Shape protocol.
