
Deploying Static Sites generated with Swift and Publish with Gitlab CI/CD
By the end of this tutorial, you will be able to build and deploy a static website generated with Swift on Gitlab Pages with a CI/CD pipeline.

I have been using Publish, a static site generator for Swift developers, by John Sundell in recent months to generate JavaScript-free websites with just HTML and CSS from Markdown files.
Even though there are many static site generators available on various toolchains, I really enjoy using Swift from top to bottom for as much of any project I am working on. To that effect, Publish is a great solution and it works as intended. Publish uses Ink, a Markdown parser written in in Swift, and Plot, a domain-specific language (DSL) for writing type-safe HTML, XML and RSS in Swift, which was recently updated to build HTML components in a more SwiftUI like fashion.
Let's have a look at how it works.
Publish comes with a DeploymentMethod API to deploy the generated website to external services with built-in implementation for Git and GitHub environments. It is as easy as adding a deploy step to the publishing pipeline, such as
try AmazingWebsite().publish(using: [
    ...
    .deploy(using: .gitHub("create-with-swift/amazing-website"))
])
However, for this to work, the deployment steps have to be enabled with a
-- deploy command line flag that can be added to the Xcode build scheme at Product > Scheme > Edit Scheme... or by using the publish deploy command on the command line.
The deployment will take the generated website and all files in the Output folder and commit and push it to the git repository. If the repository is configured to trigger a CI/CD pipeline that will host the files on a web server, the deployment can easily be automated.
Hosting Static Website on Gitlab Pages
On Gitlab you can use Gitlab pages to host the static website for free. It can be configured as public or private, based on the settings of the Gitlab project, and is an easy way to host a static website that even supports adding a custom domain at no cost.
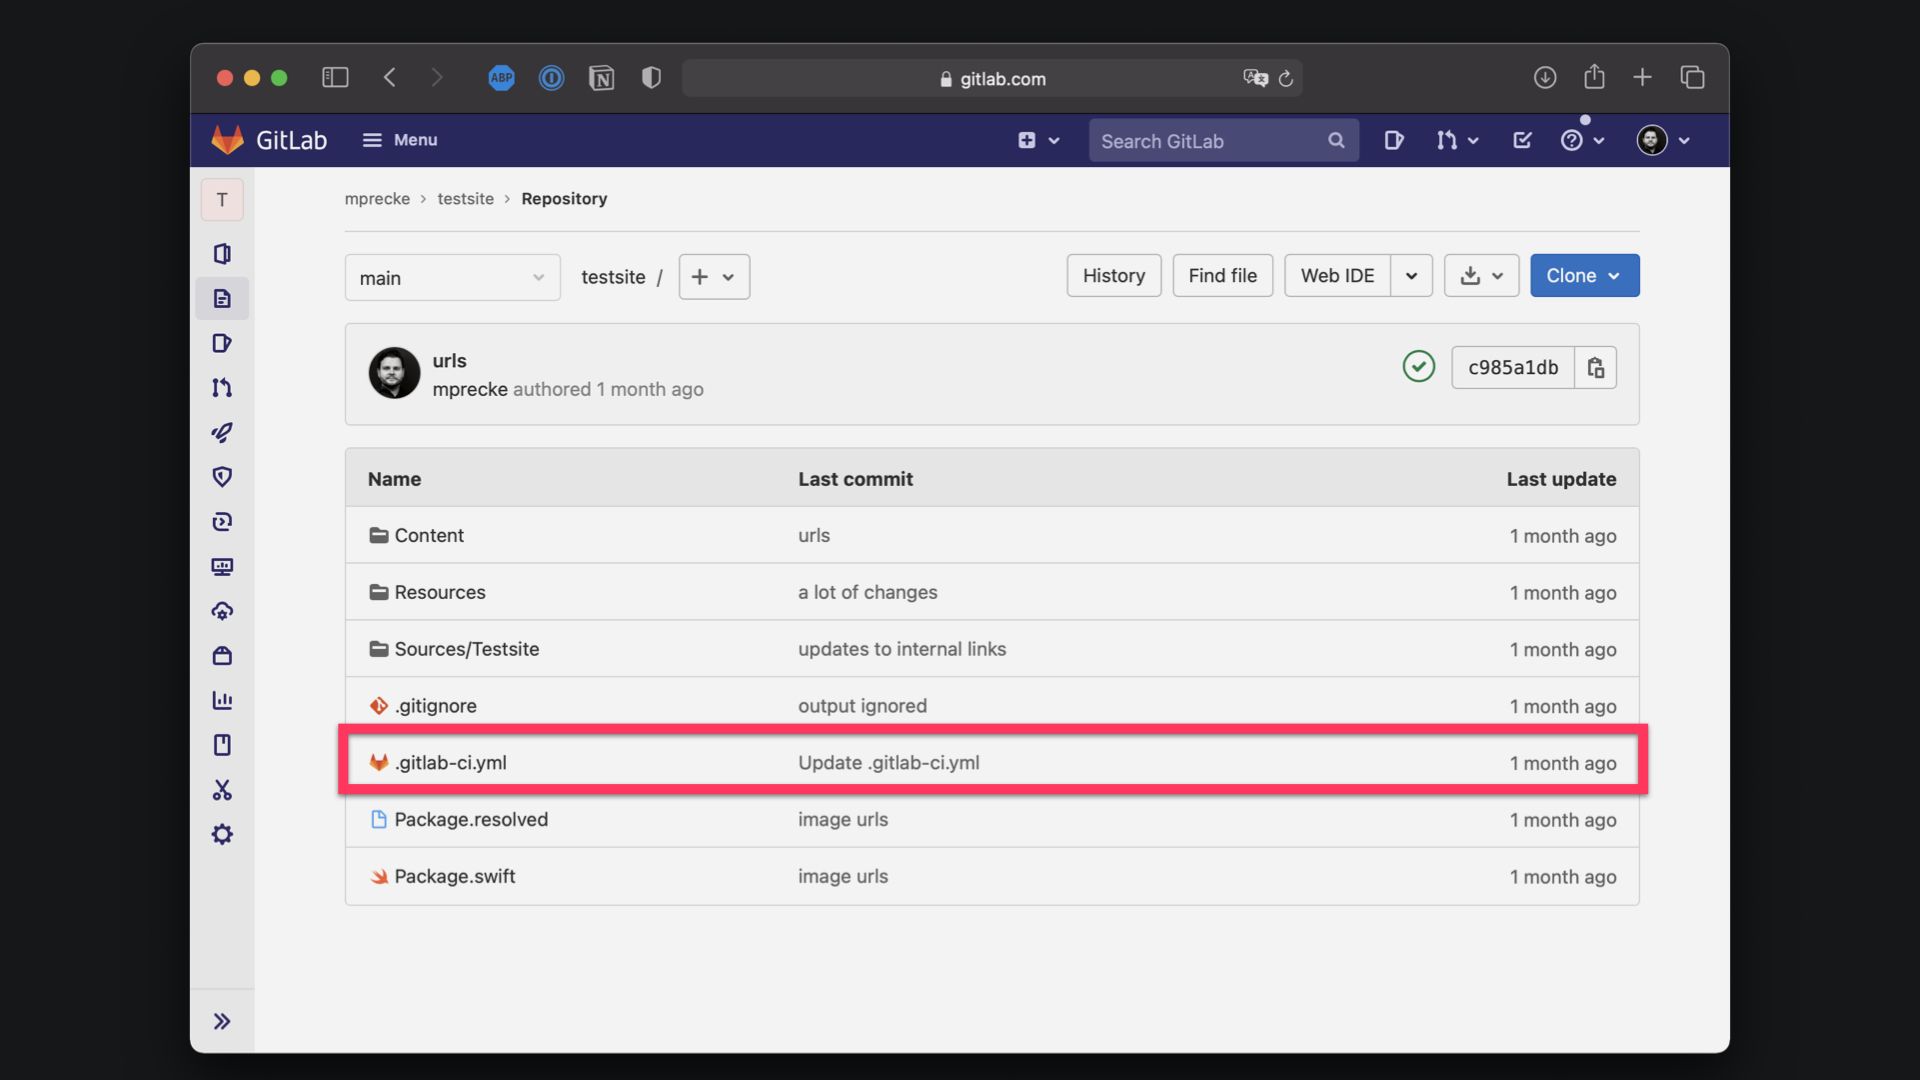
The easiest way to set it up is by adding a .gitlab-ci.yml file to the repository that will trigger a CI/CD pipeline to be run whenever updates are pushed to the repository. The file configures the steps to be completed each time it is triggered.
For a simple implementation, it could look like this:
pages:
  stage: deploy
  script:
  - mkdir .public
  - cp -r * .public
  - mv .public public
  artifacts:
    paths:
    - public
  only:
  - main
In this case, the pipeline would create a new .public directory, Then it copies all files in the repository (which are the files of the static website pushed to the repository by Publsih) to the folder and moves the folder to the public default path for the Gitlab page. Once completed, the static site will be served under
https://GITLAB-USER-NAME.gitlab.io/REPOSITORY-URL
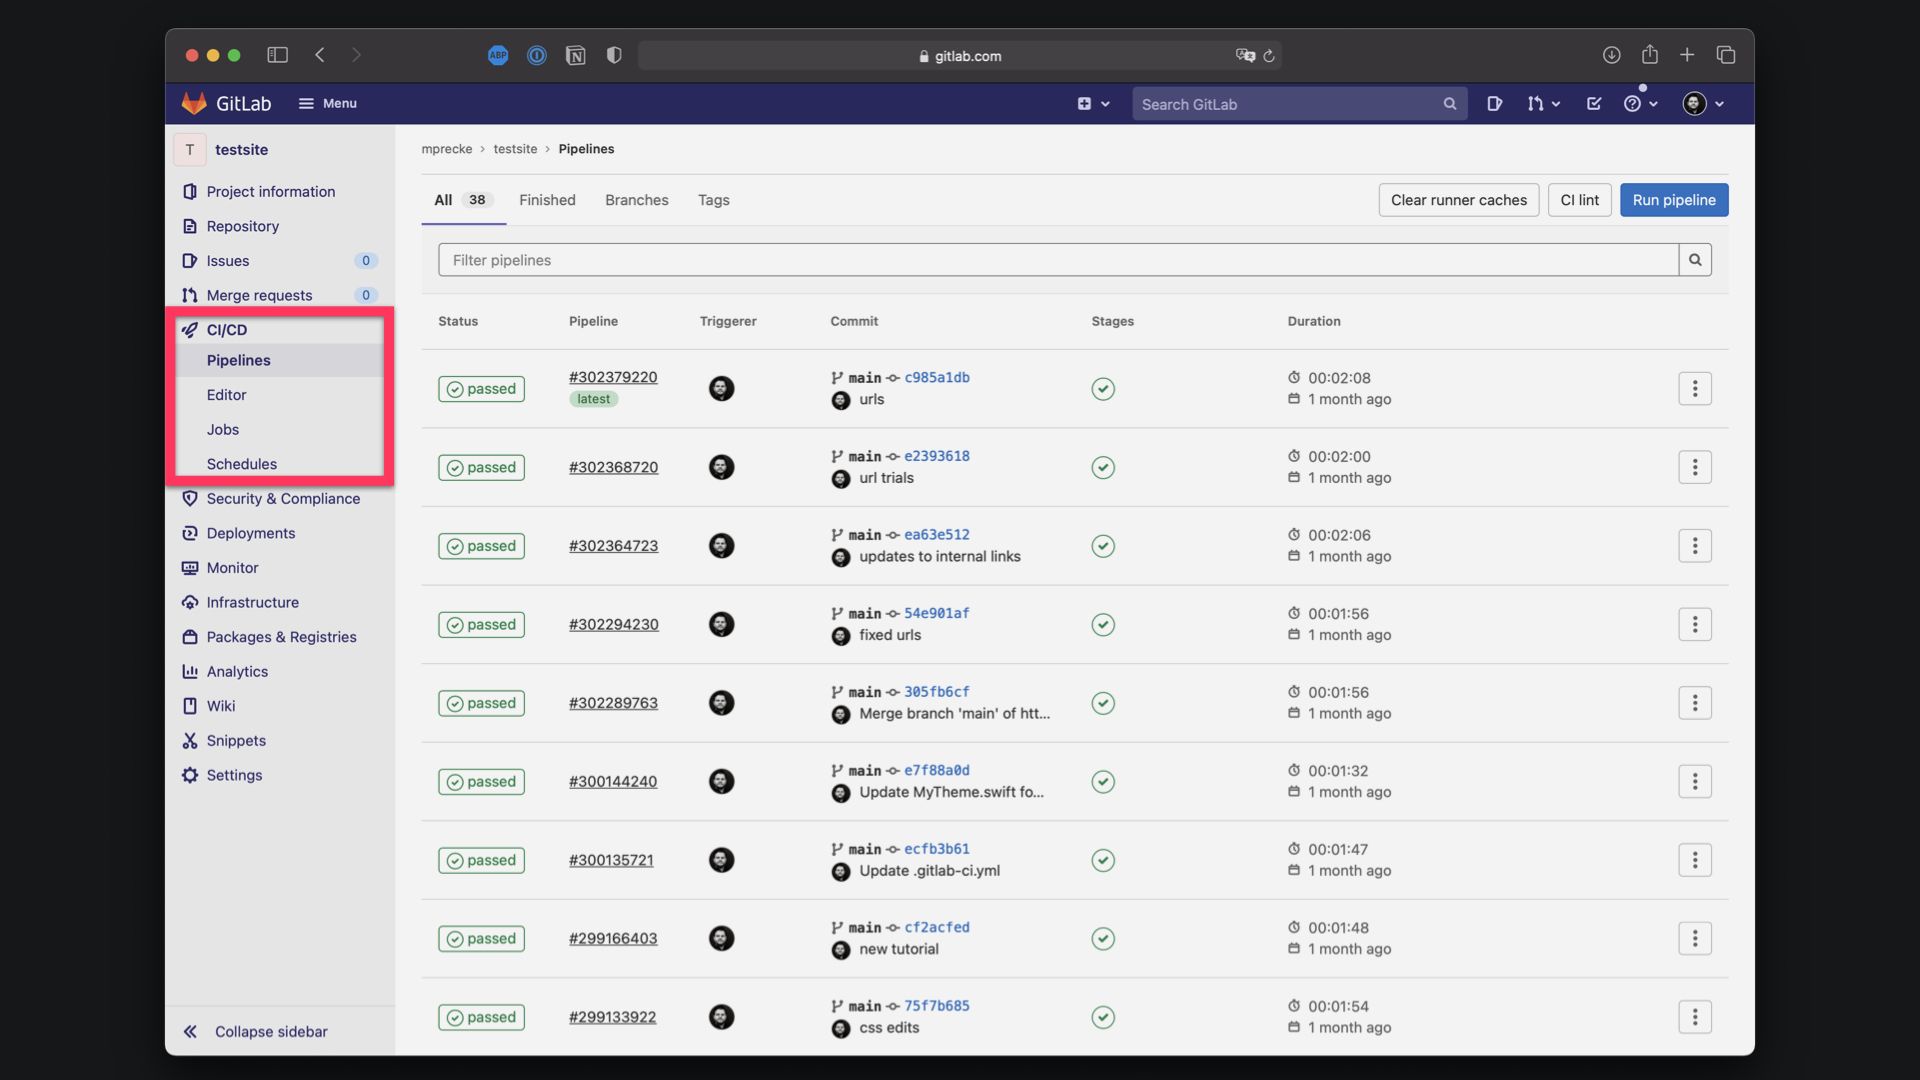
The pipeline will only run on commits to the main branch of the repository, called main in this case. In the CI/CD menu of the Gitlab project, all pipelines can be reviewed and also re-run if needed.
Using this workflow, you could have your Publish project in some other git repository and whenever you want to publish changes to the website, you can use the deploy step to commit and push changes to the dedicated Gitlab project that will then trigger the CI/CD pipeline to copy the files to the correct path to service the website as the page for the repository.
Building Static Website with Gitlab CI/CD
Alternatively, you could also use a repository to store both the Publish project and the static website and build the static website remotely rather than locally. To achieve this, the entire Publish project folder can be added to the repository, and the CI/CD pipeline can then use a docker image to build the project, create the static site,, and copy the generated files to the default path to be served as the Gitlab page.
The .gitlab-ci.yml for such an implementation could look like this:
image: swift:latest

pages:
  stage: deploy
  script:
  - swift run
  - mkdir .public
  - cp -r Output/* .public
  - mv .public public
  - echo $CI_PAGES_URL
  artifacts:
    paths:
    - public
  only:
  - main
Each time changes are pushed to the repository, the pipeline will pull a docker image for the latest version of Swift, fetch all resources necessary to build the Publish project, install any necessary plugins, copy resources, and publish the static website in the Output folder. As a last step and similar to the previous process, all files are then moved to the public default path for the Gitlab page.
To extend this approach even further, you could work with branches and have a dedicated branch to serve the website. Adjusting the .gitlab-ci.yml file, you can specify the branch that would trigger the pipeline to run, thereby only updating the static website if a commit to a certain branch is detected.
Of course, there are alternatives to this approach, e.g. using Github Pages (which more or less work the same) or even service providers such as Netlify, a serverless platform to build and deploy web apps from a git-based workflow. Netlify will take care of the automatizations, however on the free Starter plan, the served site will be public. Private sites are only allowed starting from the Pro plan.
For an introduction to static site generation with Swift, consider the tutorial "Static Site Generation with Swift using Publish, Plot and Ink".