
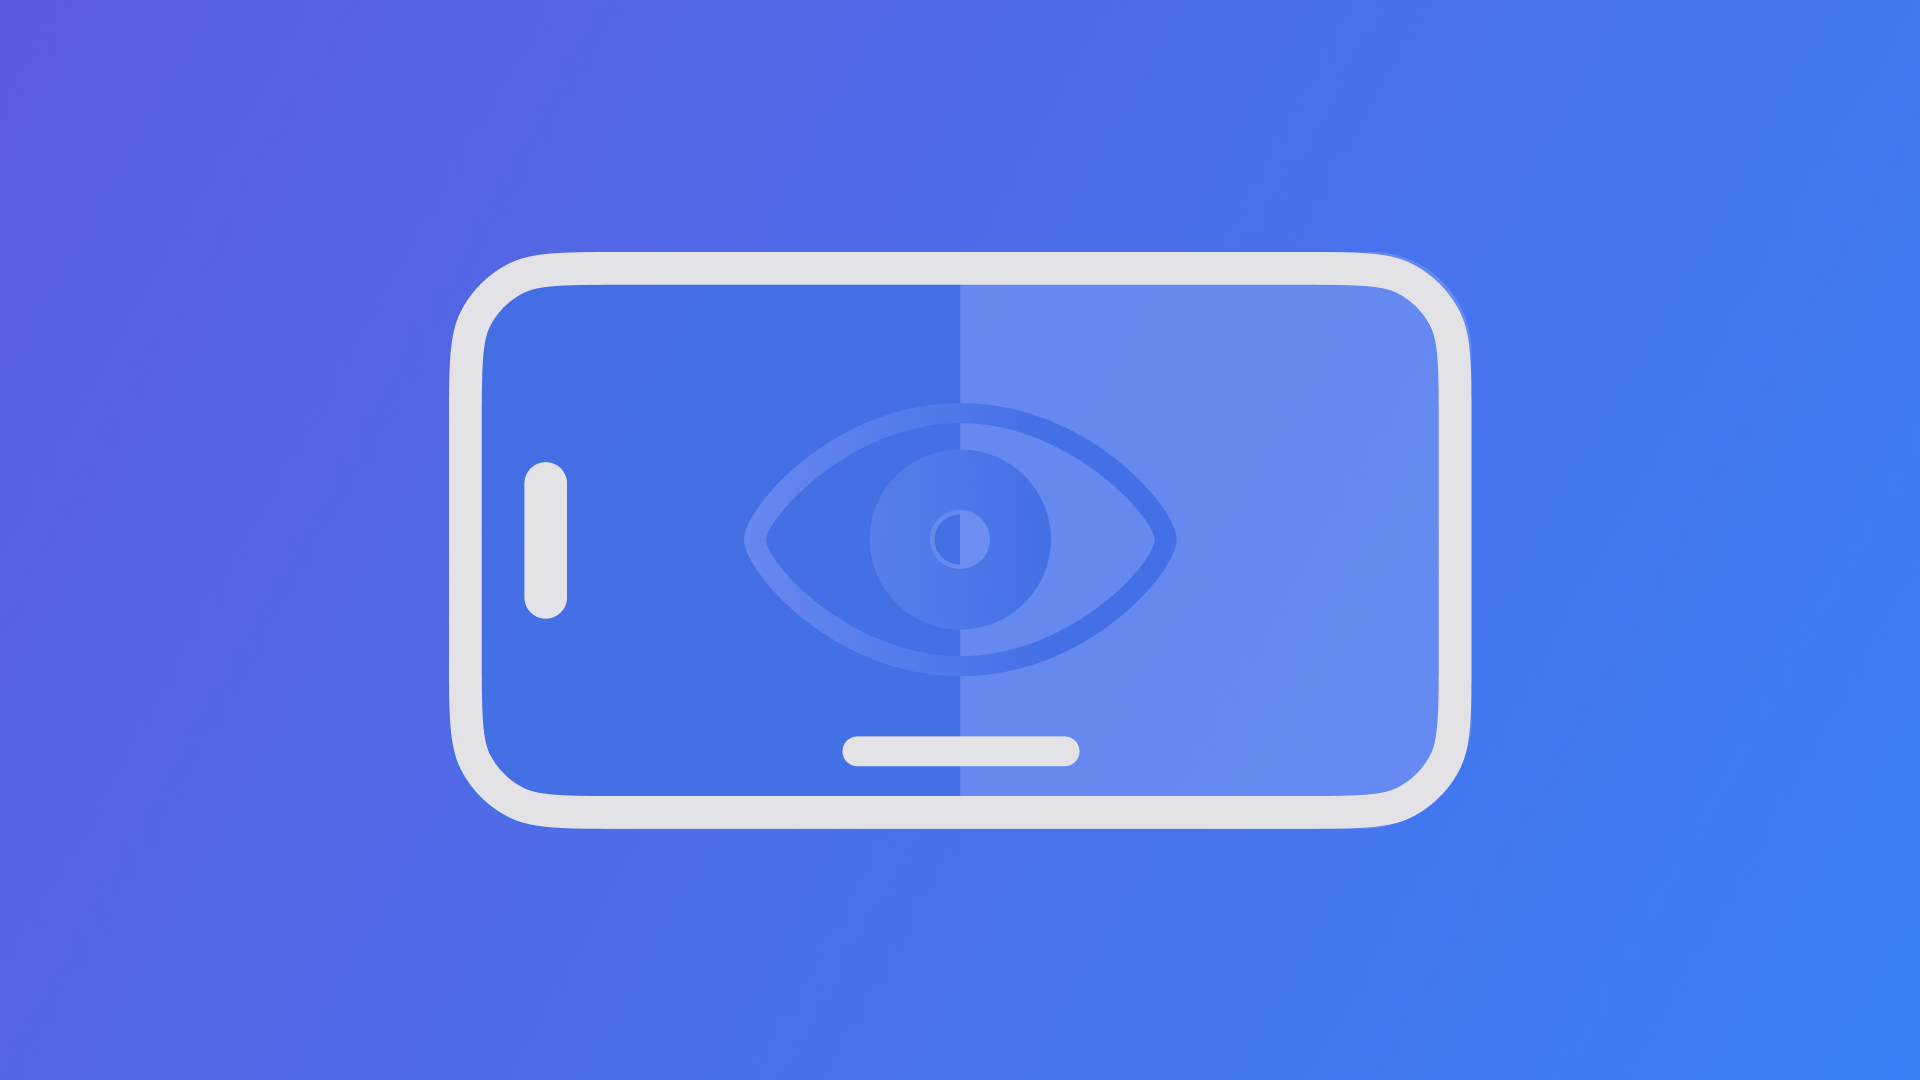
Preparing your App for VoiceOver: Labels, Values and Hints
Ensure your app interface supports assistive technologies using accessibility modifiers.

Ensuring your SwiftUI applications support iOS assistive technologies is easier than you imagine. SwiftUI provides many accessibility modifiers to help you ensure your interfaces are fully accessible.
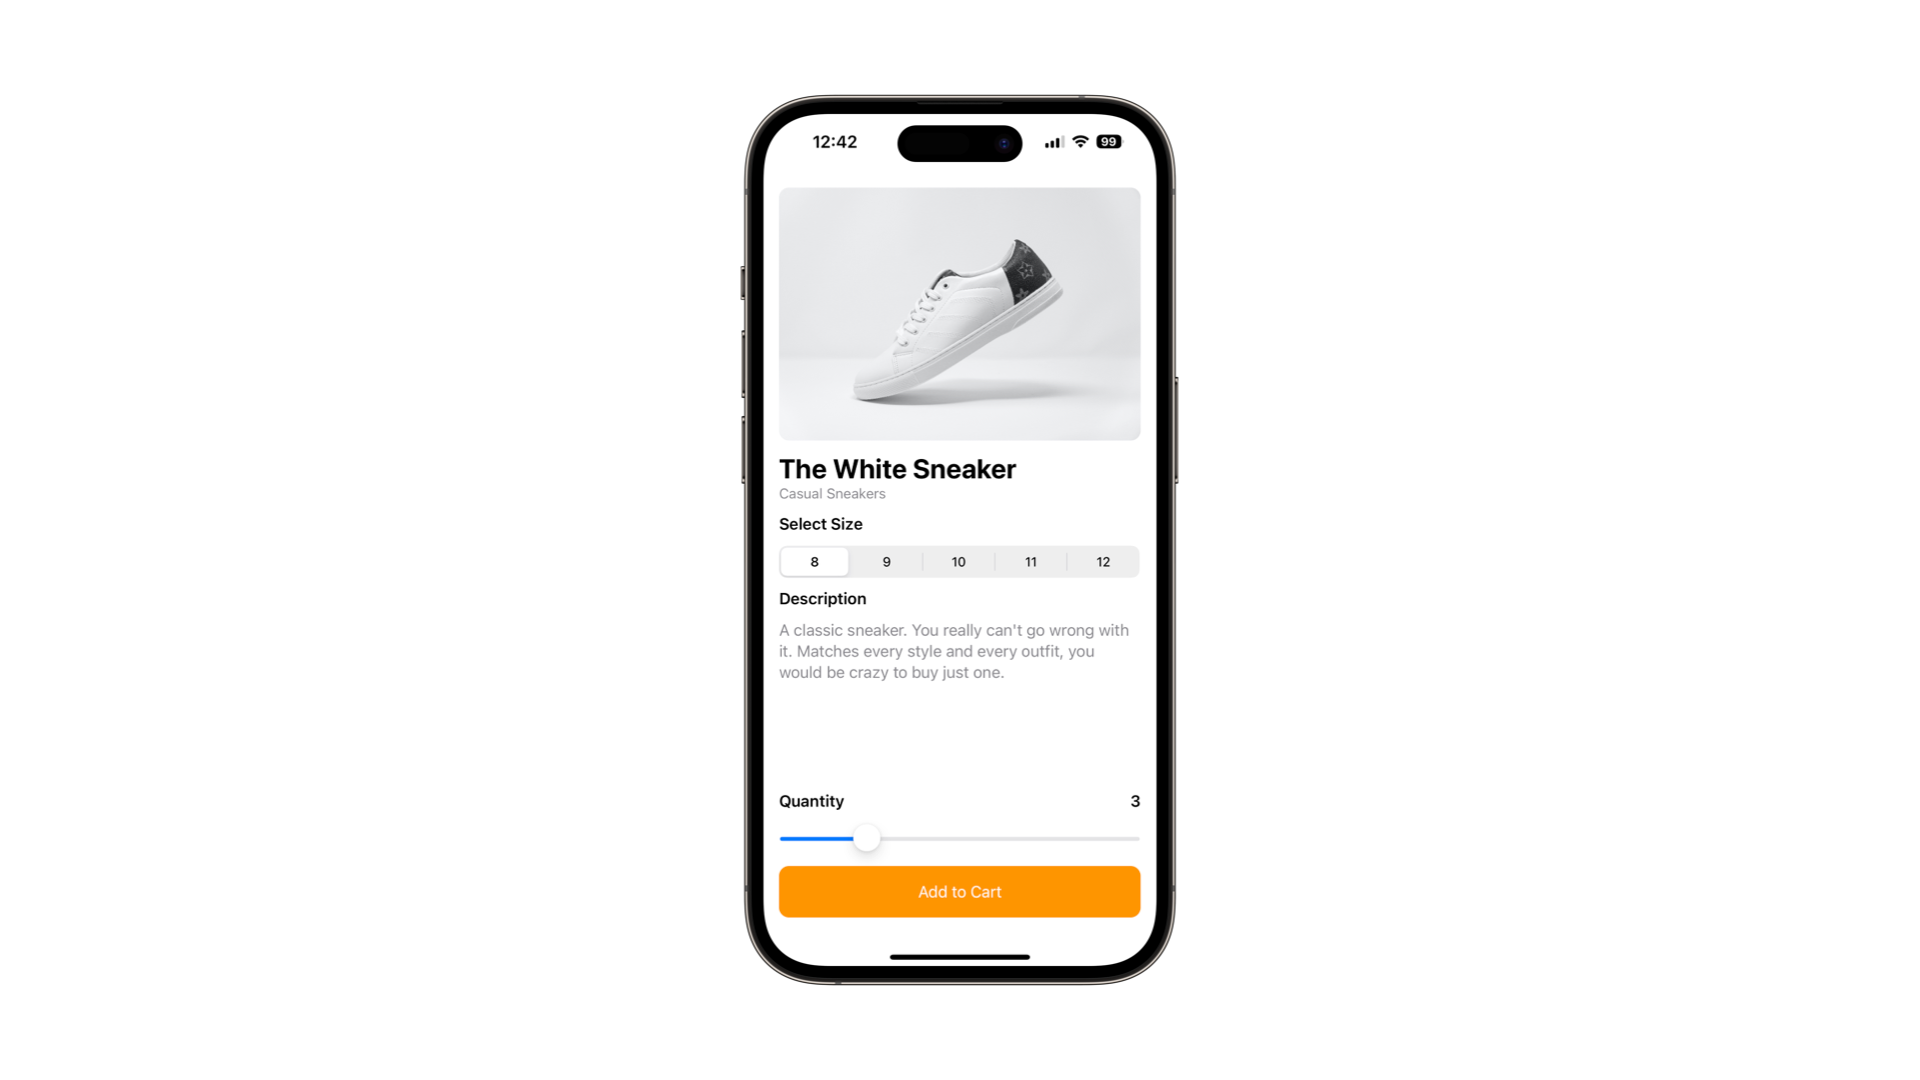
In this reference article we will cover accessibility modifiers for labels, values and hints. To do that we will make the following view better suited for Voice Over:
 262588213843476
Labels
An accessibility label adds a description of the content to a view to be read by the assistive technologies of iOS.
Image(product.imageName)
    .resizable()
    .scaledToFit()
    .cornerRadius(10)
    .accessibilityLabel("White sneaker made of leather with black details on the heel")
Use labels to provide a meaningful description to elements of the interface that aren't text-based, like images, icons and symbols.
Values
When adding an accessibility value to a view it adds a textual description of the current value of that view. Use it only when the value is different from the label, like in a Text Field or a Slider.
Slider(value: $quantity, in: 1...10, step: 1.0)
	.accessibilityValue(String(format: "Quantity selected: %.0f", quantity))
You can even format the information, so it sounds good when Voice Over reads it.
Hints
The hint accessibility modifier communicates to the user what happens after performing an action associated with the view.
Button {
    self.addToCart()
} label: {
    Text("Add to Cart")
        .padding()
        .frame(maxWidth: .infinity)
        .background(Color.orange)
        .foregroundColor(.white)
        .cornerRadius(10)
}
.accessibilityHint("Adds the \(product.name) in the cart.")
Conclusion
With these modifiers in place, the assistive technologies of iOS can go over your interface elements and provide meaningful information to the users that rely on them everyday.
To go further on the topic of accessibility you can check our other articles and make your applications even more accessible for everyone:

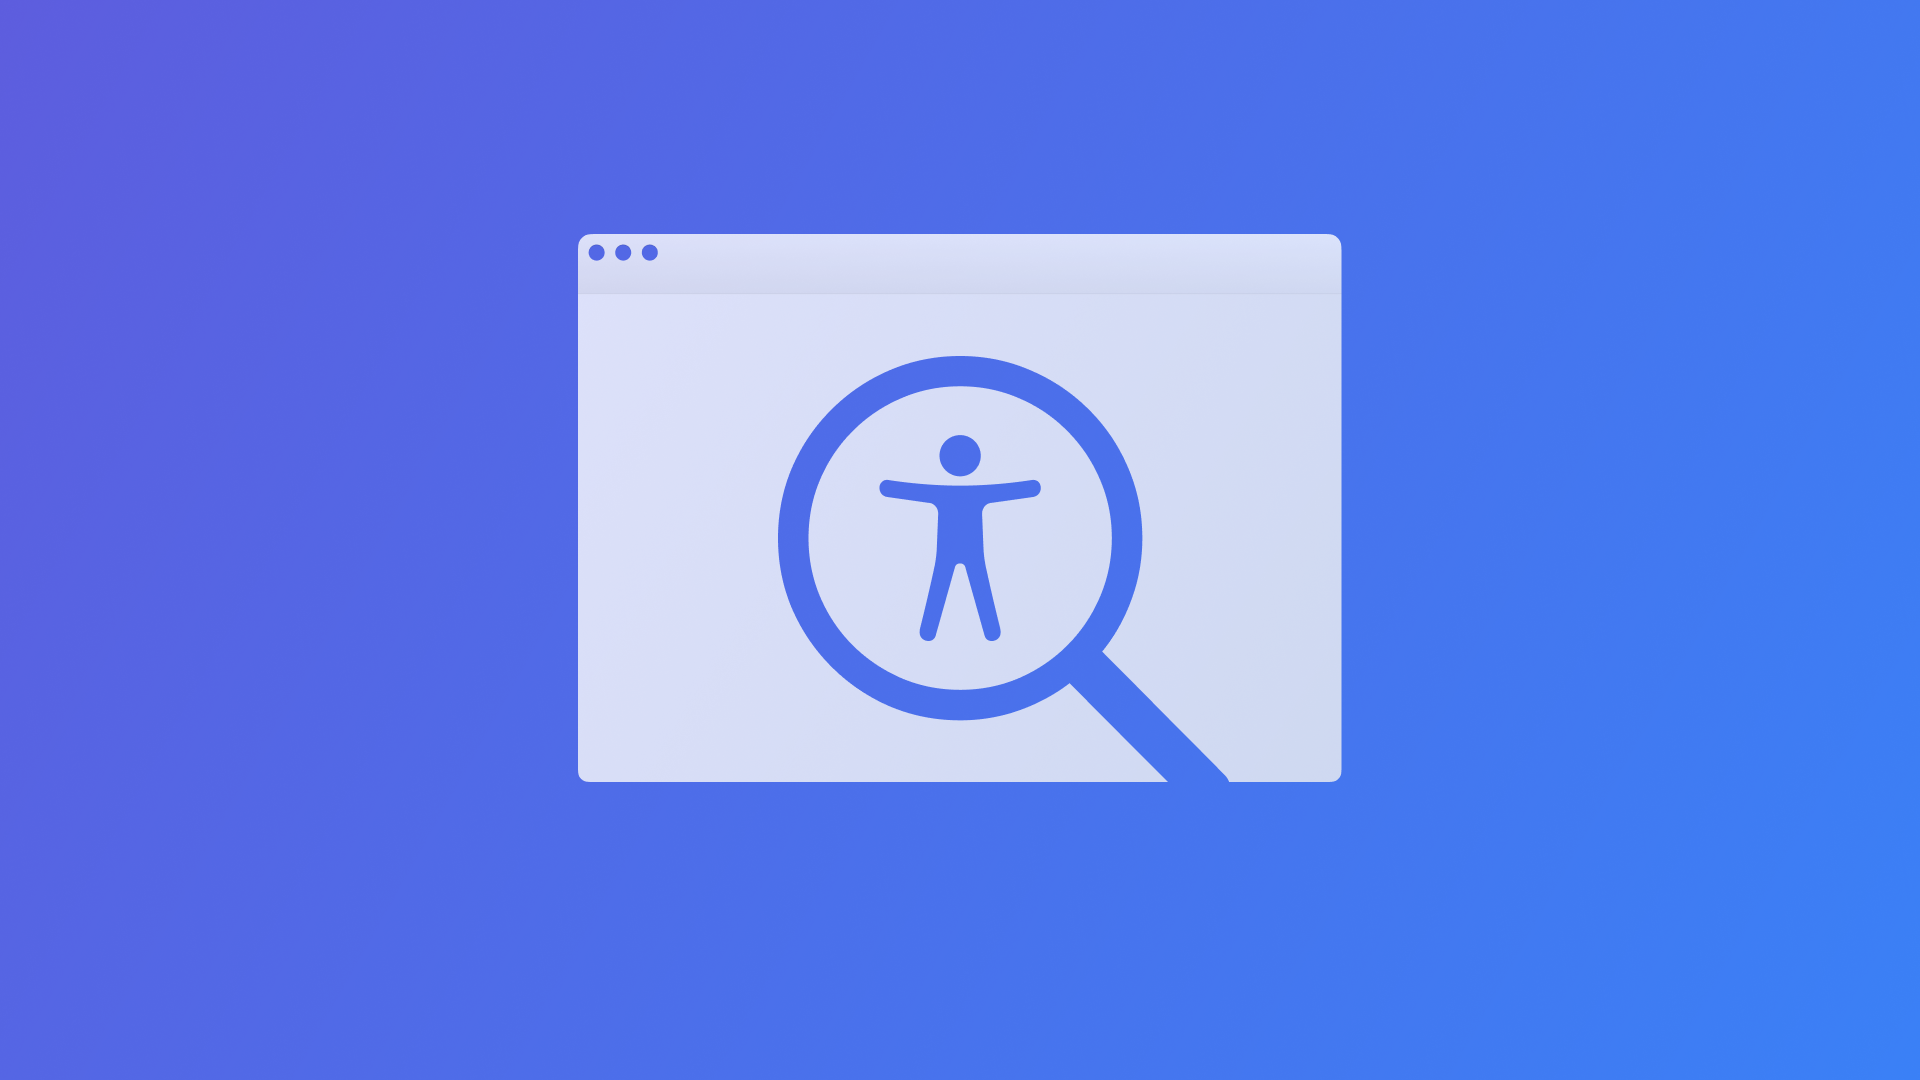
Ensuring that applications are accessible is part of the values of Apple, they have a big library of resources to support developers designing and developing accessible applications. A starting point can be the following links: