
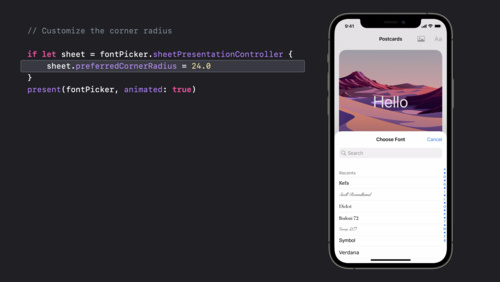
Using a UISheetPresentationController in SwiftUI
This article explores how you can create a layered and customized sheet experience in SwiftUI.

During WWDC 2021 Apple has announced a new way to create a layered and customized sheet experience in UIKit. This is possible using a new UIPresentationController subclass called UISheetPresentationController.
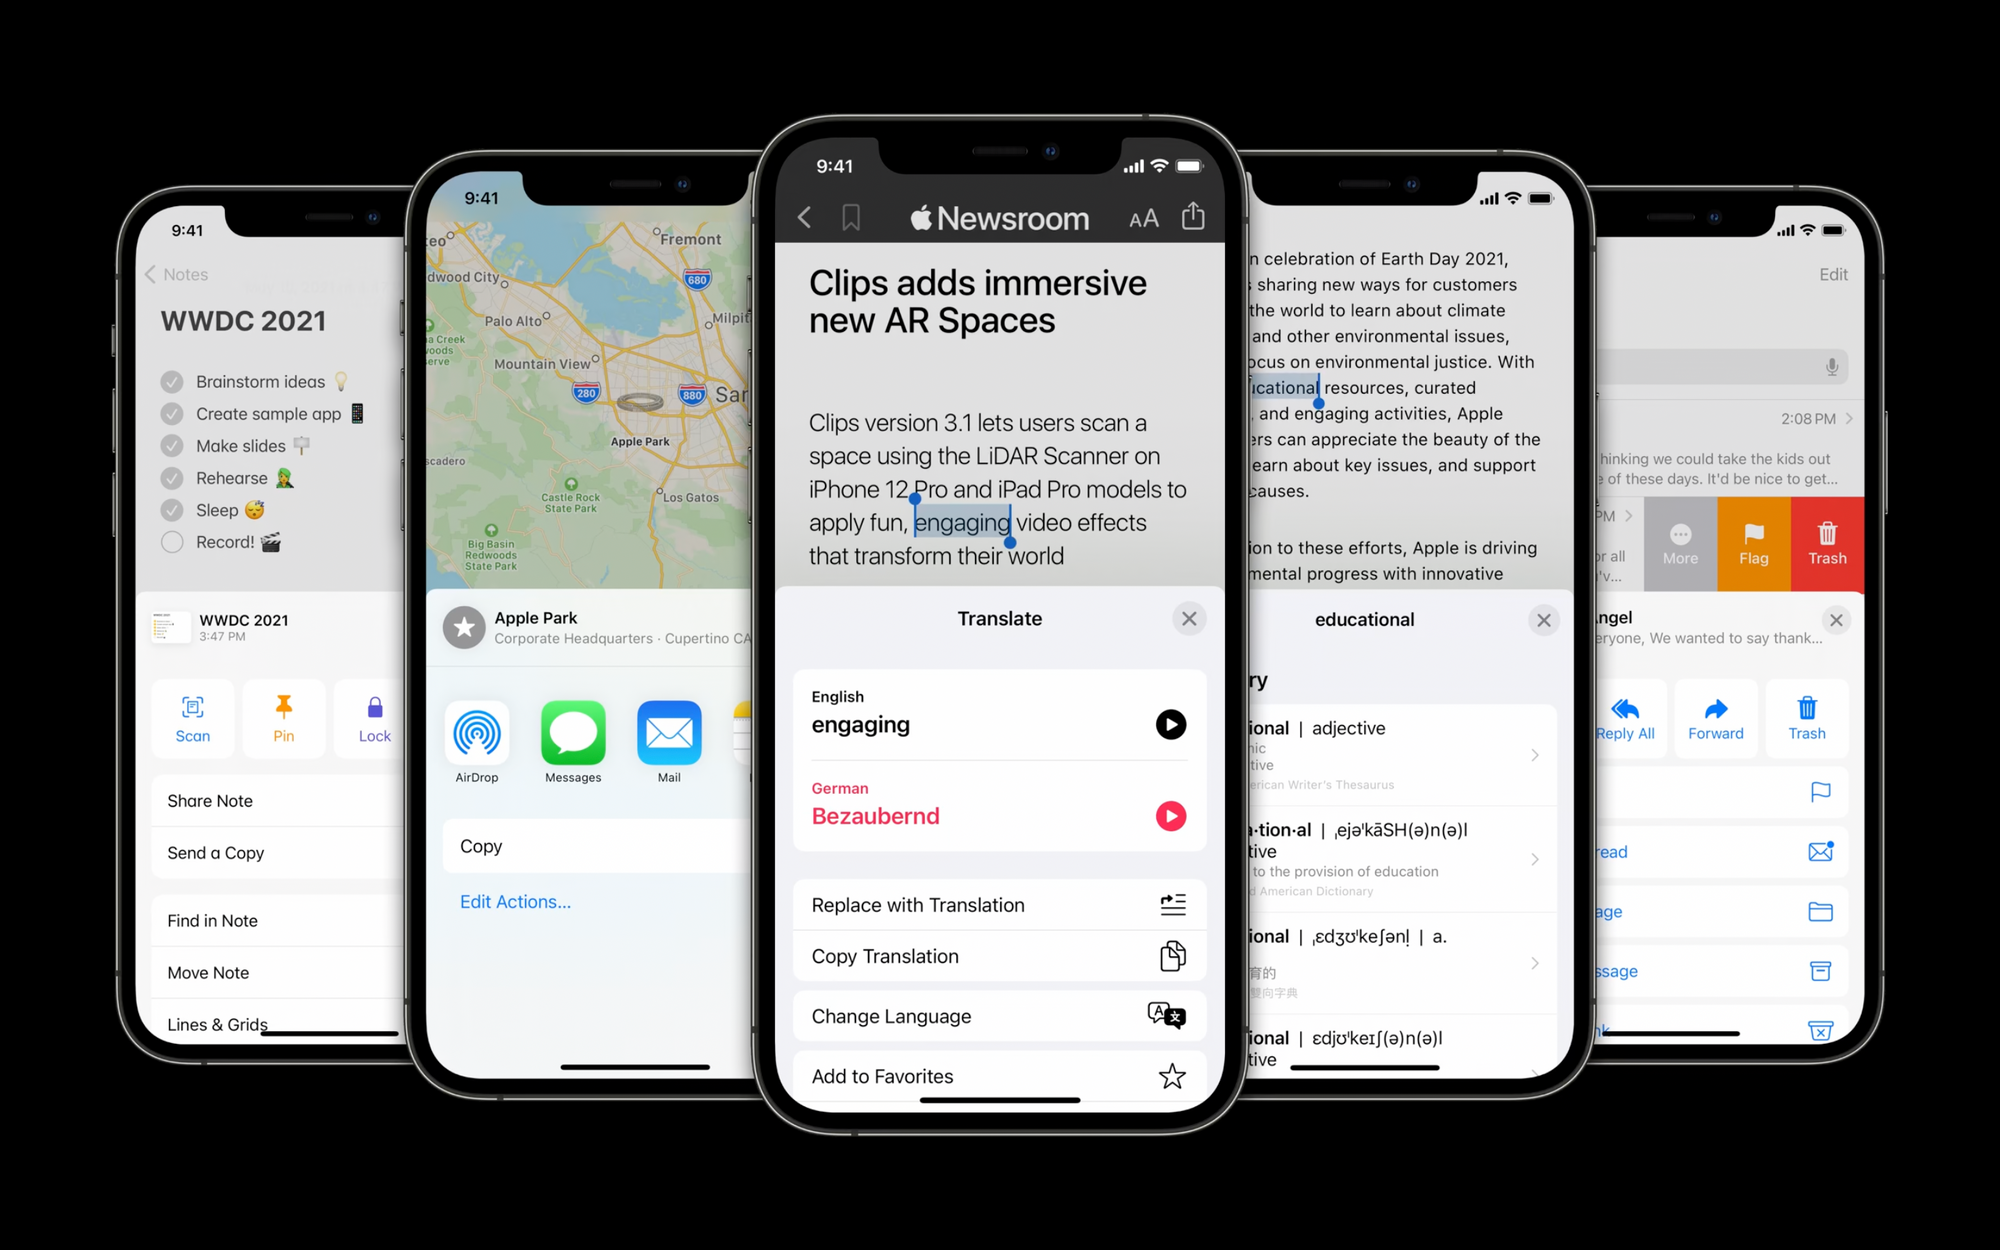
If you want to know more about it check out the following session from WWDC 2021 which talks about how we can build a non-modal experience in our app to allow interaction with content both in a sheet and behind the sheet at the same time.
UIKit now supports medium/large detents, which allows you to create a vertically resizable sheet that only covers half the screen. This is why it is often referred to as half-modal or full-modal. if you want to know more about detens have a look at Apple’s documentation.
SwiftUI currently provides only one way to achieve a modal experience. sheet(isPresented:onDismiss:content:) is a view modifier that presents a sheet with a large detent only when a given condition is true. What we would like instead is to use the UIKit exclusive medium detent in our SwiftUI apps.
Bringing the medium detent to SwiftUI
Fortunately, the UIKit/SwiftUI integration can be easily achieved. SwiftUI can be integrated into a UIKit app using UIContainerView and UIHostingController, while UIKit can be integrated into a SwiftUI app using UIViewRepresentable.
Check out our tutorials Using a SwiftUI View in a UIKit App and Using a SwiftUI View in a UIKit App as an individual component if you want to dig deeper.
Using all of this, we have created a view modifier that allows the use of sheets with detents, so you can use the new UIKit feature focusing on using only SwiftUI in your apps.
Thanks to our code snippets you can get something like the animated image below in a few minutes. To get access to this new half-modal experience you can just copy and paste the code snippets below and use your brand new modifier sheetWithDetents(isPresented:detents:onDismiss:content:)
Let's explore together the 3 code snippets we have created to make your life as a frontend developer easier.
1. SheetPresentationForSwiftUI is a struct conforming to the UIViewRepresentable protocol. This is needed to create and manage the UIKit UISheetPresentationController in SwiftUI.
// 1 - Create a UISheetPresentationController that can be used in a SwiftUI interface
struct SheetPresentationForSwiftUI<Content>: UIViewRepresentable where Content: View {

    @Binding var isPresented: Bool
    let onDismiss: (() -> Void)?
    let detents: [UISheetPresentationController.Detent]
    let content: Content


    init(
        _ isPresented: Binding<Bool>,
        onDismiss: (() -> Void)? = nil,
        detents: [UISheetPresentationController.Detent] = [.medium()],
        @ViewBuilder content: () -> Content
    ) {
        self._isPresented = isPresented
        self.onDismiss = onDismiss
        self.detents = detents
        self.content = content()
    }

    func makeUIView(context: Context) -> UIView {
        let view = UIView()
        return view
    }

    func updateUIView(_ uiView: UIView, context: Context) {

        // Create the UIViewController that will be presented by the UIButton
        let viewController = UIViewController()

        // Create the UIHostingController that will embed the SwiftUI View
        let hostingController = UIHostingController(rootView: content)

        // Add the UIHostingController to the UIViewController
        viewController.addChild(hostingController)
        viewController.view.addSubview(hostingController.view)

        // Set constraints
        hostingController.view.translatesAutoresizingMaskIntoConstraints = false
        hostingController.view.leftAnchor.constraint(equalTo: viewController.view.leftAnchor).isActive = true
        hostingController.view.topAnchor.constraint(equalTo: viewController.view.topAnchor).isActive = true
        hostingController.view.rightAnchor.constraint(equalTo: viewController.view.rightAnchor).isActive = true
        hostingController.view.bottomAnchor.constraint(equalTo: viewController.view.bottomAnchor).isActive = true
        hostingController.didMove(toParent: viewController)

        // Set the presentationController as a UISheetPresentationController
        if let sheetController = viewController.presentationController as? UISheetPresentationController {
            sheetController.detents = detents
            sheetController.prefersGrabberVisible = true
            sheetController.prefersScrollingExpandsWhenScrolledToEdge = false
            sheetController.largestUndimmedDetentIdentifier = .medium
        }

        // Set the coordinator (delegate)
        // We need the delegate to use the presentationControllerDidDismiss function
        viewController.presentationController?.delegate = context.coordinator


        if isPresented {
            // Present the viewController
            uiView.window?.rootViewController?.present(viewController, animated: true)
        } else {
            // Dismiss the viewController
            uiView.window?.rootViewController?.dismiss(animated: true)
        }

    }

    /* Creates the custom instance that you use to communicate changes
    from your view controller to other parts of your SwiftUI interface.
     */
    func makeCoordinator() -> Coordinator {
        Coordinator(isPresented: $isPresented, onDismiss: onDismiss)
    }

    class Coordinator: NSObject, UISheetPresentationControllerDelegate {
        @Binding var isPresented: Bool
        let onDismiss: (() -> Void)?

        init(isPresented: Binding<Bool>, onDismiss: (() -> Void)? = nil) {
            self._isPresented = isPresented
            self.onDismiss = onDismiss
        }

        func presentationControllerDidDismiss(_ presentationController: UIPresentationController) {
            isPresented = false
            if let onDismiss = onDismiss {
                onDismiss()
            }
        }

    }

}
2. sheetWithDetentsViewModifier is a structure conforming to the ViewModifier protocol. This is needed to create our custom ViewModifier that emulates the structures o d already available view modifiers.
// 2 - Create the SwiftUI modifier conforming to the ViewModifier protocol
struct sheetWithDetentsViewModifier<SwiftUIContent>: ViewModifier where SwiftUIContent: View {

    @Binding var isPresented: Bool
    let onDismiss: (() -> Void)?
    let detents: [UISheetPresentationController.Detent]
    let swiftUIContent: SwiftUIContent

    init(isPresented: Binding<Bool>, detents: [UISheetPresentationController.Detent] = [.medium()] , onDismiss: (() -> Void)? = nil, content: () -> SwiftUIContent) {
        self._isPresented = isPresented
        self.onDismiss = onDismiss
        self.swiftUIContent = content()
        self.detents = detents
    }

    func body(content: Content) -> some View {
        ZStack {
            SheetPresentationForSwiftUI($isPresented,onDismiss: onDismiss, detents: detents) {
                swiftUIContent
            }.fixedSize()
            content
        }
    }
}
3. Finally, when working with custom modifiers, it’s usually a smart idea to create extensions of View that make them easier to use. In the code snippet below, we wrapped the sheetWithDetentsViewModifier modifier in a Viewextension.
// 3 - Create extension on View that makes it easier to use the custom modifier
extension View {

    func sheetWithDetents<Content>(
        isPresented: Binding<Bool>,
        detents: [UISheetPresentationController.Detent],
        onDismiss: (() -> Void)?,
        content: @escaping () -> Content) -> some View where Content : View {
            modifier(
                sheetWithDetentsViewModifier(
                    isPresented: isPresented,
                    detents: detents,
                    onDismiss: onDismiss,
                    content: content)
            )
        }
}
Using the custom sheetWithDetents modifier
We can now use our custom sheetWithDetents(isPresented:detents:onDismiss:content:) modifier like this:
// 4 - An example of how to use the sheetWithDetents modifier
struct ContentView: View {
    @State var isPresented: Bool = false
    var body: some View {
        ZStack {
            Color.pink
                .ignoresSafeArea()
            Button {
                isPresented.toggle()
            } label: {
                Text("Tap me!")
                    .padding()
                    .background(Color.white)
                    .cornerRadius(20)
            }
        }
        .sheetWithDetents(
            isPresented: $isPresented,
            detents: [.medium(),.large()]
        ) {
            print("The sheet has been dismissed")
        } content: {
            Group {
                Text("Create")
                    .bold()
                +
                Text("with")
                +
                Text("Swift")
                    .bold()
            }
            .font(.title)
        }
    }
}
The detents property is an array of detents where the sheet may rest at. The array must have at least one element and detents must be specified in order from smallest to largest height.
In the animated image below we see what we've created, and the best part of all this is that the Xcode canvas continues to give us a preview of what we're programming in a true SwiftUI style as if there were no reference to UIKit.
Wrapping up
We explored how you can create a layered and customized sheet experience in SwiftUI, taking the best that UIKit has to offer. A few code snippets to unlock even more of SwiftUI's hidden potential.