Embedding 3D objects into visionOS windows
Enhance your visionOS app experience by seamlessly integrating 3D objects in a window.


In visionOS, volumes are designed for presenting 3D content, providing users with a fully immersive 360° exploration experience. To learn more about volumes have a look at Implementing volumes in visionOS.

While windows are primarily designed for UI interfaces, their versatility allows developers to showcase 3D elements. It's important to note that when displaying a 3D object in a window, the object is anchored to that window and contained within its boundaries. In contrast, volumes present 3D content without any frame, enabling users to explore the object from every perspective.

We will now delve into incorporating a 3D object into visionOS windows, expanding upon our previous article, Implementing windows in visionOS, where we covered opening secondary windows.

We'll begin by enhancing the existing Xcode project. Specifically, we'll replace the SF Symbol with a dynamic 3D element in our SecondaryWindowView.

We will use a .usdz 3D model file, a single, self-contained file format that includes all the necessary information to display a 3D object or scene without any external dependencies.
Bringing the file into Xcode couldn't be easier — drag and drop it into the primary project folder. Remember to ensure that 'copy item if needed' is selected when the import window pops up in Xcode.
For our convenience, let's create a new SwiftUI file called CubeView.
import SwiftUI
import RealityKit

struct CubeView: View {


    @State private var angle: Angle = .degrees(0)

    var body: some View {
        VStack(spacing: 18.0) {
            Model3D(named: "GlassCube") { model in
                switch model {
                case .empty:
                    ProgressView()
                case .success(let resolvedModel3D):
                    resolvedModel3D
                        .scaleEffect(0.4)
                        .rotation3DEffect(angle, axis: .x)
                        .rotation3DEffect(angle, axis: .y)
                        .animation(.linear(duration: 18).repeatForever(), value: angle)
                        .onAppear {
                            angle = .degrees(359)
                        }
                case .failure(let error):
                    Text(error.localizedDescription)
                @unknown default:
                    EmptyView()
                }
            }
        }
    }
}

#Preview {
    CubeView()
}
Now that we have our rotating glass cube, let's use it in the SecondaryWindowView, replacing Image(systemName: "2.circle.fill") .
import SwiftUI
struct SecondaryWindowView: View {
@Environment(ViewModel.self) private var model
var body: some View {
VStack(spacing: 18.0) {
CubeView()
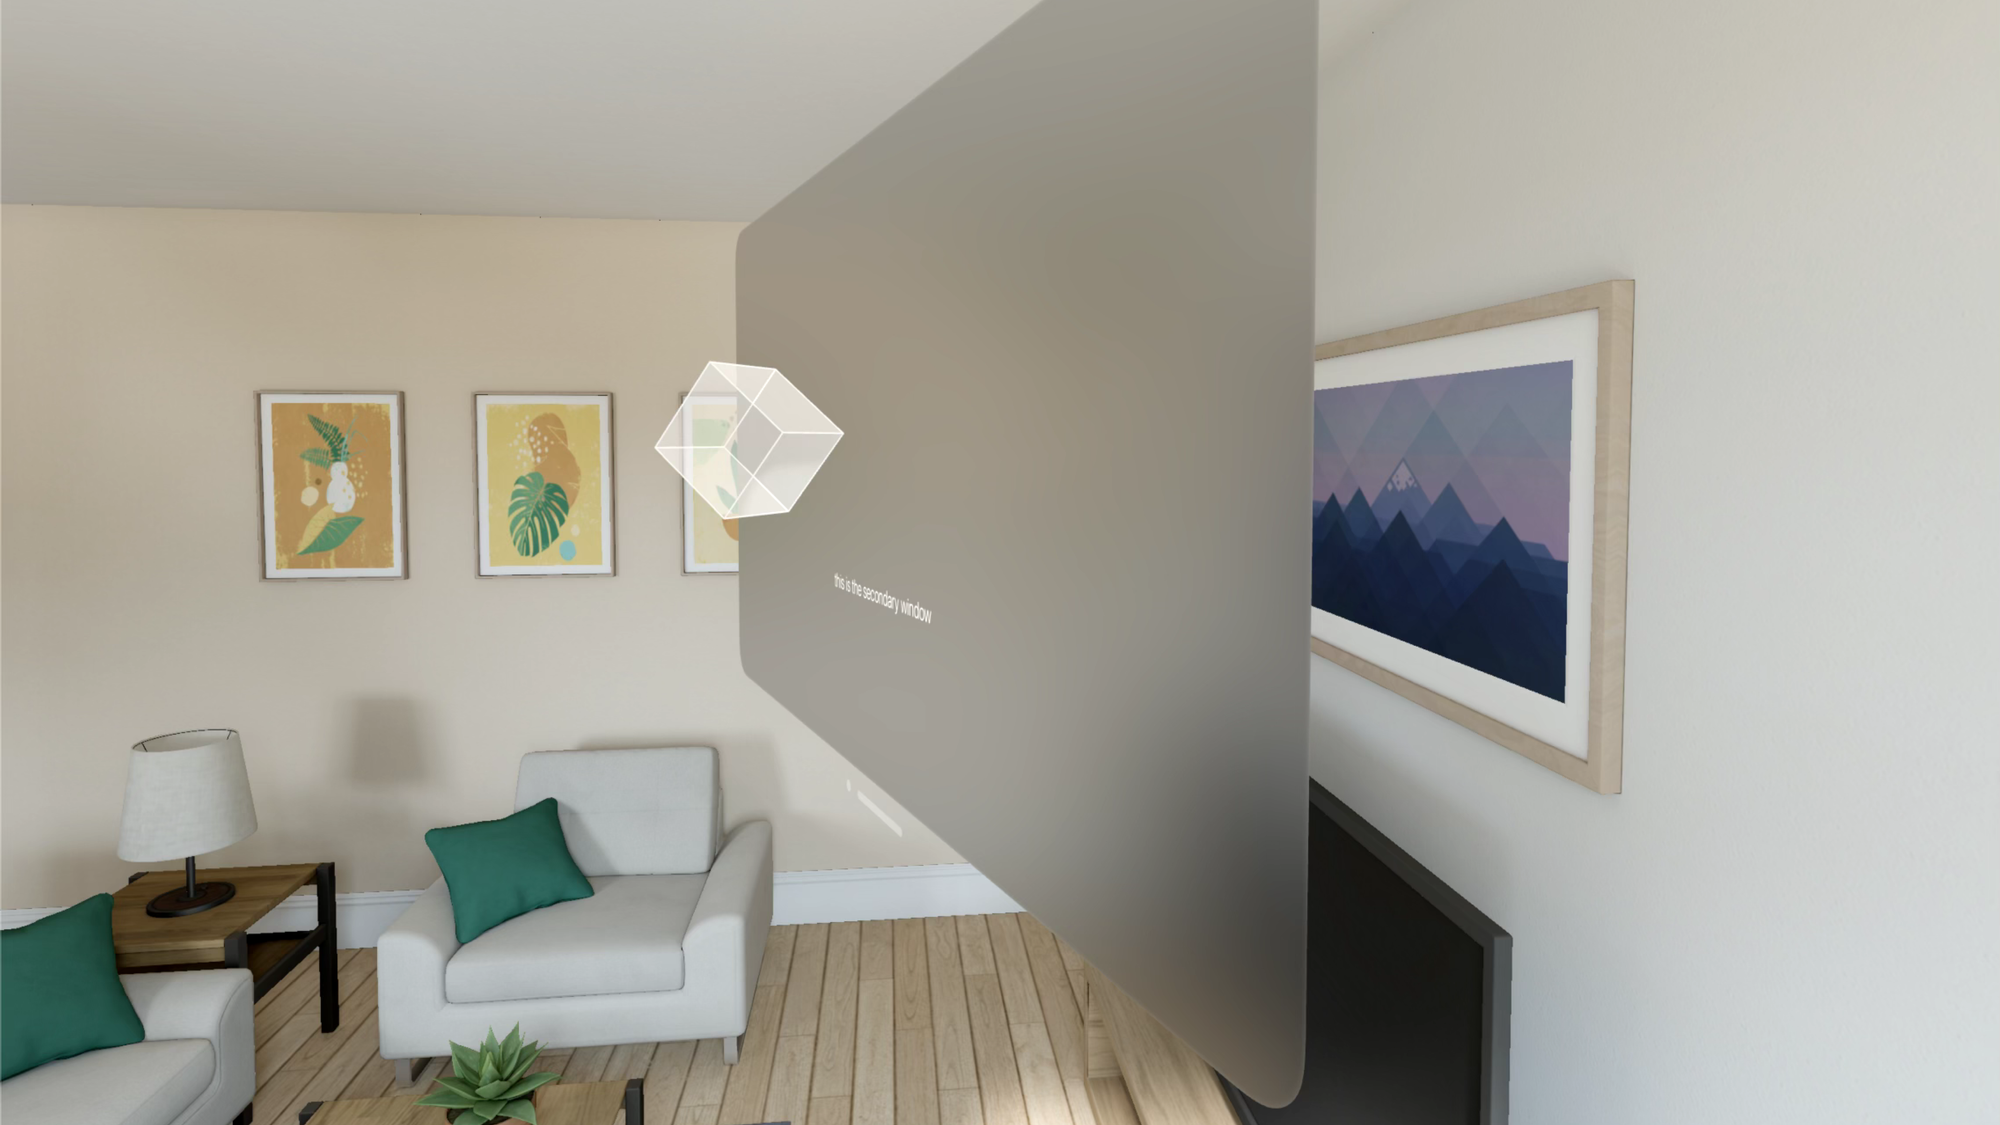
Text("this is the secondary window")
.font(.title)
.fontWeight(.light)
}
.onDisappear {
model.secondaryWindowIsShowing.toggle()
}
}
}
#Preview {
SecondaryWindowView()
.environment(ViewModel())
}To see the result, run the app. Observe the cube as it extends significantly beyond the window's surface, creating a sense of depth.
Wrapping up, we've comprehensively established the structure for opening 3D objects in a window. Following this schema, you can implement as many 3D elements as necessary in your window.
Embrace the future with Apple's visionOS, an infinite canvas that transforms how you create the apps you love. Stay tuned and explore with us the latest advancements of this transformative digital experience.