Using an image as the texture of a material on a 3D object
Learn how to use an image as the texture of a 3D model in a RealityView.

When working with 3D content on SwiftUI we can take advantage of the multiple frameworks that Apple makes available for developers, like ARKit and RealityKit.
In this short tutorial, we are going to cover how to use an image as the material of a ModelEntity created based on a MeshResource.
By the end of the tutorial, you will be able to display a 3D element on a visionOS application with an image defined as its material.
Before we start
Our starting point is a SwiftUI view displaying a 3D element with a RealityView. We defined the content to be displayed by creating a new ModelEntity based on a mesh and a material.
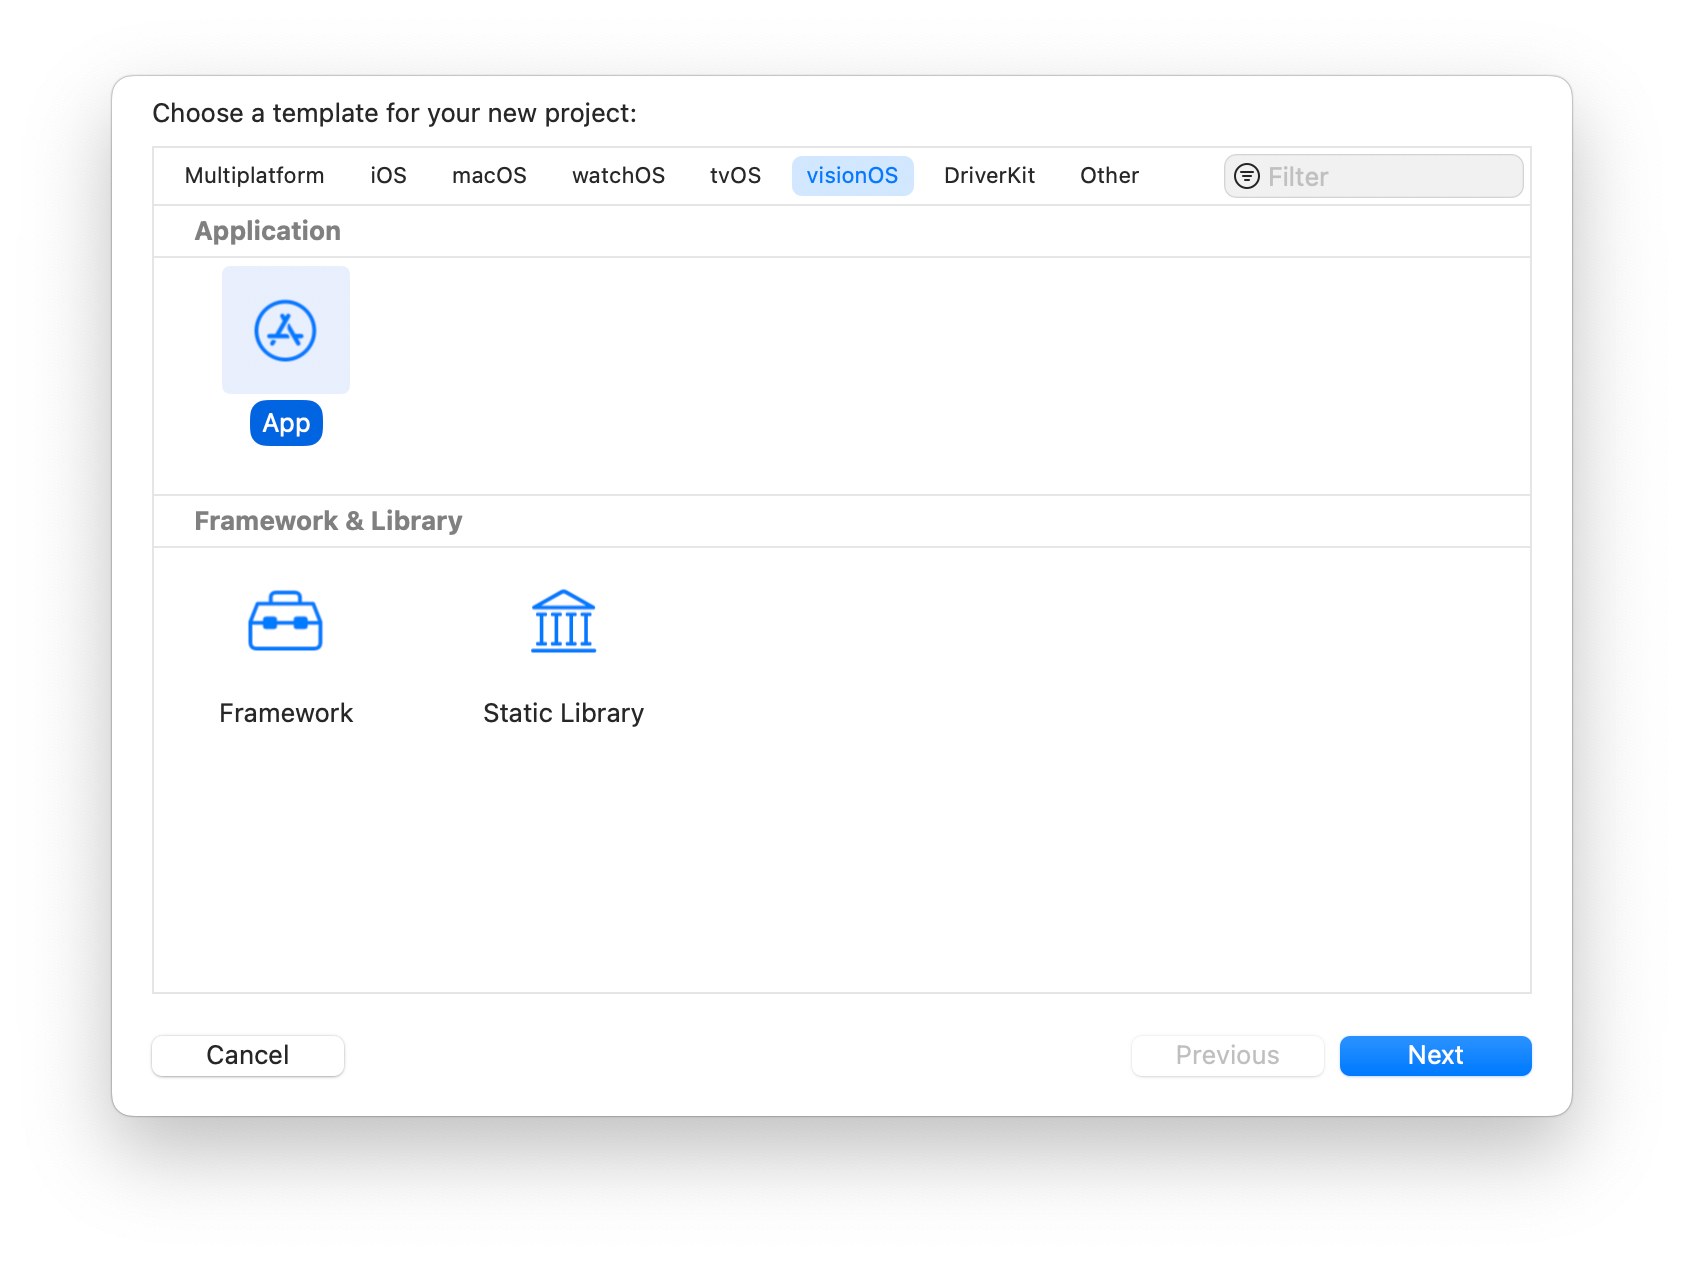
Create a new Xcode project with a visionOS app template and replace the content of the ContentView view with the code below.
import SwiftUI
import RealityKit

struct ContentView: View {
    var body: some View {

        RealityView { content in
            // Creating the 3D resource to be displayed
            let shapeMesh = MeshResource.generateBox(size: 0.25)

            // Setting up the material of the shape
            let material = UnlitMaterial(color: .red)

            // Create the model entity to display the shape mesh while setting up it's materials
            let model = ModelEntity(mesh: shapeMesh, materials: [material])

            content.add(model)
        }

    }
}
You will also need an image to be used as the texture of the material of your 3D element in your project Assets folder. If you don’t have one, use the following image as an example:
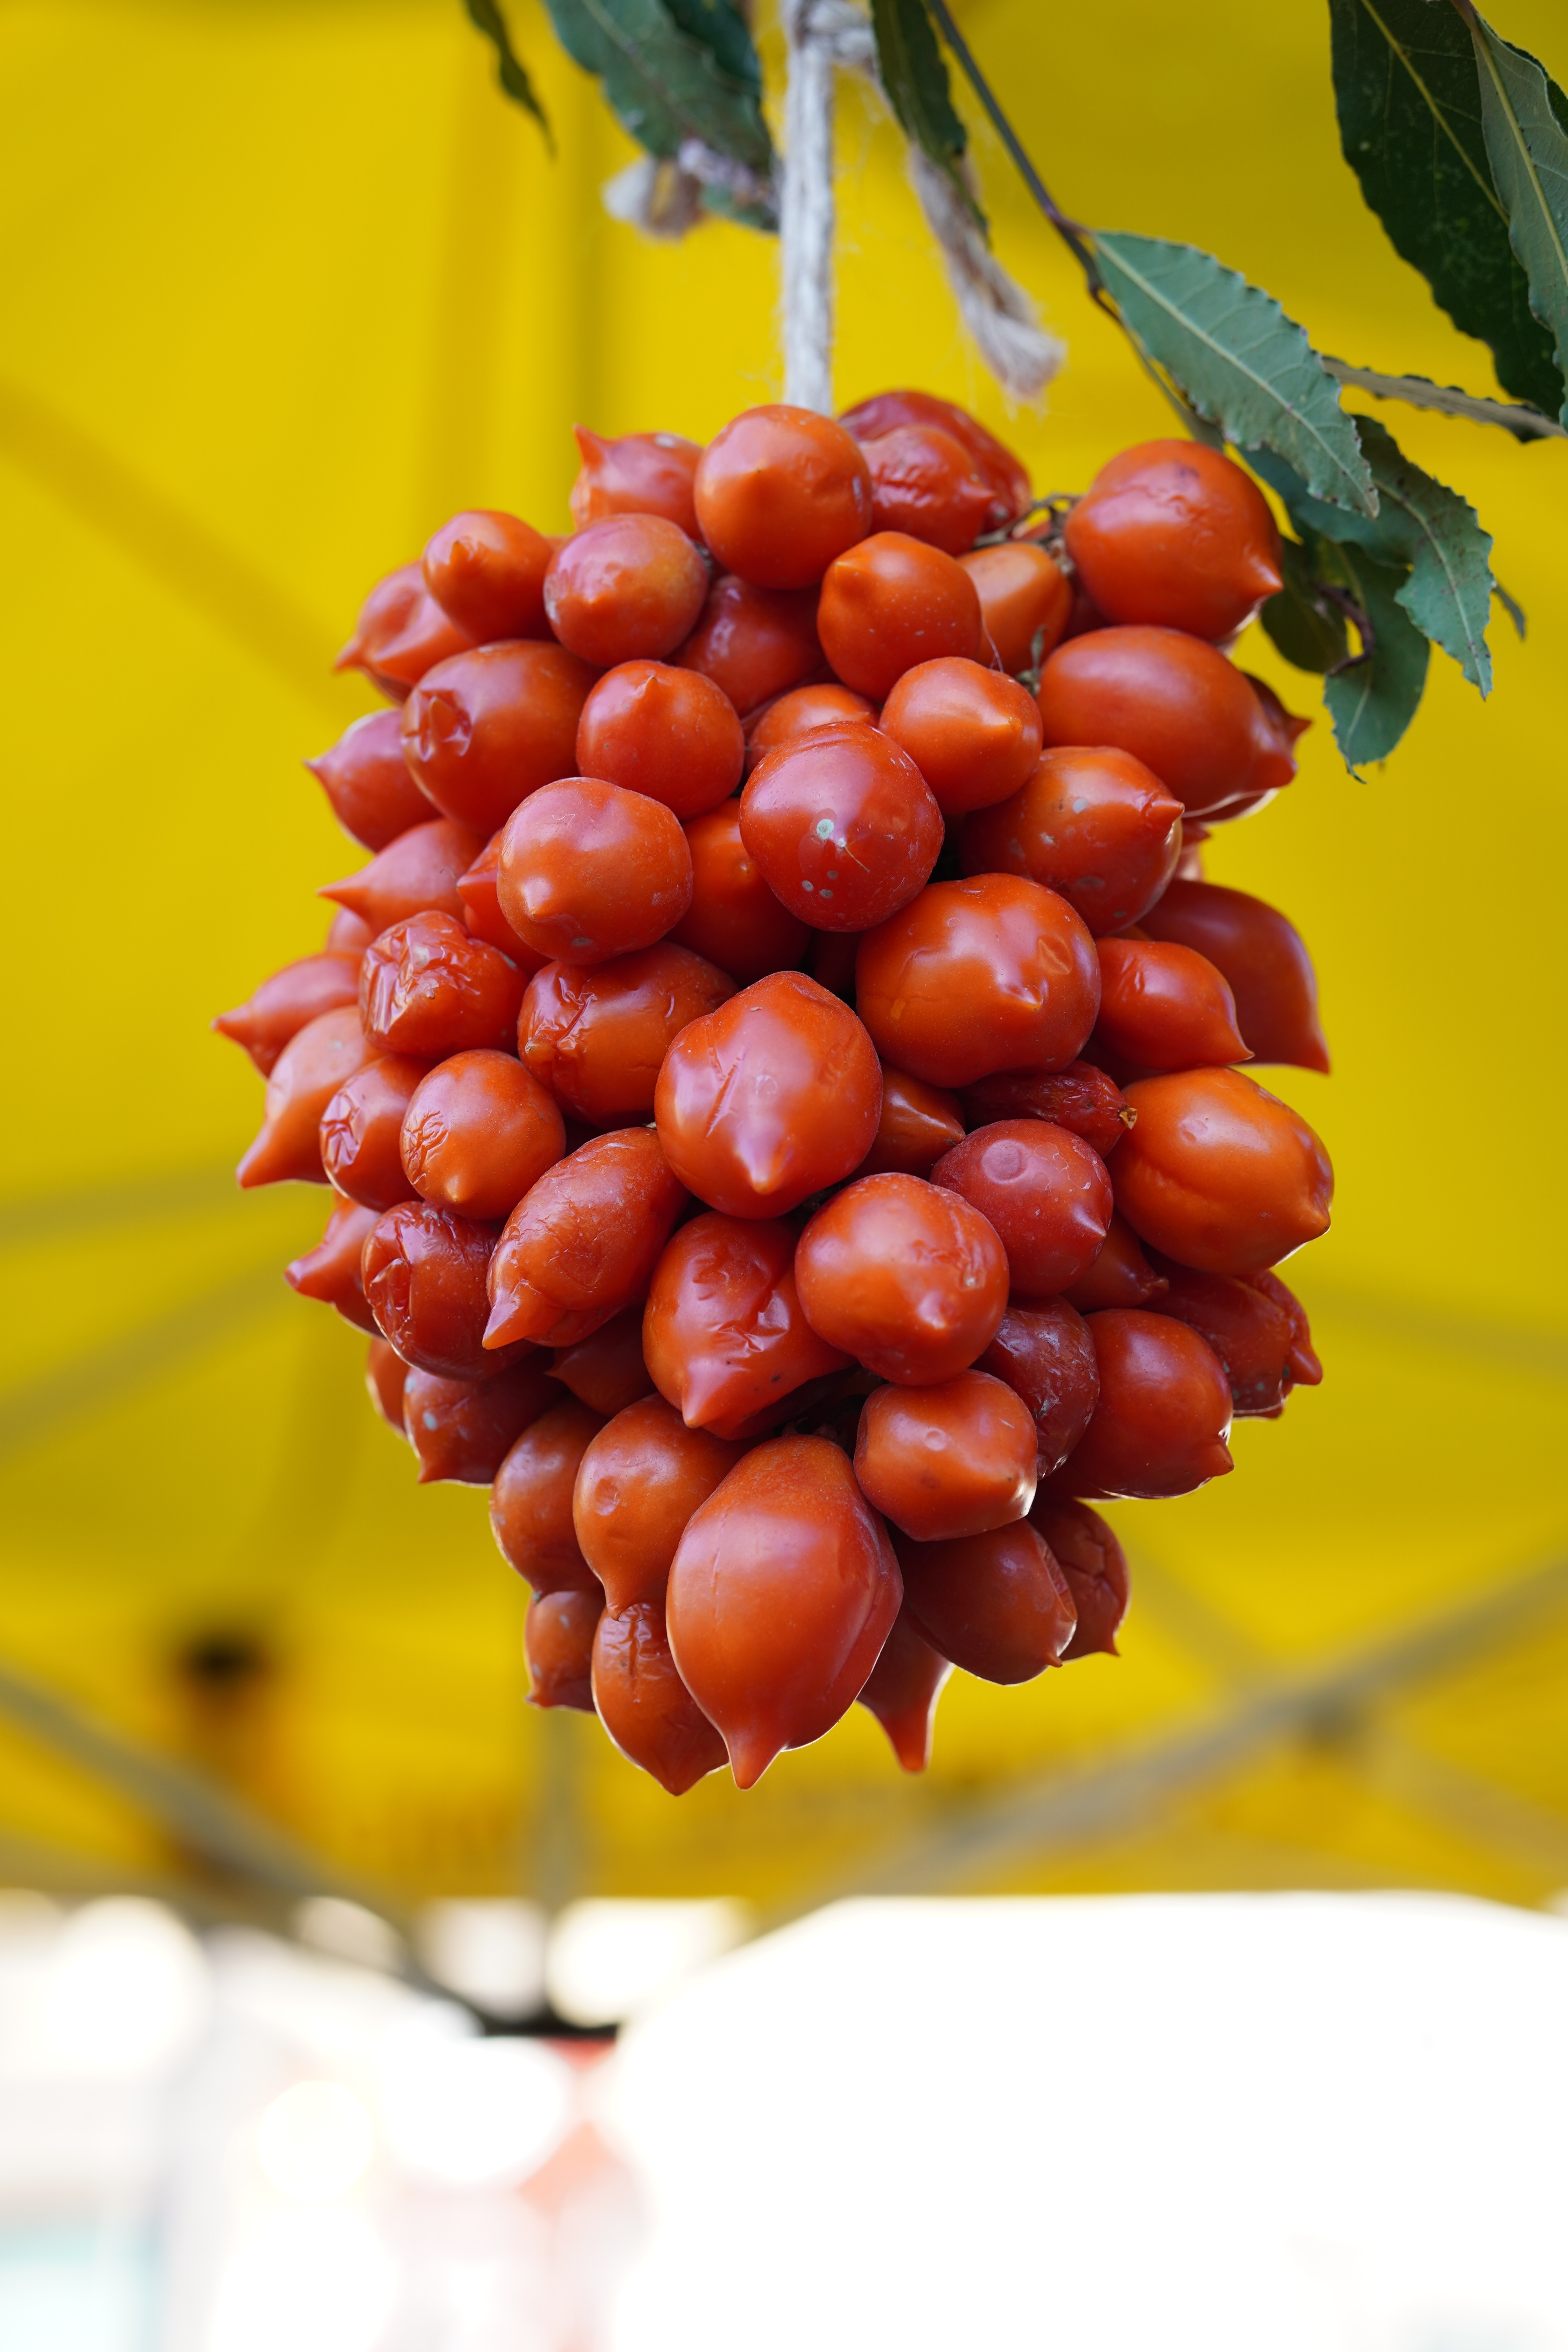
Step 1 - A reference to the image
Add the image file to the assets folder of your Xcode project. This image will be the texture of the material used on your 3D model.
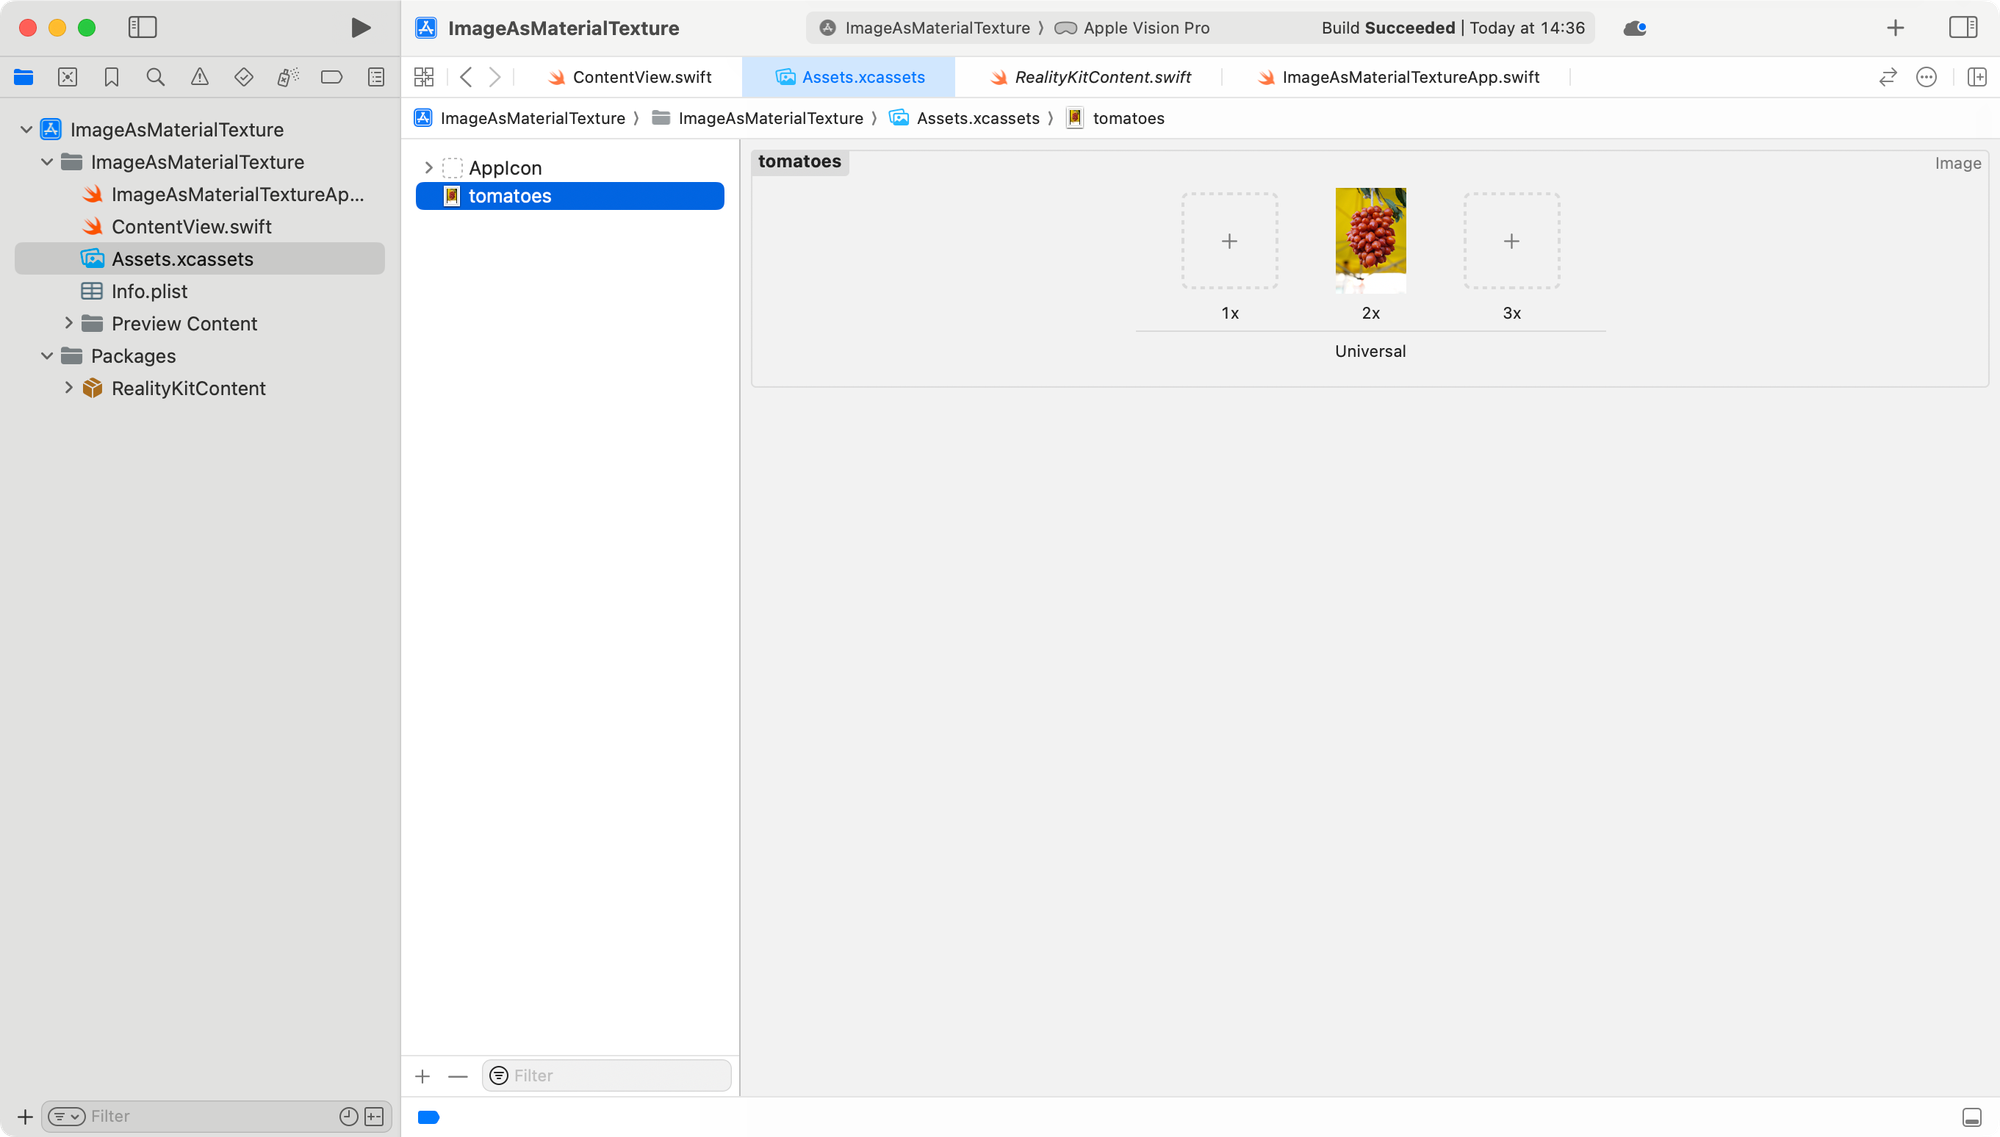
Once the image is imported to your Assets folder, create a property in the ContentView view to store the name of the image that will be used to initialize the texture later.
struct ContentView: View {
    // 1.
    var imageName: String = "tomatoes"

    var body: some View {

        RealityView { content in
            ...
        }

    }
}- Create a property to store the name of the image file
Step 2 - Creating a texture
The next step is to create a TextureResource based on the image using the TextureResource(named:in:) initializer.
struct ContentView: View {

    var imageName: String = "tomatoes"

    var body: some View {

        RealityView { content in
            // 1.
            guard let texture = try? await TextureResource(named: imageName) else {
                return
            }

            let shapeMesh = MeshResource.generateBox(size: 0.25)
            let material = UnlitMaterial(color: .red)

            let model = ModelEntity(mesh: shapeMesh, materials: [material])

            content.add(model)
        }

    }
}- Initialize a
TextureResourceobject and store it in a constant calledtexture
Step 3 - Applying the material
Now that we have the texture let’s create our material based on it.
Change the initialization of the material variable to use the plain initializer instead of the initializer that defines a base color to the material.
This will allow us to define the color of the material as the texture we created beforehand.
RealityView { content in
    guard let texture = try? await TextureResource(named: imageName) else {
            return
    }

    let shapeMesh = MeshResource.generateBox(size: 0.25)

    // 1.
    var material = UnlitMaterial()
    // 2.
    material.color = PhysicallyBasedMaterial
                        .BaseColor(texture: .init(texture))

    let model = ModelEntity(mesh: shapeMesh, materials: [material])

    content.add(model)
}- Initialize the material with the plain initializer,
UnlitMaterial() - Set the color property of the material by creating a
PhysicallyBasedMaterial.BaseColorobject using theinit(tint:texture:)initializer
Now when the ModelEntity is rendered the texture of the material of the 3D object will be the image defined beforehand.
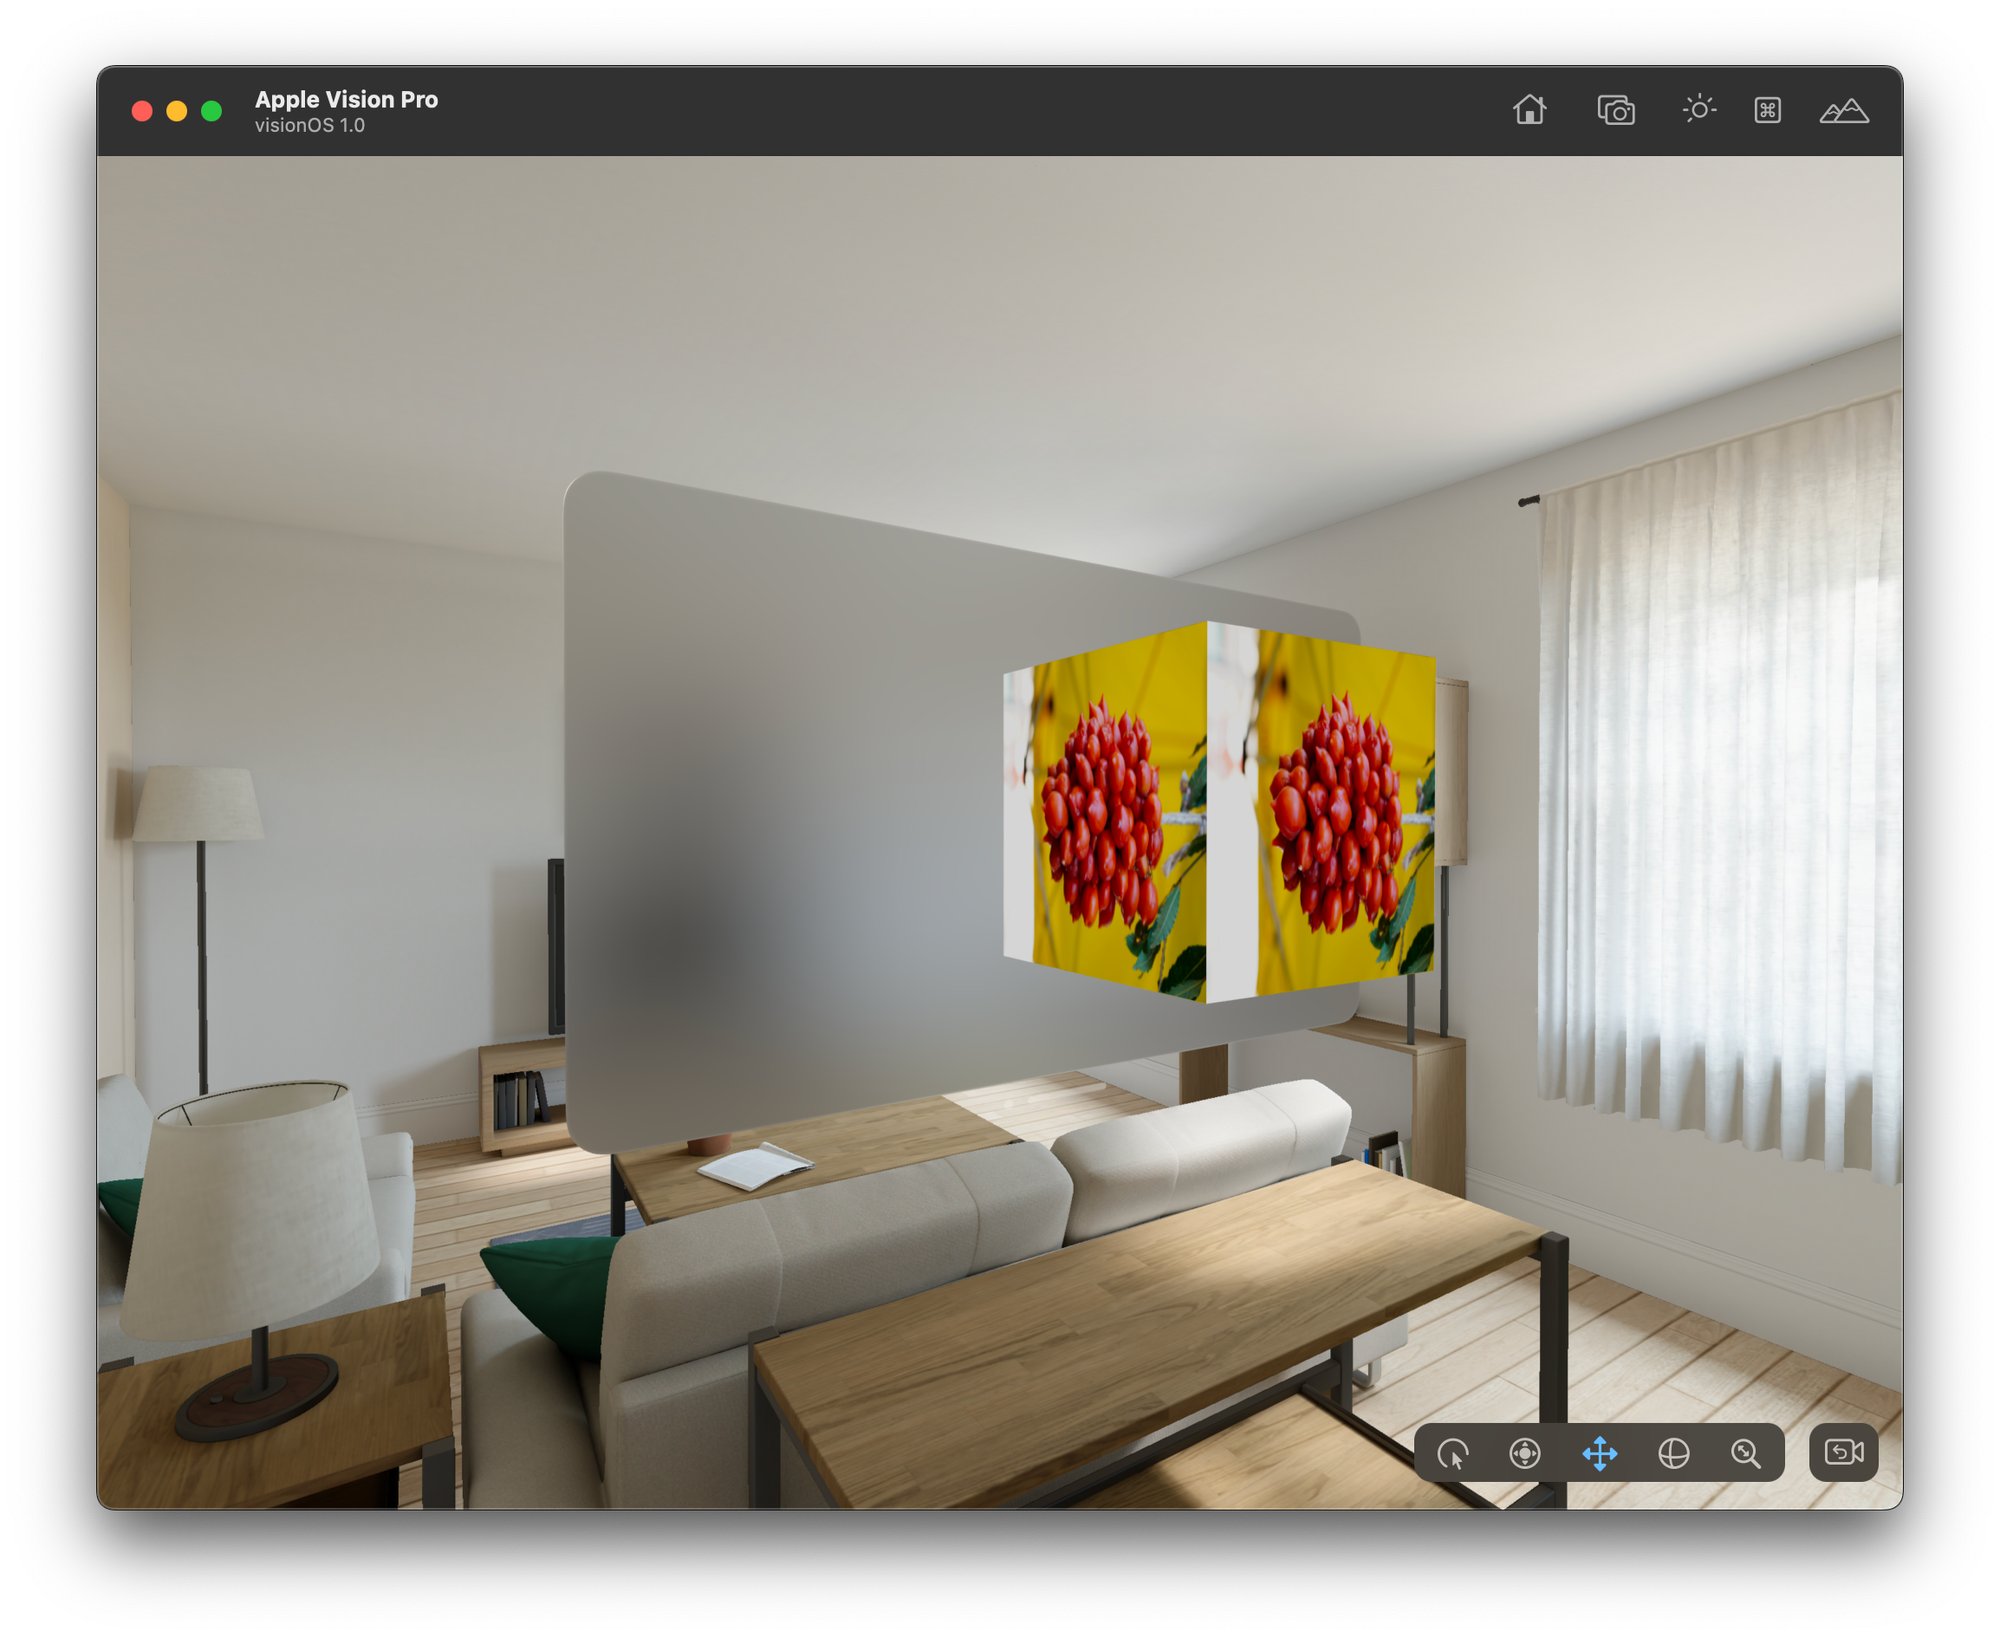
Final Result
By using an image as texture of the material used to render a 3D model you will be able to expand the possibilities of how you can display 3D elements in your Spatial Computing applications.
You can take a step further and define different textures to be loaded if the image fails to load or provide different textures for the same 3D model to provide customization options for your users.
Here is the complete code of the view created in the tutorial:
import SwiftUI
import RealityKit

struct ContentView: View {

    var imageName: String = "tomatoes"

    var body: some View {

        RealityView { content in
            guard let texture = try? await TextureResource(named: imageName) else { return }

            let shapeMesh = MeshResource.generateBox(size: 0.25)

            var material = UnlitMaterial()
            material.color = PhysicallyBasedMaterial
                                .BaseColor(texture: .init(texture))

            let model = ModelEntity(mesh: shapeMesh, materials: [material])

            content.add(model)
        }

    }

}
Where to go next?
To keep exploring how to work with volumes and 3D models in visionOS applications check the following articles:
- Embedding 3D objects into visionOS windows
- Implementing volumes in visionOS
- Configuring default window and volume size in visionOS
You can go deeper into each of the elements we referred to in the tutorial by checking the official documentation of the RealityKit framework.
